Last updated: September 10, 2026
Key Takeaways
- The maintenance cycle for a stamped concrete patio maintenance checklist homeowners can follow is seasonal, with a quick check every 1 to 3 months and a deeper clean before resealing.
- In many climates, resealing lands somewhere around every 2 to 4 years, but sun exposure, freeze-thaw cycles, and foot traffic change that timeline a lot.
- Verify that the water sheets off instead of ponding for more than 10 to 15 minutes after the rinse.
- In a hot, high-UV climate, sealer wear and color fade happen faster, so checking sheen every 6 months makes more sense than waiting a full year.
Stamped concrete patio maintenance is pretty simple, honestly, if you treat it like a sealed outdoor surface rather than a plain broom-finished slab. This stamped concrete patio maintenance checklist homeowners can use keeps the color, texture, and joints in decent shape without guesswork. But if your patio is heaving, cracking through the pattern, or holding water after a storm, maintenance alone will not fix the base — and that is the point where a concrete contractor is the right call.
What this checklist covers, and what it assumes
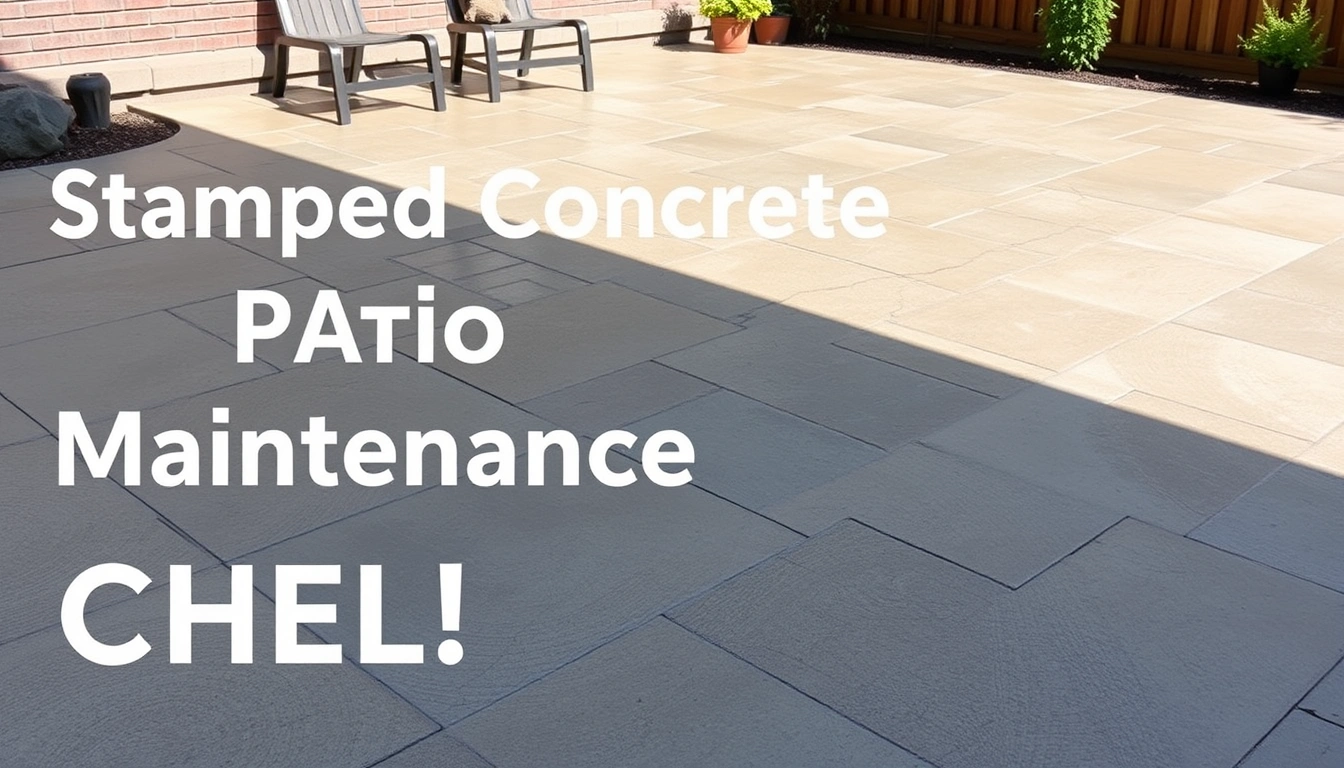
This checklist fits a typical decorative concrete patio with a stamped pattern and either a film-forming or penetrating sealer. It assumes you can sweep, rinse, and spot the basics: control joints, sealer sheen, and the textured pattern. It also assumes the patio sits on grade, not on a suspended deck or rooftop surface.
The maintenance cycle for a stamped concrete patio maintenance checklist homeowners can actually use is seasonal, with a quick check every 1 to 3 months and a deeper clean before resealing. In many climates, resealing lands somewhere around every 2 to 4 years, but sun exposure, freeze-thaw cycles, and foot traffic change that timeline a lot. A shaded patio in the Pacific Northwest ages differently than a south-facing patio in Arizona. Same material. Very different wear.
If you are weighing whether to hire someone instead of doing it yourself, the job is not “pressure wash and hope.” It is cleaning, checking the sealer, spotting joint movement, and deciding whether the surface needs reseal work, crack repair, or a concrete contractor who can correct drainage. A maintenance visit usually takes 1 to 3 hours for a standard patio size, though drying time can push the project to a full day or longer.
For a broader maintenance overview, see our concrete patio care guide and how to reseal stamped concrete. For sealer basics, this ASTM standard for penetrating water repellents is a useful reference point.
How do I maintain a stamped concrete patio?
Keep grit off it. Clean stains fast. Protect the sealer. Check for movement before small issues turn expensive. That is the whole rhythm. The checklist below is the sequence I would use on a patio that already has a sound base and intact decorative finish.
- Sweep or blow off loose debris. Use a soft-bristle broom or leaf blower once a week in leaf season, and before any wet cleaning. Verify that sand, seed pods, and grit are gone from joints and low spots. If the same line keeps filling with abrasive debris, something is off — usually drainage, sometimes a settled patch.
- Rinse the surface with a garden hose. Use a normal hose nozzle, not a high-pressure tip, and rinse from the house side toward the yard edge so water carries dirt away from the slab. Verify that the water sheets off instead of ponding for more than 10 to 15 minutes after the rinse. Standing water in one area suggests settlement, a clogged drain edge, or a dip in the slab, and a concrete contractor may need to evaluate it.
- Wash with a pH-neutral cleaner. Mix according to the label, often around 1 to 2 ounces per gallon for household concrete cleaners, then scrub with a nylon brush. Verify that the cleaner lifts soil without dulling the sealer. If the finish turns cloudy or tacky, the product may be too strong for the sealer type, and you should stop using it on the full patio.
- Spot-clean spills within 24 hours. Blot oil, grease, rust, fertilizer, or tannin stains as soon as you can, then use the right spot treatment for that stain type. Verify that the stain edge softens rather than spreading. If a stain keeps darkening after cleaning, it may have penetrated the sealer and needs professional stain removal or resealing; consult a concrete professional for persistent stains.
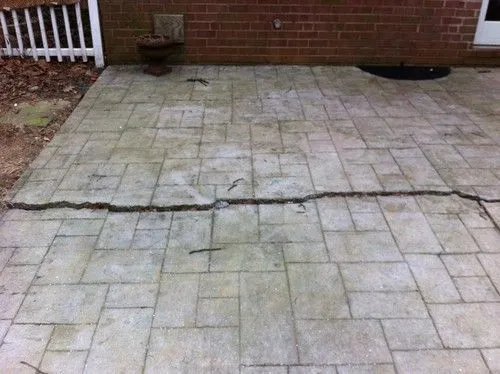
- Inspect joints and cracks. Look at control joints and any hairline cracks every season. Control joints are the saw-cut or tooled lines that tell the slab where to crack in a controlled way. Verify that joints are open enough to do their job and not packed full of dirt or weeds. A crack wider than about 1/8 inch, or one that has vertical offset, signals movement that maintenance alone will not solve.
- Check the sealer with a simple water test. Sprinkle a tablespoon of water in 3 or 4 spots. If the water beads for several minutes, the sealer is still doing work. If it darkens the concrete within about 30 to 60 seconds, the surface is likely open and ready for resealing. A patchy test result means the sealer is wearing unevenly.
- Remove mildew and algae carefully. In damp or shaded areas, use a concrete-safe cleaner that targets organic growth, then scrub with a nylon brush and rinse thoroughly. Verify the growth does not return in the same spots within a few weeks. If it does, the patio may be holding moisture from poor slope, nearby sprinklers, or constant shade.
- Keep furniture feet, planters, and grills from trapping moisture. Use plastic or rubber pads under heavy items and move pots at least a few inches every month or two. Verify that no dark rings are forming under planters or under grill legs. If you see white crusty residue, you may be dealing with efflorescence, which is mineral salt migrating through the concrete.
These concrete maintenance terms matter because the wrong fix simply creates a new mess. Efflorescence is the powdery white deposit that can appear when moisture carries dissolved salts to the surface. Sealer failure often looks like dulling, whitening, or blotching, especially after a hot summer or harsh cleaning. A maintenance pass should preserve the stamped texture, not polish it smooth or strip it bare, and the Concrete Network has helpful background on decorative concrete care.
What should I check before I clean or reseal?
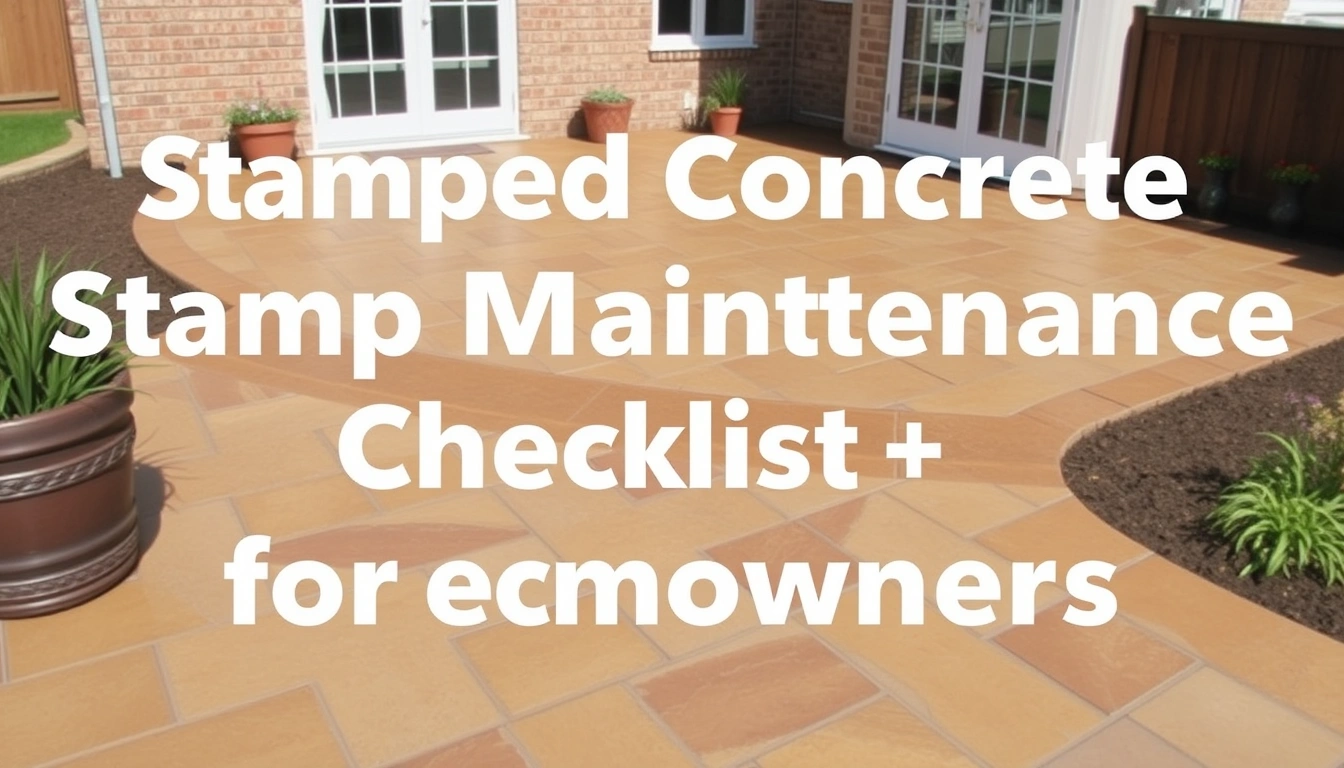
Check moisture, surface condition, and drainage before you clean heavily or reseal; those three things decide whether the finish will hold. I would treat this as a 15-minute inspection before any larger job, and if the slab already shows movement or chronic wetness, consult a concrete contractor before you start.
Start with the weather. You want a dry window of at least 24 hours before cleaning and a longer dry window after resealing, because many sealers need 24 to 72 hours before light foot traffic and longer before furniture goes back. If the forecast brings rain, high humidity, or temperatures outside the product label’s range, wait.
Then look at the slab slope. Patio concrete should visibly move water away from the house, not toward it. If water consistently stands near a wall, door threshold, or expansion joint, cleaning will not cure it. Poor slope can chew through sealer life and invite repeat mildew, so a concrete contractor may need to assess the grade.
Next, inspect the finish under daylight. Stamped concrete often uses a color hardener, release agent, and sealer system. Color hardener adds surface pigment and durability; the release agent keeps the stamp mats from sticking during installation. If the color has faded unevenly or the surface has bald-looking spots, that can be sealer wear, not a defect in the stamping itself.
I also look for texture loss. If the high spots feel slick or the pattern edges are soft, someone may have pressure washed too aggressively in the past. A common mistake is treating stamped concrete like a driveway and using a zero-degree tip or very close nozzle distance, and that can strip sealer and erode the cream layer on top. Ugly, fast.
If you are hiring someone, ask what sealer type is on the patio now: acrylic, polyurethane, epoxy, or penetrating sealer. The wrong topcoat can haze or peel. Ask what cleaning chemistry they plan to use and whether they intend to test a small section first. A contractor who cannot explain the difference between resealing and stripping is not the one I would choose.
For pricing, homeowners usually pay less for routine cleaning and more for prep-heavy resealing or repairs. Cost depends on square footage, stain removal, crack work, access, and whether the existing sealer has to be stripped. If a bid is unusually low, I would check whether it includes prep, because prep is where a lasting result is made.
See also our stamped concrete repair basics and patio drainage troubleshooting. The EPA’s guidance on stormwater and drainage is a useful external reference when runoff keeps returning to the same spots.
What mistakes damage stamped concrete the fastest?
The quickest way to shorten the life of stamped concrete is to clean too aggressively, reseal too early, or ignore drainage. Those mistakes show up as dulling, peeling, white haze, and patchy color, often within a single season.
-
Using a pressure washer too close to the surface. A fan tip held too near can strip sealer and lighten the color hardener. The better alternative is low-pressure rinsing plus a nylon brush. If a contractor plans to clean stamped concrete like a raw driveway, that is a bad sign.
-
Applying new sealer over dirt or old failed sealer. This traps contamination and can cause clouding or peeling. The better alternative is full cleaning and, if needed, a compatible stripper before resealing. If the old finish is already flaking, a quick topcoat is usually the wrong repair.
-
Ignoring drainage and sprinklers. Repeated wetting at the same edge leads to mildew, white deposits, and faster sealer wear. The better alternative is to adjust sprinkler heads, trim back overwatering, or correct grade issues if water runs toward the slab.
-
Using the wrong de-icer or harsh chemical. Rock salt, ammonium-based cleaners, and strong acids can damage the finish or leave stains. The better alternative is a concrete-safe cleaner and, in freeze-prone regions, a de-icer approved for decorative concrete.
-
Dragging metal furniture or planters. This scratches the sealer and can gouge the pattern. The better alternative is pads under feet and a lift-and-set move.
-
Waiting until cracks widen. A hairline crack is easier to monitor or fill than a crack with vertical offset. The better alternative is to inspect twice a year and address movement early.
These are not cosmetic complaints. Once the surface is stripped in places, the patio often starts to look blotchy, and spot repairs are harder to hide on stamped pattern than on plain gray concrete.
When should I stop and call a concrete contractor?
You should stop DIY maintenance and call a concrete contractor when the patio has movement, recurring moisture problems, or finish failure that cleaning cannot fix. These are the situations where a maintenance checklist turns into a repair decision, and the stamped concrete patio maintenance checklist homeowners rely on is no longer enough.
Cracks wider than about 1/8 inch: This usually means the slab is moving, not just shrinking — get an inspection before filling anything.
Any vertical offset at a crack or joint: One side has lifted or settled relative to the other — that is a structural or subgrade issue, not a cleaning issue.
Ponding water that lasts longer than 15 to 20 minutes after rain or rinsing: The patio may have a slope or settlement problem — a contractor can assess whether leveling, mudjacking, or replacement is needed.
Sealer peeling in sheets or whitening across large areas: The finish system has failed, often from moisture, incompatible products, or trapped contamination — stripping and resealing may be needed, and sometimes the substrate must dry longer first.
Persistent mildew or algae returning in the same spot within weeks: Moisture is being fed from somewhere — check irrigation and shade, then bring in help if the source is not obvious.
Loose, crumbling edges or spalling: The surface paste is breaking down — that can worsen quickly through freeze-thaw cycles, so it is not a cleaning problem anymore.
In a local service market, a contractor’s visit often makes sense if the patio needs more than routine upkeep. Ask for a written scope that separates cleaning, crack repair, resealing, and drainage correction, because those are different jobs with different prices and time frames. A simple maintenance-only visit may be measured in hours; repair work can take a day or more, plus drying and cure time. For price benchmarking, the Portland Cement Association and the Concrete Network both publish homeowner-facing guidance that can help you compare scopes.
Edge cases: when the usual checklist needs to change
Adjust the checklist for climate, sun exposure, and the age of the sealer system. A patio in a freeze-thaw climate needs more attention to cracks and joint movement than one in a warm, dry area. In a hot, high-UV climate, sealer wear and color fade happen faster, so checking sheen every 6 months makes more sense than waiting a full year.
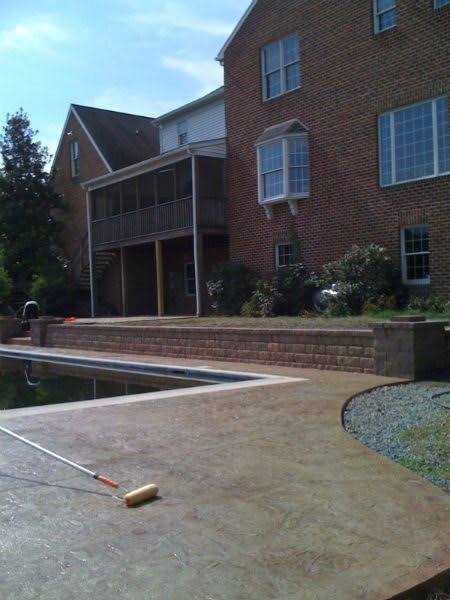
If your patio has integral color rather than color hardener, the surface may show wear more evenly, but it can still haze if the sealer fails. If it has a very heavy stamp texture, dirt collects in the recesses, so soft brushing matters more than rinsing alone. If the patio surrounds a pool, use cleaners that are safe near pool chemistry and rinse carefully so runoff does not affect the water.
Older patios sometimes have solvent-based acrylic sealer layers that were refreshed more than once. Those are harder to predict. If a small hidden test area turns sticky, cloudy, or milky after cleaning or a new coat, stop and verify compatibility before covering the whole slab. That is one place where a contractor who knows decorative concrete can save you from a costly mismatch.
If your region uses freeze-thaw de-icers, avoid anything not labeled for decorative concrete. If the patio is under trees, organic acids from leaves and tannins stain faster, so a weekly sweep during fall is more useful than an annual deep clean. The right maintenance interval is the one that matches the site, not the one in a generic brochure.
How long does maintenance take, and what should a good result look like?
A good maintenance pass on a normal patio usually takes 30 minutes for inspection and sweeping, 30 to 90 minutes for washing and spot treatment, and additional drying time before any sealer work. If resealing is part of the job, add the product’s cure window, which is often 24 to 72 hours before light use and longer before dragging furniture back.
A good result looks clean but not stripped. The pattern should still read clearly, the color should look even from a normal standing distance, and water should bead where the sealer is still sound. Joints should be clear, not packed with debris. The surface should not feel sticky, chalky, or slick beyond what the sealer normally produces.
If you are comparing bids, ask what is included in the time estimate.