Last updated: September 10, 2026
Key Takeaways
- Stamped concrete still needs cleaning and resealing, usually every 2 to 5 years depending on sun exposure, traffic, and the sealer used.
- A contrasting border, often 8 to 12 inches wide, frames the slab and hides cut edges.
- Four inches of aggregate is not the same as 4 inches placed loosely.
- A patio usually sits on a compacted base, often 4 to 6 inches of crushed stone or well-graded aggregate, with the concrete slab on top.
A stamped patio that looks great on day one can still fail in two winters. Harsh? Maybe. But that is usually where the trouble starts. Stamped concrete patio materials and design come down to one practical question: how do you get a patio that looks right, drains correctly, and survives your climate without paying for a paver system or a decorative surface that falls apart too soon? This stamped concrete patio materials design — complete guide is written for a homeowner trying to decide whether stamped concrete is the right call, what the finished job ought to include, and what to ask a contractor before any slab gets poured. Already set on concrete and choosing between patterns, colors, finishes, and pricing? Then this stamped concrete patio materials design — complete guide is the decision tool you need.
What stamped concrete patio work actually includes
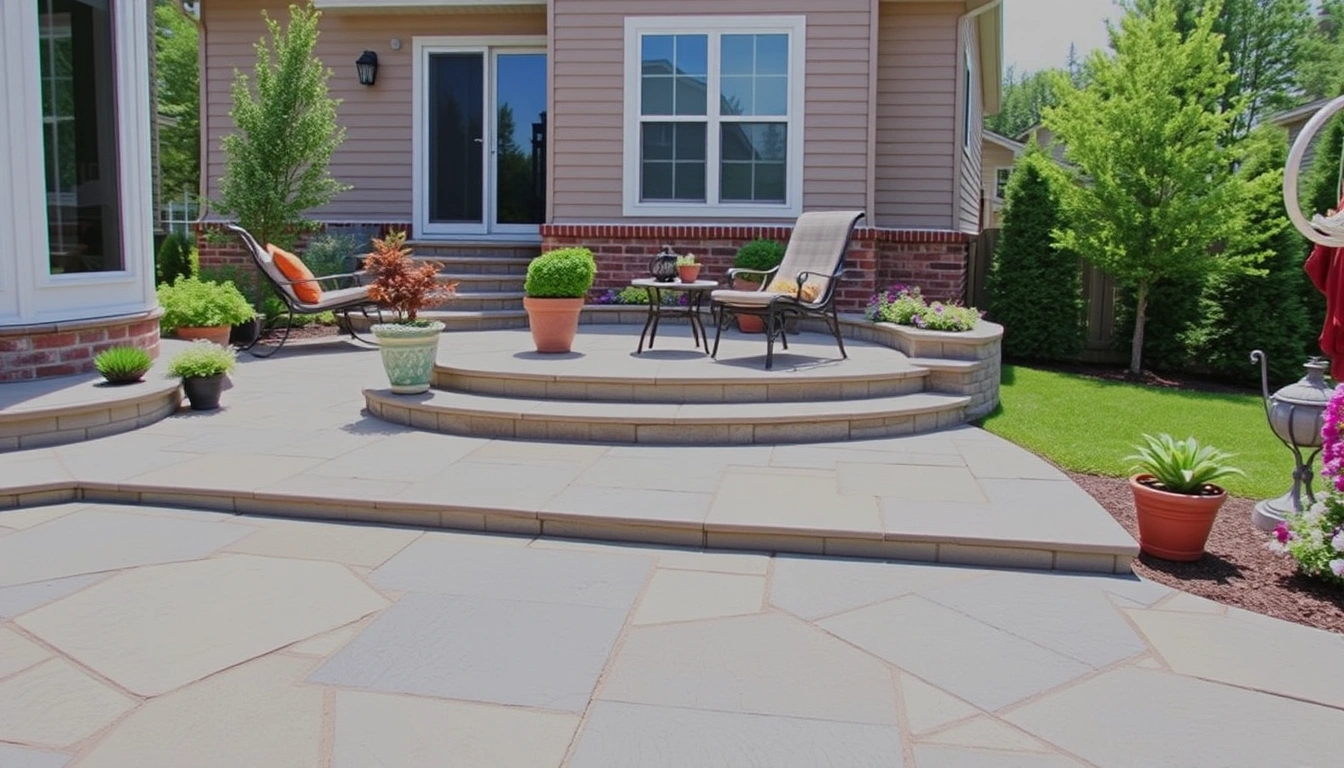
Stamped concrete patio work covers the slab, the decorative surface system, the control joints, and the sealing schedule — not just a pattern pressed into wet concrete. A lot of advice treats stamping like a paint job: pick a design, pour the slab, hope for the best. That shortcut is a trap. Before you rely on that kind of guidance, consult a qualified concrete contractor and check a technical reference such as Portland Cement Association guidance on decorative concrete and jointing at https://www.cement.org/learn/concrete-technology/concrete-construction/decorative-concrete. Skip that part, and you can end up with cracking, puddles, slippery sealer, and a patio that looks uneven after the first season.
The basic assembly is pretty simple. Usually, the patio sits on a compacted base, often 4 to 6 inches of crushed stone or well-graded aggregate, with the concrete slab on top. For normal pedestrian use, the slab thickness is commonly 4 inches, though local soil conditions and loads can change that. Color gives the surface its look. It may be integrally mixed into the concrete, broadcast as a dry shake hardener, stained after cure, or paired with release agents that keep the stamping mats from sticking, but the right system depends on the mix and the site, so consult a professional before specifying it. The texture comes from polyurethane or rubber mats pressed into the surface at the right plastic stage, usually when the concrete is firm enough to hold detail but still soft enough to stamp cleanly.
And the “design” is not just visual. It also includes drainage slope, joint layout, edge treatment, and furniture placement, though a contractor should confirm the details for your specific patio. A patio that slopes away from the house at about 1/8 to 1/4 inch per foot usually performs better than a flat pad. Wrong slope? No pattern saves it. Poorly planned joints do their own damage, too; you’ll see random cracking through the middle of the stamped field, often right across the most visible area.
Who this is for: homeowners replacing a cracked slab, building a new patio, or trying to choose between plain broom-finish concrete, stamped concrete, and pavers. Who this is not for: someone who wants a surface with no maintenance at all. Stamped concrete still needs cleaning and resealing, usually every 2 to 5 years depending on sun exposure, traffic, and the sealer used. It is less suitable where de-icing salts, poor drainage, or chronic freeze-thaw exposure are left unaddressed.
Which stamped concrete design fits your patio?
The best stamped concrete patio materials design is the one that matches the house, the site, and the way you actually use the patio, not the busiest option in a brochure. Honestly, that simple filter saves a lot of regret. I’d start with scale, then maintenance. Large, open patios can carry broader slate, ashlar, or seamless stone textures. Small patios often look cleaner with a simpler border and a pattern that does not make the space feel smaller.
Three choices matter most:
- Pattern scale. Bigger patterns read more like real stone from a few feet away. Tiny patterns can look busy and fake on large patios.
- Border treatment. A contrasting border, often 8 to 12 inches wide, frames the slab and hides cut edges, though a designer or contractor should confirm the width and proportion for your patio. Without it, the patio can feel unfinished.
- Color strategy. One base color plus a lighter release or accent wash is usually enough. Two or three competing colors can flatten the surface.
Overdesign is a common failure mode. People want cobblestone, flagstone, compass medallions, and multiple border bands in one slab. The result usually looks noisy and ages badly. If the patio is attached to a simple ranch, I would usually keep the field pattern restrained and use one border. If the house has heavier stone or brick details, a more textured stamp can fit. Different houses want different clothes.
The setting matters too. In full sun, darker colors can soak up more heat and may be uncomfortable under bare feet. Around a pool, high-gloss sealers and overly smooth textures can become slippery. Near a screened porch or an outdoor kitchen, I’d pay more attention to furniture legs, grill traffic, and grease cleanup than to a complicated pattern.
For local pricing, design complexity matters. A plain stamped field typically costs less than a patio with two borders, color hardeners, and saw-cut accents, because each added element adds labor. If a contractor prices a highly detailed pattern suspiciously close to a basic stamp job, I would ask what is missing from the scope.
How do the materials affect the final look and durability?
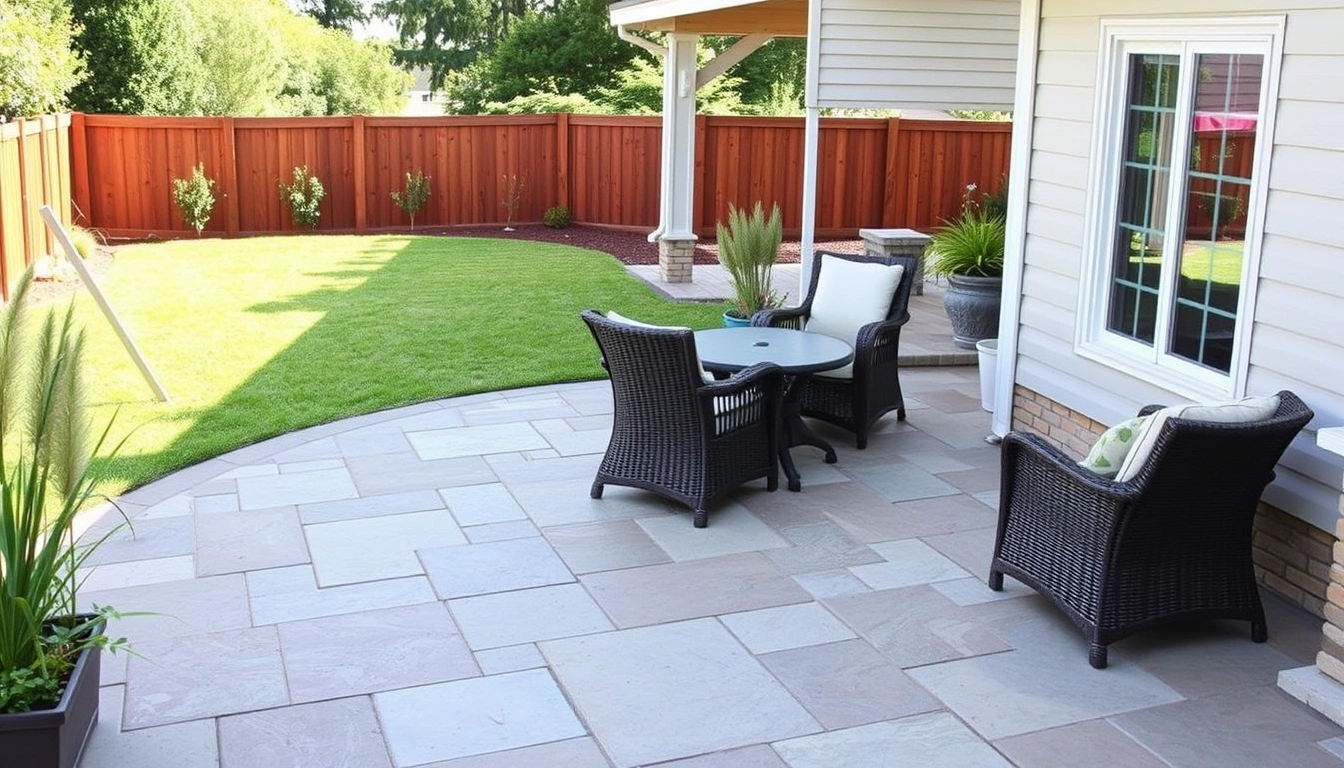
The materials affect both how the patio looks on day one and how it ages after heat, water, and cleaning cycles have done their work. Concrete mix, color method, release agent, stamping mat, sealer, and base preparation all shape the outcome. Leave one of those pieces cheap or mismatched, and the patio usually gives itself away. That is why stamped concrete patio materials design should be treated as a system, not a menu of unrelated options.
Concrete mix matters because stamped work needs enough working time to place, color, and stamp the surface without rushing. Contractors often specify a mix suited to local weather and placement conditions, sometimes with a mid-range slump that still holds detail. Too wet and the pattern blurs; too stiff and the mats do not imprint well. Fiber reinforcement can help control plastic shrinkage cracking, but it is not a substitute for joints or a good subgrade. Rebar or wire mesh may be used in some jobs, though reinforcement does not prevent cracks; it helps hold cracks together once they occur.
Color choices are not just cosmetic. Integral color goes through the slab, so wear on the surface does not expose gray concrete as fast. Dry-shake hardeners can provide richer surface color and added abrasion resistance, but they require skill to place evenly. Acid stains, water-based stains, and tinted sealers each behave differently, especially on older slabs or repairs. A simple earth-tone palette usually ages better than bright reds or intense blues, which can look theatrical outdoors.
The release agent is a small detail with outsized impact. It keeps the stamping mats from bonding to the concrete and can add antique highlights in the recesses. Powder release and liquid release are both used, but they must be matched to the system. Too much release can stain clothes and complicate sealing; too little can tear the surface texture.
The sealer deserves serious attention. Penetrating sealers, acrylic sealers, and higher-solids topical sealers each change sheen, color depth, and traction. A glossy acrylic sealer can make color pop, but it can also become slippery and may show tire marks or hot-tub foot traffic more easily. A matte finish hides some flaws and usually looks calmer.
Ask about the contractor’s method for concrete placement and finishing, not just the pattern name. If they cannot explain how they will control drainage slope, joint spacing, and timing for stamping, I’d keep looking.
How do you plan a stamped concrete patio step by step?
Start with the site. Then pick the structure, then the surface, and only after that settle on the pattern. Reversing that order is how people end up with a pretty slab that fails as a patio. Here is the sequence I would expect a competent contractor to follow.
- Measure the use area and the drainage path. Mark the patio footprint with at least 2 feet of clearance beyond furniture and grill zones, and check how water leaves the area. Verify a consistent slope away from the house, usually around 1/8 to 1/4 inch per foot, and make sure downspouts are not dumping onto the slab. A problem is any low spot where water would pond for more than a few minutes after rain.
- Inspect the soil and subgrade. Remove soft topsoil, organics, and debris, then compact the base in lifts. A typical patio uses 4 to 6 inches of compacted aggregate, more if the soil is weak or expansive. Verify the base feels firm underfoot and does not rut under foot pressure. A problem is a spongy area, which often leads to settlement cracks later.
- Choose slab thickness and edge details. For a normal patio, 4 inches is common, with thickened edges or footings used where needed by soil or load conditions. Verify the contractor’s thickness plan before the pour, especially near steps, planters, or future hot tub locations. A problem is a thin edge that breaks when furniture, freeze-thaw, or minor settlement loads it.
- Lay out control joints and borders before any color is chosen. Control joints are planned weakened lines that guide shrinkage cracks; in plain terms, they tell the slab where to crack. Verify joint spacing is sensible for the patio shape, often arranged to create panels that are as close to square as the layout allows. A problem is a long, narrow panel with no joint relief, which invites random cracking through the middle.
- Select the color system. Decide whether the slab will use integral color, dry-shake hardener, stain, or a combination. Verify the sample matches the house in daylight, not in a truck bed or under shop lights. A problem is choosing a color that clashes with brick, siding, or nearby stone once installed outdoors.
- Choose the stamp pattern and release method. Pick a texture that fits the scale of the patio and confirm the mat size and border plan. Verify the contractor can explain the sequence for stamping, because large patios require staged placement and consistent timing. A problem is a pattern that stops and starts visibly at the middle of the slab because the crew ran out of time.
- Confirm sealer type and traction strategy. Ask whether the sealer will be matte, satin, or gloss, and whether a traction additive will be used if the patio will get wet. Verify the final surface will not become slick where hose water, shade, or pool spray are common. A problem is a glossy surface with no grip additive in a wet climate.
- Review cure, seal, and maintenance timing. Concrete needs time before sealing, and resealing is a normal maintenance step. Verify the crew’s schedule for initial cure and the product’s maintenance interval, which commonly falls somewhere in the 2-to-5-year range depending on use and sun. A problem is sealing too early, which can trap moisture and cloud the finish.
Because the stamped concrete patio materials design also has to work in use, a useful plan includes furniture layout before the pour. A 12-by-12-foot patio may sound large until you place a dining table and four chairs on it. Before final approval, I’d tape the footprint on the ground and walk the space. If the path from the back door to the seating area feels tight with tape on the lawn, it will feel tighter in concrete.
How much does a stamped concrete patio cost, and what changes the price?
A stamped concrete patio usually costs more than plain broom-finish concrete because the labor, color, and sealing steps take more time and skill. Exact prices vary too much by region for me to give a number you should trust blindly, but the price is driven by the patio size, the number of colors, pattern complexity, edge work, site access, and the amount of prep the base needs. A small, simple patio with easy access costs less per square foot than a large patio with borders, curves, and difficult hauling.
The biggest price drivers are easy to identify:
- Square footage. More area means more concrete, more labor, and more sealing.
- Site access. A backyard reached through a narrow side yard or over steps usually costs more because material handling takes longer.
- Subgrade correction. If the soil must be excavated deeper, compacted, or rebuilt, the job expands quickly.
- Pattern and finish complexity. Multiple colors, custom borders, and detailed stamp sets add labor hours.
- Drainage fixes. Regrading, adding drains, or adjusting downspouts may be necessary before the patio goes in.
I would be wary of two pricing extremes. The first is the unusually cheap quote that barely covers excavation and the slab. That often means shortcuts in base preparation, fewer joints, or a thin sealer. The second is the premium quote that bundles ornate pattern work you do not need. A patio should match the house, not a showroom.
Ask for a written scope that names the slab thickness, base depth, control joint layout, color method, sealer type, and whether clean-up or sealing is included after curing. If those details are missing, comparing bids is almost impossible. A contractor who can only give you a total number is not giving you enough information to judge value.
The right question is not “What is the cheapest stamped patio?” It is “What is included, and what will I still need to pay for later?” The second answer is usually the one that protects your budget.
When should you stop and choose something else?
You should choose something else when the site, climate, or maintenance tolerance makes stamped concrete the wrong tool for the job. I’m not saying stamped concrete is fragile. I am saying it is not a cure-all, and there are situations where plain concrete, pavers, or another surface is the better decision.
Drainage cannot be corrected without major regrading: water would sit on the patio or run toward the house — do not stamp it yet; fix the grading first, or use a different layout.
The subgrade is soft, expansive, or repeatedly settling: the patio will move and crack even if it looks perfect on day one — excavate and rebuild the base or redesign the site.
You want a surface that stays low-maintenance for many years: stamped concrete still needs cleaning and resealing — choose a simpler surface if you do not want that maintenance cycle.
The patio will be exposed to heavy winter de-icing or chronic freeze-thaw abuse: the finish can wear faster and the sealer can age poorly — discuss local mix design, air entrainment, and sealing strategy with the contractor, or consider another surface.
You need frequent access for heavy equipment or wheeled loads: decorative concrete can be damaged by repeated concentrated loads — use a slab designed for the load or another paving system.
You want a highly modular or repairable surface: stamped concrete repairs are harder to blend invisibly than individual pavers — choose pavers if easy section-by-section replacement matters.
You are trying to hide serious foundation or wall drainage problems: the patio is not the fix — solve the building-water issue first.
The trade-off is simple. Stamped concrete gives a unified, custom look, but that finish is less forgiving when the site is wrong. If the underlying conditions are poor, no pattern can cover them up for long.
The mistakes people actually make, and what they cost
The most expensive stamped concrete mistakes are usually boring ones: wrong slope, wrong sealer, wrong timing, and wrong expectations. I see the same errors repeated because the decorative surface gets all the attention while the structure gets ignored. So the stamped concrete patio materials design conversation has to include planning, not just appearance.
-
Choosing the pattern before checking drainage. The consequence is standing water or runoff toward the house. The correct alternative is to set grade first and design the slab around the water path.
-
Assuming cracks can be prevented entirely. Concrete shrinks as it cures, so some cracking risk always exists. The consequence of the myth is disappointment and arguments after normal hairline cracks appear. The correct alternative is proper joint layout and honest expectations.
-
Using too much gloss. The consequence is glare, slipperiness, and a surface that shows every footprint after rain. The correct alternative is satin or matte sealer, especially in shaded or wet areas.
-
Skipping edge and joint planning because the pattern looks continuous. The consequence is random cracking that interrupts the design. The correct alternative is to accept that control joints are part of the design, then place them where they read less obviously.
-
Picking a tiny, busy pattern for a large patio. The consequence is visual clutter and a look that ages fast. The correct alternative is a pattern with enough scale to match the patio size and the architecture.
-
Ignoring local climate and sun exposure. The consequence is premature fading, hot surfaces, or sealer wear. The correct alternative is to match the color depth and sealer type to the site, not to a catalog image.
The hidden cost in many jobs is the first reseal. If the patio was finished with a glossy acrylic system, resealing is not optional maintenance; it is part of keeping the color and protection intact. If a quote ignores that reality, the price you think you are paying is not the full price.
What should you ask before you hire a contractor?
You should ask about the slab, the base, the joints, the sealer, and the repair plan before you ask about patterns. A decorative sample is easy to show. The quality of the underlying work is what separates a good patio from a future replacement.
Here is the short list I would use:
- What thickness will the slab be, and will any edges be thickened? You want a direct answer, not “standard.”
- How deep is the base, and how will it be compacted? Four inches of aggregate is not the same as 4 inches placed loosely.
- Where will the control joints go? Ask to see the joint map before the pour.