Last updated: September 10, 2026
Key Takeaways
- A common target is about 1/4 inch per foot of slope, which equals 2% grade, though local practice and site conditions can vary.
- A straightforward 200-square-foot patio might be one day of forming and one day of pour-and-stamp work, but a tight-access site can stretch that into multiple days.
- A common practical minimum before light foot traffic is about 24 to 48 hours, but sealing and full use depend on the product and weather.
- Stamped concrete patio installation planning is for someone who wants a patio built once, not patched twice.
Stamped concrete patio installation planning starts with the slab, not the stamp. Get the base wrong, and the pretty part is just lipstick on a bad pour. If you want a stamped concrete patio installation planning project that looks sharp, drains correctly, and does not crack in the first season, you need to plan for base prep, thickness, reinforcement, color, stamping timing, and curing from the start. This guide is for a homeowner or property manager deciding whether to hire a contractor, what to ask for, and what a good job should include.
Who this is for, and what I assume you already know
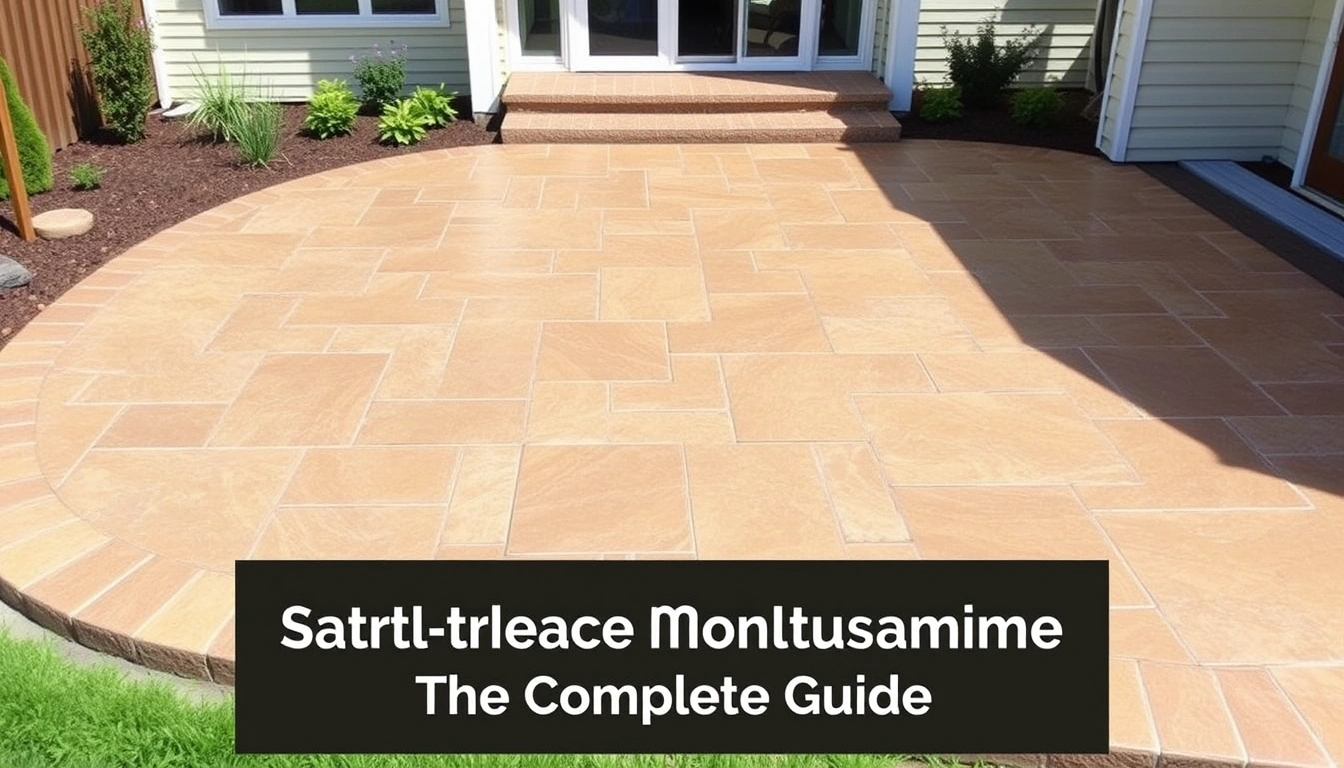
Stamped concrete patio installation planning is for someone who wants a patio built once, not patched twice. You probably already know the basics: concrete hardens into a slab, stamped patterns mimic stone or brick, and a patio is usually a flat exterior surface attached to a house, yard, or pool area. I am not assuming you know the terms contractors use, so I will define them as I go.
I am also assuming you are planning a typical residential stamped concrete patio installation planning project of roughly 150 to 400 square feet, not a commercial plaza or a structural deck replacement. For a normal patio, the conversation starts with slab thickness, base material, drainage, and finish system. A 4-inch slab is the usual residential baseline for a patio; 5 inches or more may make sense where vehicles cross it, soil moves a lot, or the span sits near a driveway edge.
This is not the right approach for a surface that must stay perfectly flexible, such as a platform over unstable fill or a structure that needs to be removed later. It is also a poor fit if your site has active settling, major root intrusion, or standing water that cannot be corrected with grading and drainage. In those cases, the slab can become a symptom of a bigger site problem. Wrong tool, wrong job.
One thing a generic article gets wrong is pretending the stamp pattern is the main decision. It is not. A stamped concrete patio installation planning project fails more often because of weak subgrade, poor slope, bad control joints, or rushed timing than because the pattern looked wrong on paper. The finish can hide a lot, but it cannot hide a bad base.
For anyone comparing bids, the important questions are boring ones: what thickness, what base, what reinforcement, what slope, what curing method, and what sealer. If a contractor cannot answer those in plain language, I would treat that as a warning sign, and I would also consult a local concrete professional or review guidance from the American Concrete Institute and Portland Cement Association before signing.
What should be decided before the first form board goes in?
What should be decided before the first form board goes in is the slab layout, drainage path, thickness, and finish system. Those four decisions decide whether the patio sheds water, resists cracking, and matches the house. I would treat everything else as secondary, but I would still confirm the plan with a qualified professional and reference standard concrete guidance from the Portland Cement Association or local building department.
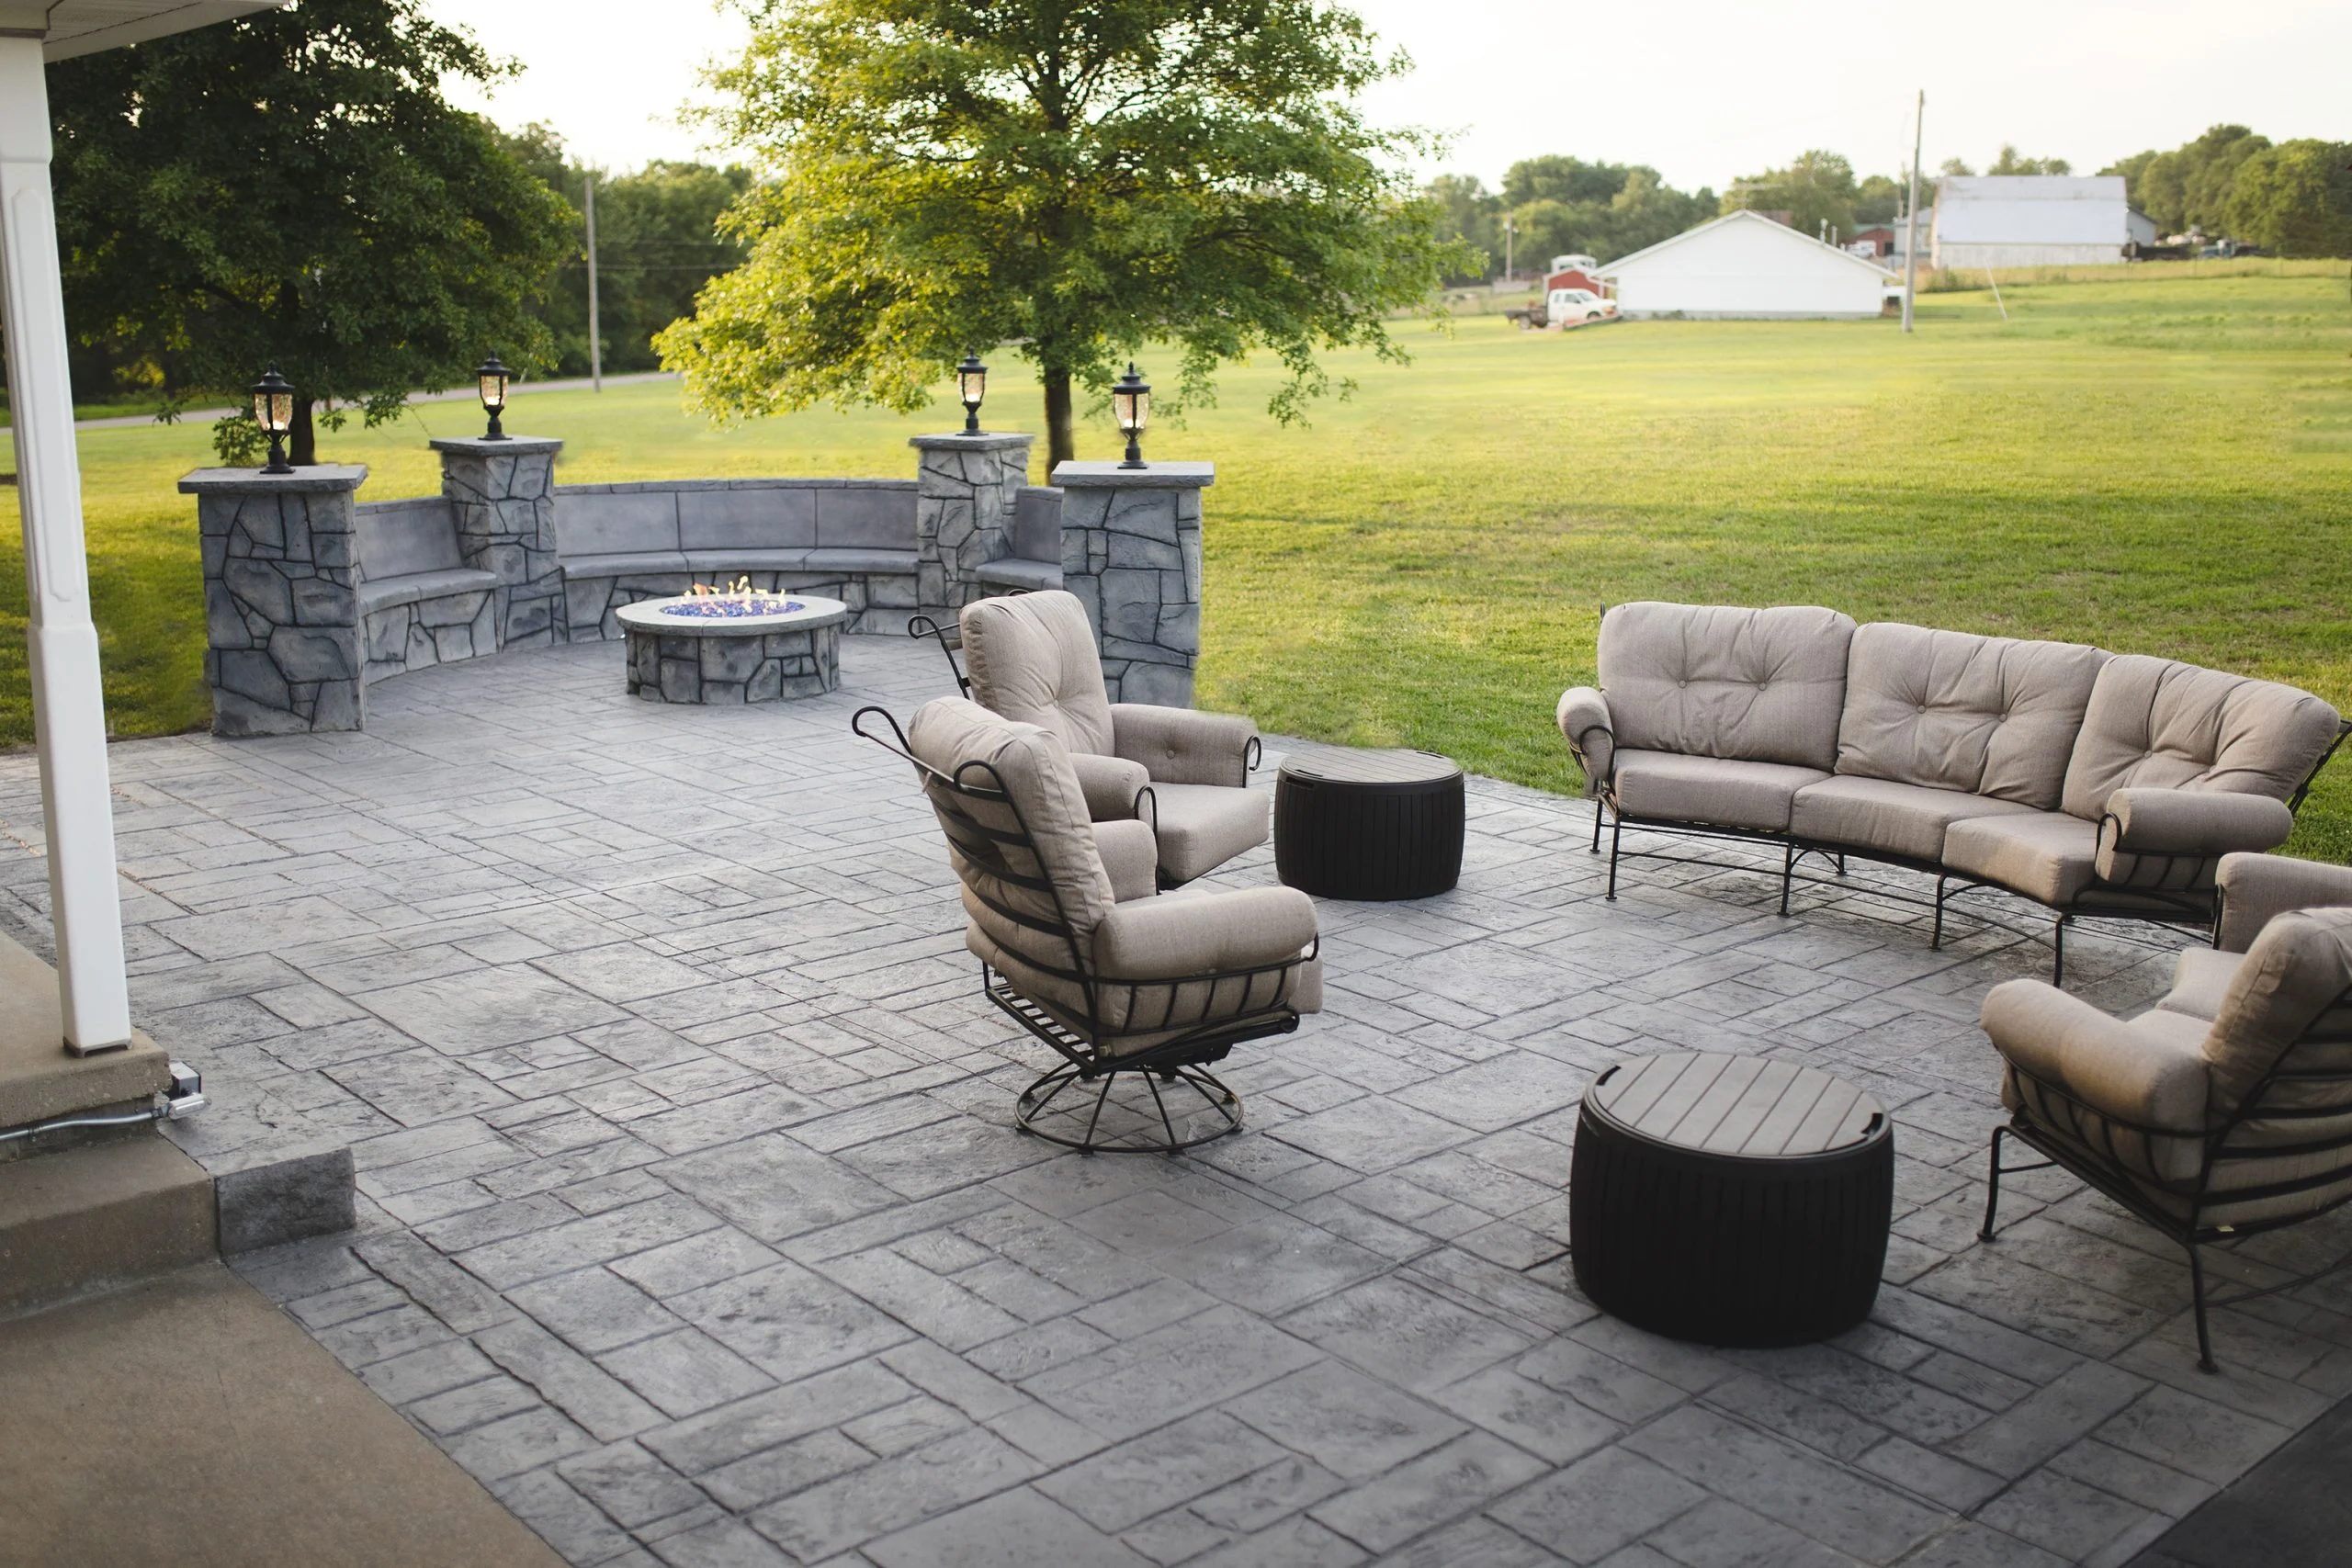
Start with the shape and use. A dining patio needs a different layout than a lounge area with a fire pit or an outdoor kitchen. If you expect furniture with wide legs, leave enough clear flat area that the pattern does not fight the placement. And if the patio will connect to a door, make sure the finished surface will sit low enough below the threshold to avoid water intrusion. A common practical target is to keep the slab surface several inches below the bottom of the door assembly, but exact clearance depends on local building practice and the door detail.
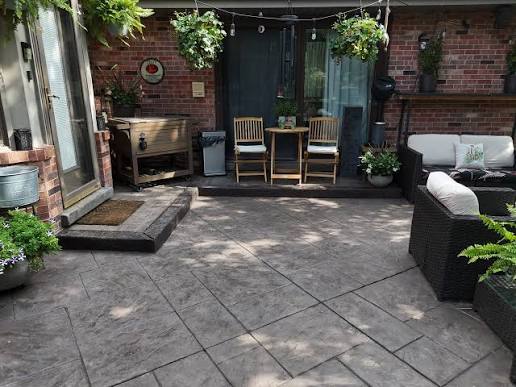
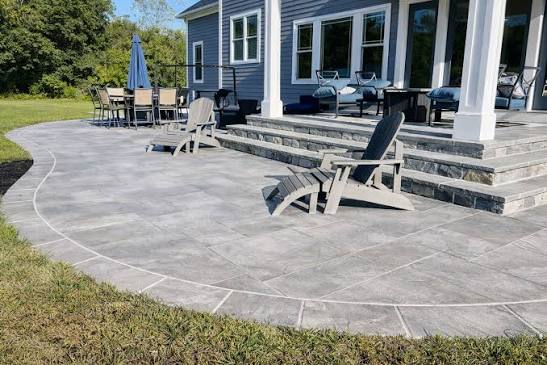
Then choose the stamp style with the site in mind. Large ashlar slate, cobblestone, wood plank, and seamless texture skins all behave differently at edges and on curves. A more complex pattern means more layout work and a higher chance that the joints and borders need careful planning. Borders matter because they frame the slab and hide transitions, but they also add labor.
Color is another early decision. Integral color is mixed into the concrete itself; dry-shake color hardener is broadcast onto the surface before stamping. A release agent is then added so the stamps do not stick, and it can also contribute to the final color effect. If you want a darker, more variegated look, ask which parts of the color system are included. If you want less visible wear, avoid ultra-dark or highly mottled colors near high-traffic edges unless the contractor can explain how they will keep the finish consistent.
Access is the big thing people miss. A truck, a pump, wheelbarrows, washout space, and finishing crew all need room. If the patio sits behind a fence or down a narrow side yard, logistics can add time and cost. A straightforward 200-square-foot patio might be one day of forming and one day of pour-and-stamp work, but a tight-access site can stretch that into multiple days, especially when the crew has to move material by hand or protect finished surfaces.
How do you plan a stamped concrete patio installation step by step?
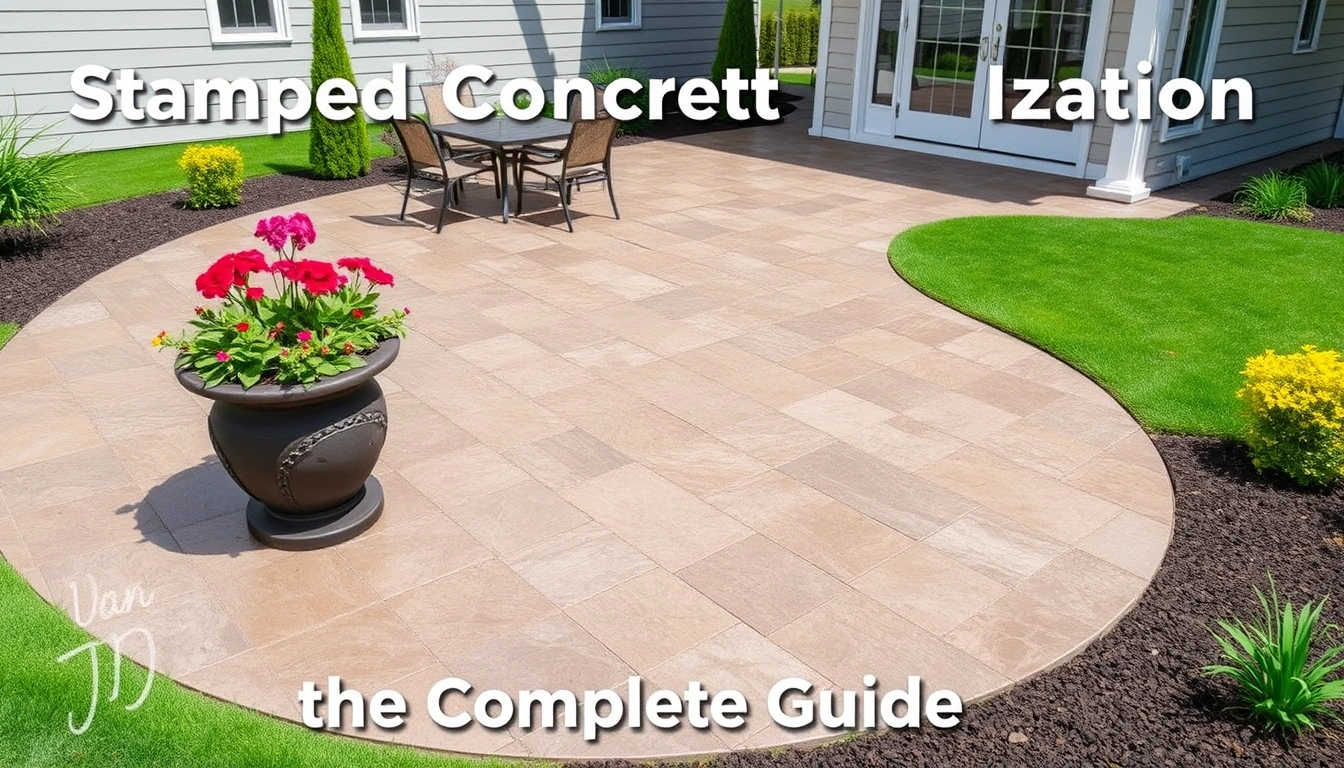
How do you plan a stamped concrete patio installation step by step? Start with the site and end with the sealer, because a stamped finish is only as good as the slab beneath it. I would use this sequence when I am comparing bids or reviewing a contractor’s plan.
- Measure the patio area and lock the layout. Mark the exact footprint in feet and inches, including curves, steps, and any border band. Verify that the layout clears doors, downspouts, and utilities by at least several inches. A problem is a layout that forces awkward cuts, places a seam through a doorway, or ignores a buried utility line.
- Confirm the finished slope and elevations. Set the high point near the house and the low point away from it, typically around 1/4 inch per foot of fall. Verify that water will run to a lawn, drain, or swale and not toward a foundation. A problem is a plan with flat spots, reverse slope, or a low corner that will pond after every rain.
- Specify the slab thickness and reinforcement. For a standard patio, ask for at least a 4-inch slab, with thicker edges or localized thickening where needed. Reinforcement may be fiber in the mix, welded wire mesh, or rebar depending on the design; the key is proper placement, not just the presence of steel on the invoice. Verify that reinforcement will be supported in the slab, not left lying on the base. A problem is a contractor who says mesh will “be enough” without explaining support and placement.
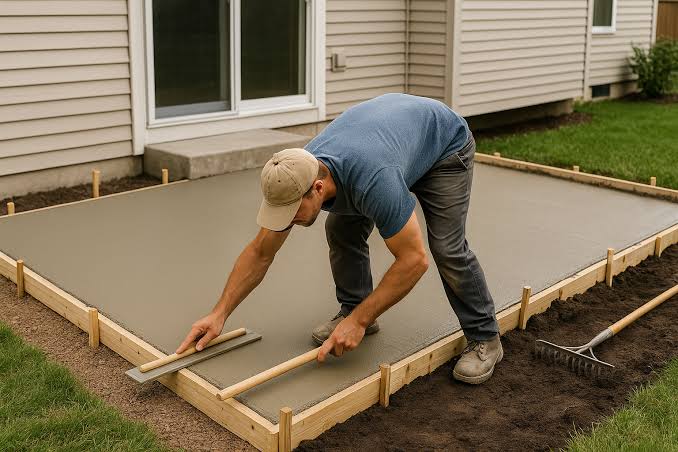
- Build and compact the base. The subgrade should be stripped of topsoil, roots, and soft spots, then compacted; many patios also use 4 to 6 inches of compacted gravel base, depending on soil and drainage. Verify that the base is even and firm underfoot and that the forms sit true before the pour. A problem is loose fill, mud, or a base that squishes when stepped on.
- Set forms, joints, and any embedded features. Forms define the edge; control joints are planned breaks that guide cracking in a cleaner line. Verify joint locations are part of the layout, not an afterthought, and that sleeves for gas, electrical, or drainage are in place before concrete arrives. A problem is a slab with no planned joint pattern or poorly placed penetrations that force random cracking.
- Choose the concrete mix and finish package. Ask for the mix design to suit exterior exposure, with the contractor naming the air content or mix class if your climate needs it. In freeze-thaw regions, air entrainment matters because it helps the concrete survive repeated freezing and thawing, according to industry guidance from the American Concrete Institute and the Portland Cement Association. Verify the mix is compatible with the stamp timing and color method. A problem is a mix that is too wet, which can weaken the surface and blur the pattern.
- Plan the stamping window. Stamping starts when the surface can take the imprint without sticking but still holds detail. That window may be short, especially in warm, windy weather. Verify the crew has enough labor and stamp mats ready so they can work in sequence without rushing the finish. A problem is a crew that underestimates set time and leaves half the slab with inconsistent texture or depth.
- Specify curing and sealing. Curing is the process of keeping concrete moist long enough to gain strength; a curing compound or wet curing method is usually used before or alongside sealing, depending on the system. Verify how long the slab will cure before sealing, washing, or heavy use. A common practical minimum before light foot traffic is about 24 to 48 hours, but sealing and full use depend on the product and weather. A problem is sealing too early, which can trap moisture and cloud the finish.
A good plan also names the “problem spots” before work starts: tight corners, steps, drains, door thresholds, and the line where the patio meets existing slab or pavers. Those spots are where bad work shows first. If a contractor cannot describe how they will handle edge shrinkage, color blending, or control joints, the plan is incomplete.
For homeowners comparing quotes, I would expect the written scope to mention at least the slab thickness, base depth, control joint strategy, stamp pattern, color method, sealer type, and cleanup. A vague line like “install stamped patio” is not enough to judge price or quality.
How much does stamped concrete patio installation usually cost?
How much stamped concrete patio installation usually costs depends on square footage, site access, base work, pattern complexity, and local labor rates. I am not going to pretend there is one honest number, because there isn’t. A simple patio costs less than a multi-color, border-framed design with curves, steps, and drainage work. In many local markets, stamped concrete is priced per square foot, and the finished cost can move a lot based on prep.
For planning purposes, I would budget by asking for a per-square-foot quote and then checking what is included. A low quote that leaves out excavation, thickened edges, reinforcement, or sealing can be misleading. A high quote may be justified if the site needs hauling, access equipment, or correction of bad drainage. The phrase I would listen for is “included in base price,” because that is where the real comparison happens.
The biggest cost drivers are:
- Excavation and base prep: removing sod, soil, or old slab and compacting the base.
- Thickness and reinforcement: more concrete and more labor increase cost.
- Pattern and color complexity: one color and one pattern are simpler than multi-tone borders.
- Access: a backyard behind a narrow gate costs more to serve than an open driveway.
- Edges and steps: custom forms, step faces, and vertical surfaces add labor.
- Sealing and maintenance plan: some bids include the first sealer coat, others do not.
If you need to compare bids, ask each contractor to break out demolition, excavation, base material, concrete placement, stamping, color, curing, and sealing. That is the only way to tell whether one quote is genuinely lower or just thinner. I would be cautious about the cheapest bid if it omits compaction or control joints; those are not luxury extras. They are part of making the slab last.
One practical rule: if the patio needs substantial drainage correction, the patio itself is no longer the only project. French drains, downspout extensions, grading, and retaining edges can all change the scope. That can move the budget far more than the decorative finish does.
When should you stop and change the plan?
When should you stop and change the plan? You should stop when the site conditions make a stamped slab a poor fit or when the scope is missing the things that keep the slab stable. This is the part of the project that saves money by preventing a bad pour.
Active water pooling on the planned patio area: It means the grade is wrong or the yard drains badly — fix drainage first, because stamping over a water trap gives you a stained, slippery slab.
Soft soil that pumps or sinks underfoot: It means the subgrade will not support a rigid slab — remove the weak material, rebuild the base, or change the design.
Door threshold too low for a proper patio slope: It means the slab may end up too close to the house or too flat — rework elevations before any forms are set.
Major tree roots inside the footprint: It means future movement is likely — redesign the patio around the root zone or expect cracking and heave.
Repeated freeze-thaw exposure with no proper mix plan: It means the finish could spall or scale — insist on an exterior-appropriate mix and air entrainment suited to the climate.
Plan depends on a very thin overlay rather than a new slab: It means the base problems will remain underneath — use the right repair method, not a decorative shortcut.
Contractor cannot explain joint placement or sealing: It means the workmanship plan is incomplete — pause and get a clearer scope before you sign.
Access requires impossible equipment movement or destroys the yard: It means the logistics may cost more than the patio itself — revise the layout or phase the work.
A stamped patio is the wrong tool when the soil is still moving, the drainage is unresolved, or the project needs frequent future changes. In those cases, I would rather see a simpler concrete finish, segmental pavers, or a redesigned outdoor space than a decorative slab built on a weak foundation, and I would consult a professional before committing.
What does a bad stamped concrete job look like?
What does a bad stamped concrete job look like? It usually shows up as uneven color, random cracking, flat spots that hold water, shallow stamp detail, and edges that chip early. Those are not cosmetic quirks; they are signs the planning or placement was off.
A poor job often starts before the surface is stamped. If the base was not compacted, the slab may settle unevenly and crack at door corners or through the middle of large panels. If the crew poured too wet, the paste can rise to the top, weakening the surface and washing out the crisp texture. If the stamps were set too late, the impression may be shallow or inconsistent from panel to panel.
Color problems are easy to spot. Blotchy areas can come from uneven release agent use, inconsistent mix water, or rushed finishing. That does not always mean the contractor was careless, but it does mean the finish system was not controlled well. Some variation is normal in stamped concrete, especially with integral color and antiquing, but it should look intentional rather than random.
Because color is so noticeable, pattern errors are another warning. Crooked joints, mismatched stamp alignment, and border cuts that do not meet cleanly make the slab look amateur even if it is structurally sound. I would pay close attention to corners and transitions, because that is where a bad layout becomes obvious.
Surface wear tells a story too. If the sealer is already peeling, whitening, or turning patchy soon after completion, the timing or product choice may have been wrong. Sealer is not just for shine. It protects color, limits moisture intrusion, and helps the stamped surface shed stains. A patio that never got sealed, or was sealed too heavily, will age badly.
The most honest test is this: after a rain, does water move off the patio in a controlled way, or does it sit in shallow depressions? If it ponds, the job may still look fine in photos and fail in real use. A pretty stamp cannot fix bad grade.
What are the common mistakes people make when planning a stamped patio?
What are the common mistakes people make when planning a stamped patio? They usually underplan the slab and overfocus on the look. I see the same errors come up again and again, and each one has a cost.
-
Choosing the pattern before solving drainage. The result is a patio that looks good in a rendering but sheds water badly. The smarter move is to set slope and runoff first, then pick the pattern to fit the shape.
-
Accepting a quote without a written scope. The result is confusion about whether base prep, sealing, or joint cutting is included. The better move is a line-item scope with thickness, base depth, and finish details spelled out.
-
Ignoring local climate. The result in freeze-thaw areas is spalling, scaling, or premature sealer failure. The better move is to ask how the mix and cure plan are adapted for the climate, especially in regions with winter freeze cycles, and to verify the answer with a qualified contractor or local building office.
-
Assuming more decorative work means better quality. The result is a patio with fancy color but weak structure. The better move is to prioritize base compaction, control joints, and proper finishing over extra color effects.
-
Underestimating maintenance. The result is a dull or stained surface after a few seasons. The better move is to plan for resealing on a schedule that matches the product and exposure, often every few years rather than “never.”
-
Skipping edge and transition planning. The result is ugly cuts where the patio meets walls, walkways, or existing concrete. The better move is to design borders and transitions deliberately and keep expansion and contraction in mind.
A lot of people also forget that stamped concrete is still concrete. It can crack. The goal is not to pretend otherwise; the goal is to place the crack where it is least visible and least damaging. That is what control joints and a proper layout are for.
How long does stamped concrete patio installation take?
How long stamped concrete patio installation takes depends on size, weather, cure time, and whether the site needs excavation or repair. A small, straightforward patio can often be formed, poured, and stamped in a short work window, but the whole process includes prep and curing, not just the day of the pour.
For a typical residential stamped concrete patio installation planning project, I would expect site prep and formwork to take at least part of a day and sometimes a full day or more if grading is involved. The pour and stamp phase is usually a single continuous push because concrete timing matters.