Last updated: September 10, 2026
Key Takeaways
- How visible should wear be after 5 or 10 years?
- Exposed aggregate gives you grip because the surface is physically rough.
- For patios, exposed aggregate usually ages in a quieter way.
- In many cases, I’d lean toward exposed aggregate as the more practical finish and stamped concrete as the more decorative one, but a local concrete contractor should confirm what fits your site and maintenance tolerance.
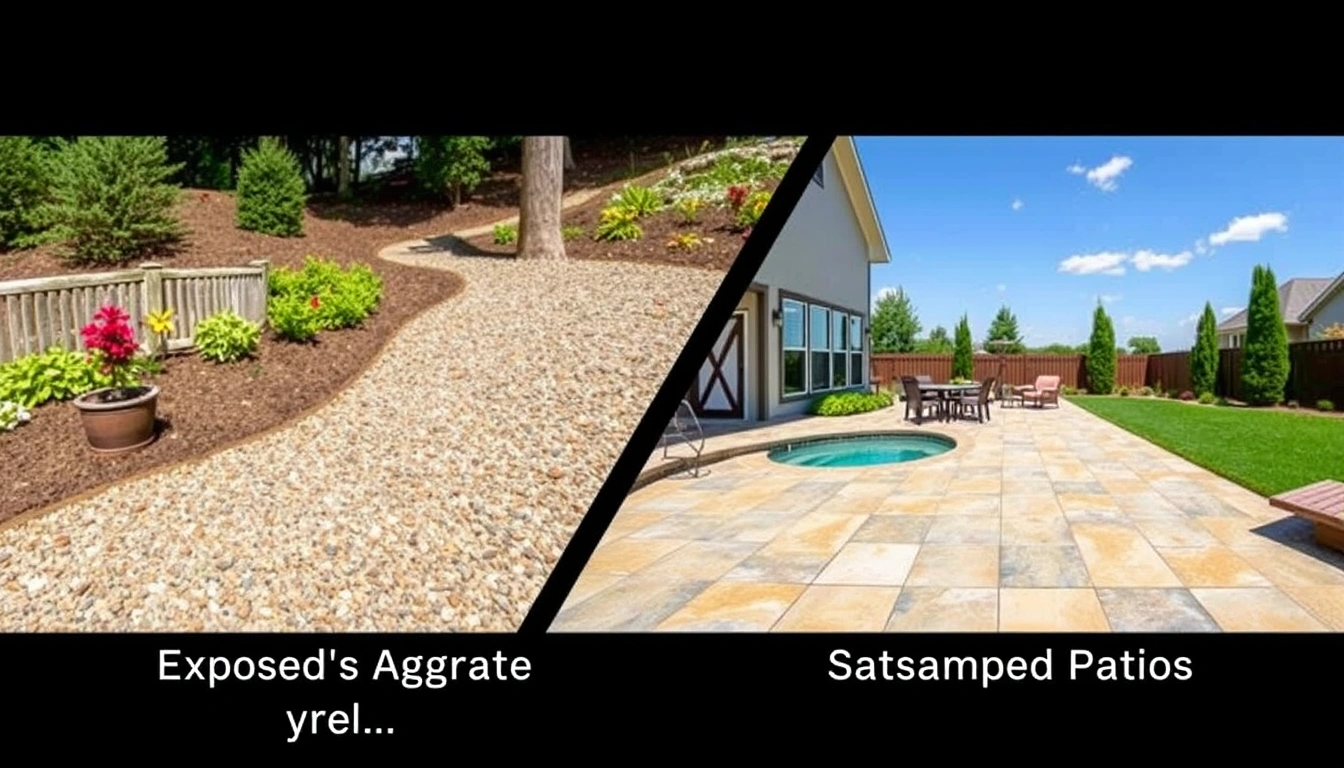
Exposed aggregate vs stamped concrete patios usually comes down to traction and upkeep on one side, then a more decorative look on the other. In practice, exposed aggregate is often the better patio surface if you want grip, less maintenance, and a finish that hides wear; stamped concrete wins when appearance matters most and you are okay with keeping up with the sealer. Choosing who to call for a patio in a place with freeze-thaw cycles, heavy shade, or strong sun? That trade-off matters more than the pattern on the brochure.
- What this comparison applies to
- Exposed aggregate vs stamped concrete: what is actually different?
- Which patio surface costs less, and what changes the price?
- How do I choose between exposed aggregate and stamped concrete for my patio?
- What should a contractor do before the pour?
- What can go wrong with each finish?
- When should you stop this approach and choose something else?
- What should you ask before you hire a contractor?
What this comparison applies to
Homeowners planning a poured concrete patio are the target here, usually a 100 to 400 square foot outdoor slab, and the decision is between two finishing methods: exposed aggregate and stamped concrete. I’m assuming you already know the basics of a concrete patio — excavation, base prep, reinforcement, and a drainable layout — and that your real question is which finish is the smarter buy for your yard.
Exposed aggregate vs stamped concrete patios is also a contractor choice as much as a design one. Talk to a local concrete contractor, not someone quoting pavers, wood decking, or gravel; those are different jobs. Different animal. Since both finishes start with a concrete pour, the real split is in surface finish, maintenance, and how the slab behaves over time.
Climate and site conditions change the answer. In freeze-thaw areas, a finish that sheds water well and tolerates de-icer matters more than a decorative pattern. Under strong sun, color retention and sealer wear move into the spotlight. If the patio sits under trees, leaf tannins, sap, and constant dampness push the choice toward a finish that can hide staining better. For general guidance on concrete patio durability and maintenance, see the Portland Cement Association’s concrete patio resources and the ACI guidance on concrete curing and finishing. (Source: PCA ACI)
The short version is simple: pick exposed aggregate if you want a tougher, lower-fuss patio and you don’t mind a more textured look. Go with stamped concrete if appearance comes first and you’re prepared for periodic resealing, more visible wear, and a greater chance of showing cracks or patchwork later.
Exposed aggregate vs stamped concrete: what is actually different?
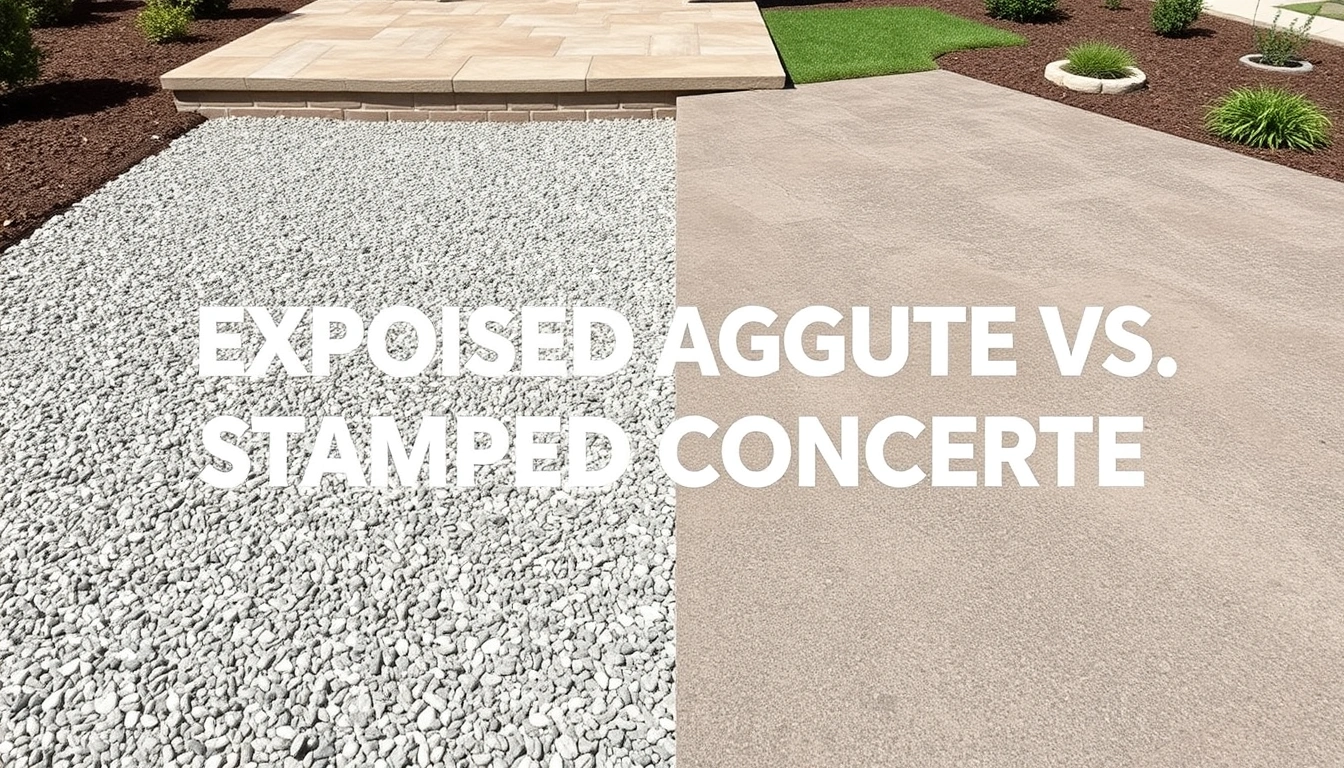
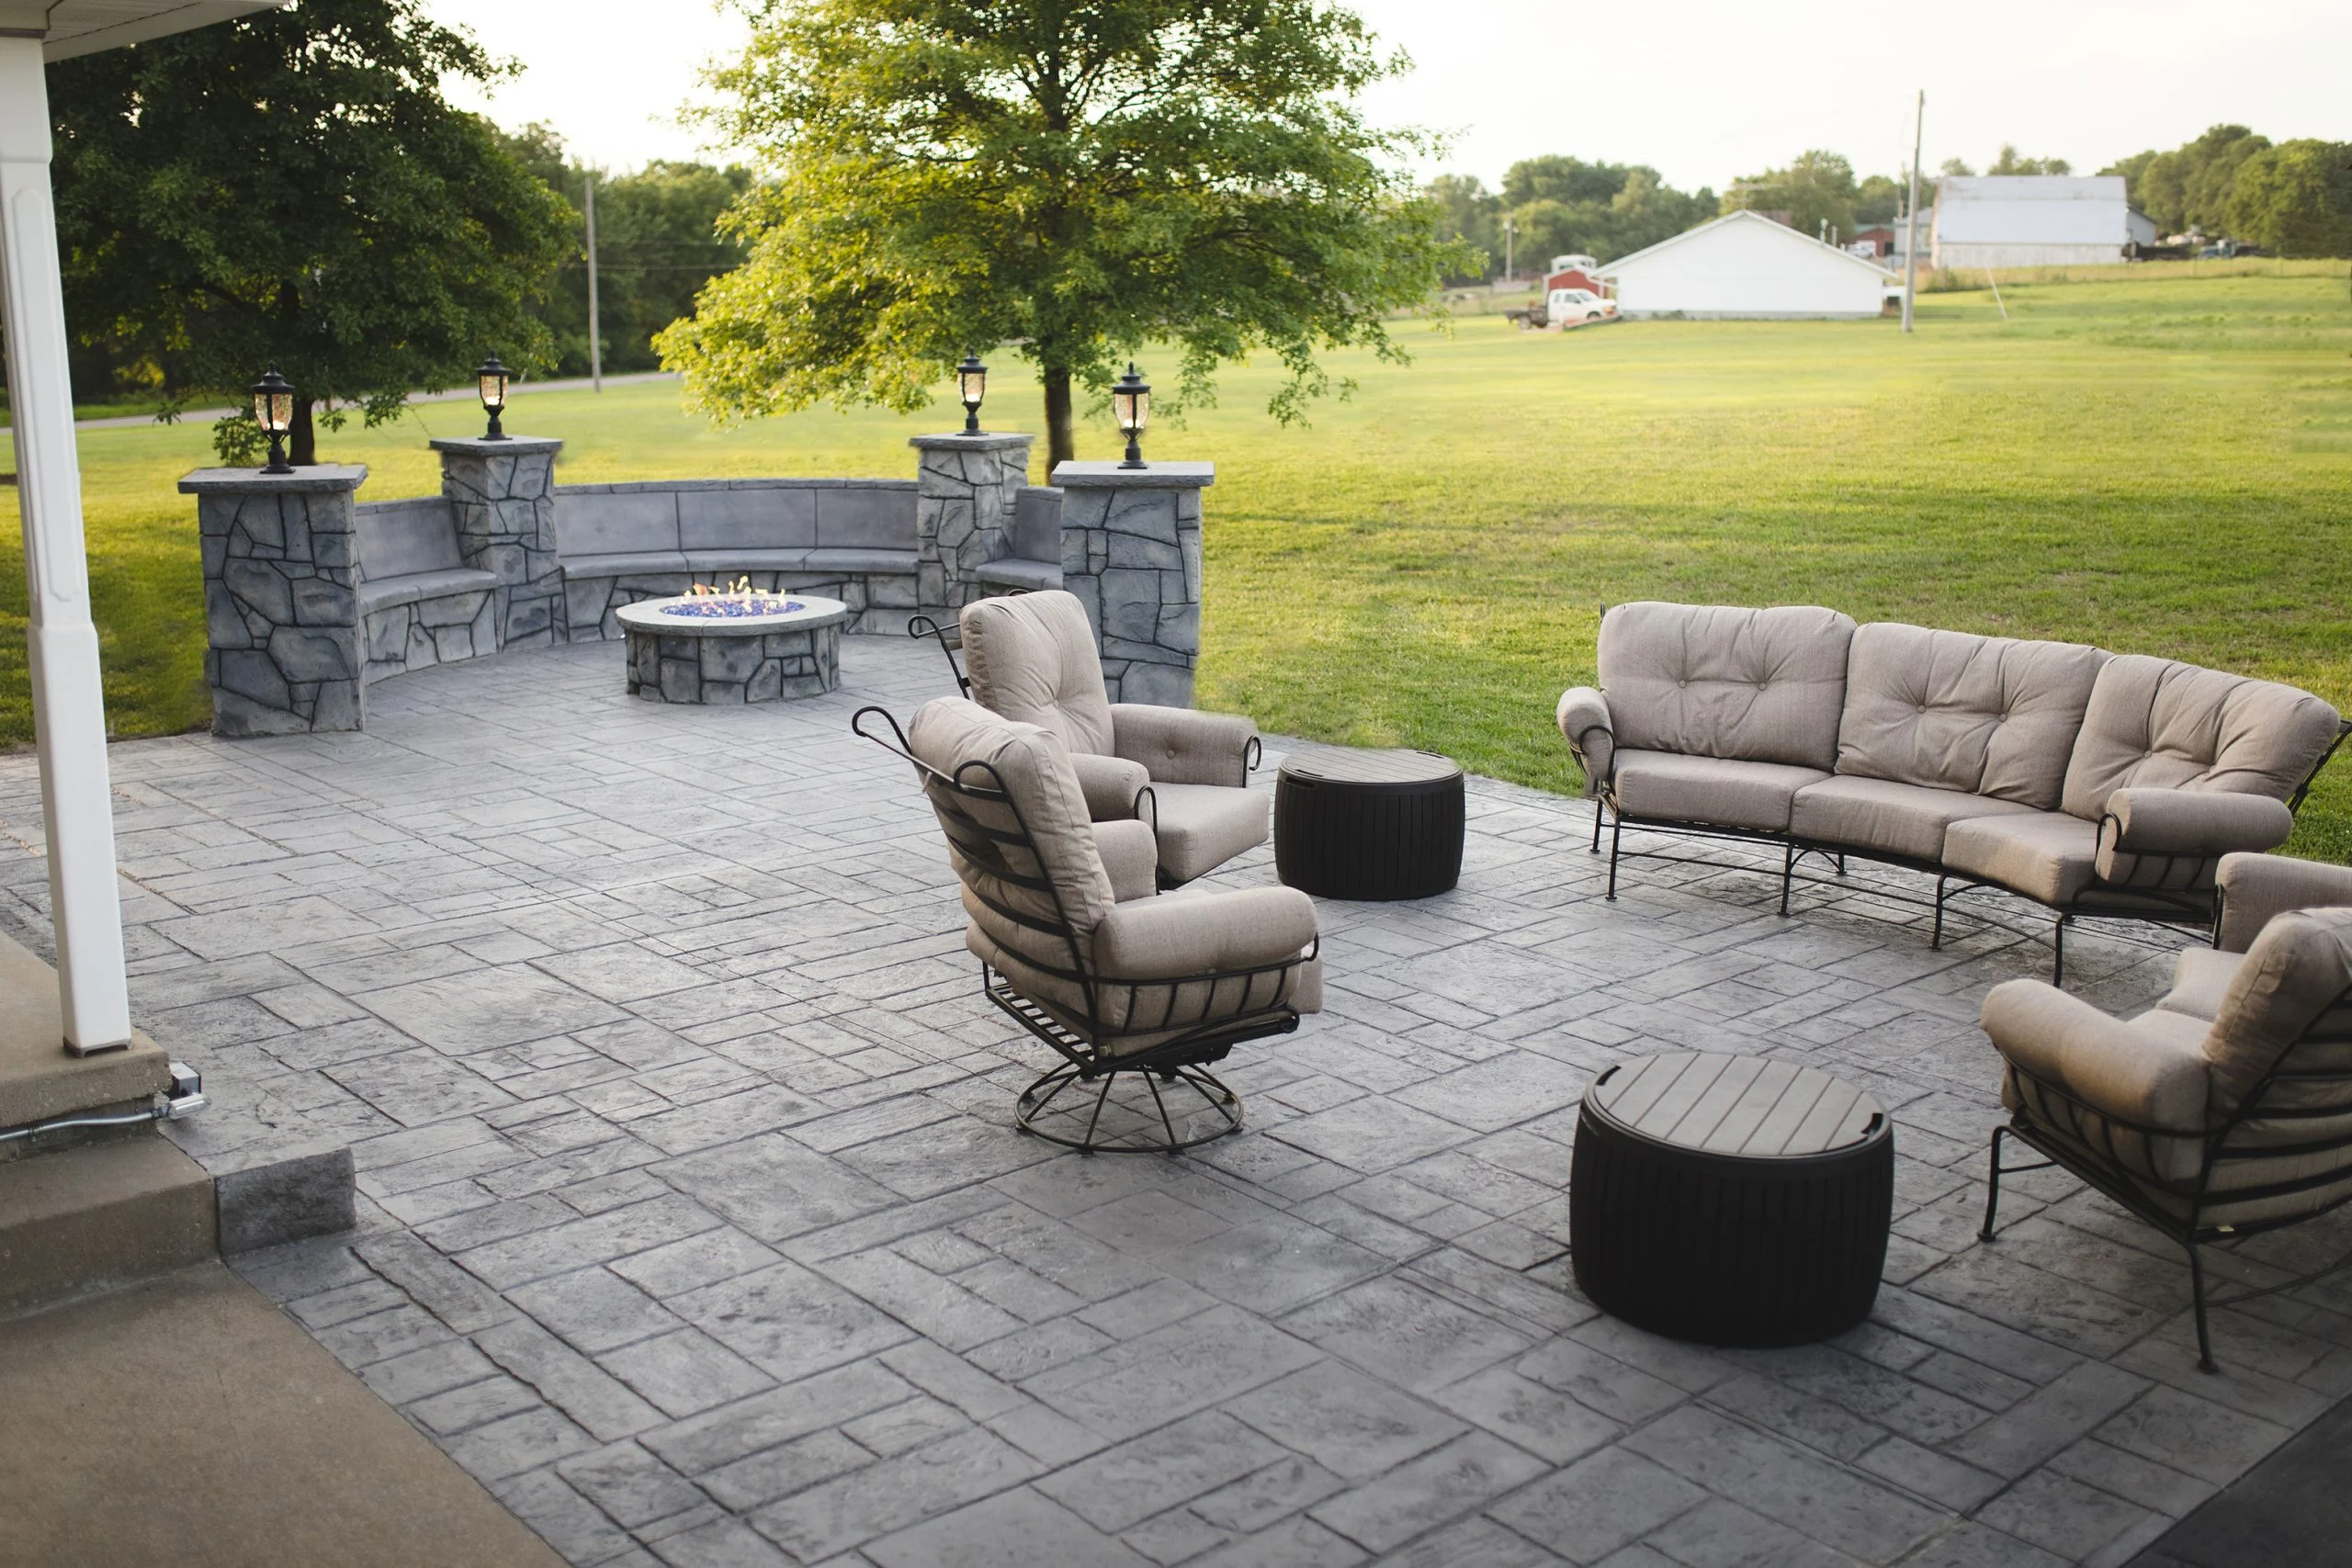
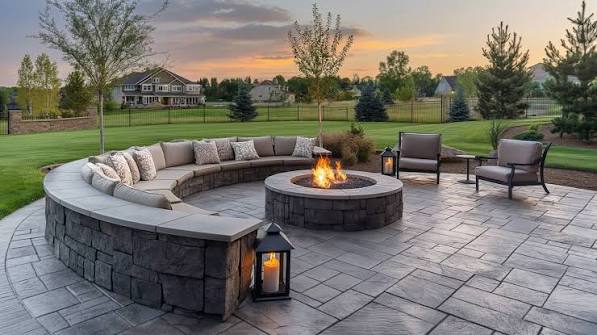
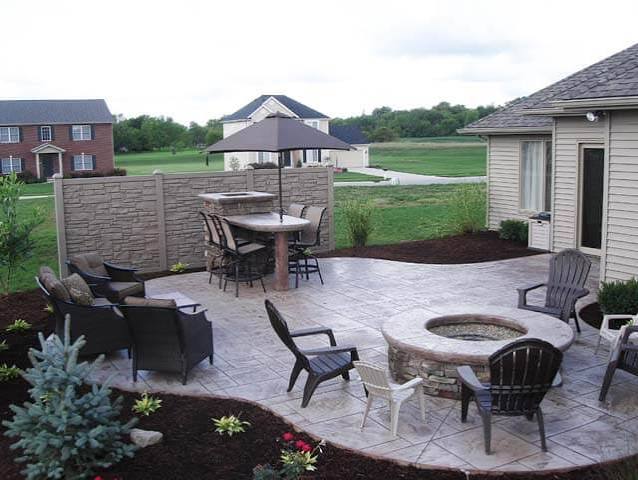
Exposed aggregate is a concrete finish where the top film of paste gets removed so the stones in the mix show at the surface. Aggregate means the sand, gravel, or decorative stone inside the concrete; “exposed” means you can see and feel it after the surface is washed, brushed, or chemically retarded. Stamped concrete, by contrast, is a slab textured with mats or stamps while the concrete is still plastic, so it mimics stone, slate, brick, wood plank, or tile.
That difference changes the whole story. Exposed aggregate gives you grip because the surface is physically rough. Stamped concrete gives you shape and pattern, but the finish is only as good as the color, release powder, and sealer on top. Once you see that, the comparison gets a lot clearer.
For patios, exposed aggregate usually ages in a quieter way. Small discolorations, minor patching, and ordinary wear tend to blend into the stone mix. Stamped concrete can look sharper on day one, especially with a rich integral color and a good stamp pattern, but it is less forgiving if the sealer dulls, the color fades, or hairline cracks cut across a fake grout line.
Honestly, I’d treat exposed aggregate as the more practical finish and stamped concrete as the more decorative one, though a concrete contractor should confirm the choice for your climate and use. That doesn’t make stamped concrete a bad pick. It just favors people who care more about the patio edge, the pattern under the dining set, and the color match to the house than about the easiest maintenance path.
Which patio surface costs less, and what changes the price?
Exposed aggregate usually costs less to maintain and is often simpler to install than a high-end stamped job, but the exact price depends on patio size, subbase work, access, and finish complexity. A contractor should be able to quote you by square foot and spell out the extras line by line.
The main cost drivers are pretty easy to spot:
- Site access: If the crew has to wheelbarrow concrete through a narrow side yard, labor goes up.
- Base prep: Soft soil, fill, or poor drainage adds excavation, compacted stone, and possibly geotextile fabric.
- Thickness: A 4-inch patio is common; thicker slabs cost more and may be needed at edges, near hot tubs, or where loads are heavier.
- Finish complexity: Stamped work often needs color hardener, release agent, detailing, and more careful timing than exposed aggregate.
- Sealer: Both finishes may be sealed, but stamped concrete is much more dependent on a quality sealer and reapplication.
A bad quote often hides the stuff that matters most. If a contractor gives you a flat number without saying whether the price includes excavation, reinforcement, control joints, sealer, and cleanup, you do not have a finished price yet. Ask for the square footage, the thickness, the reinforcement method, and whether coloring or sealing is included. Comparing bids? Make sure both are pricing the same slab depth and the same base preparation. For concrete slab basics and joint spacing, the National Ready Mixed Concrete Association and ACI are useful starting points. (Source: NRMCA ACI)
For many patios, exposed aggregate has fewer expensive cosmetic failure points. Stamped concrete often carries a premium because the labor is more sensitive to weather and timing. If your budget is tight and you want a surface that still looks intentional, exposed aggregate is usually the safer spend. Cold math.
How do I choose between exposed aggregate and stamped concrete for my patio?
I’d choose exposed aggregate if the patio has to handle wet weather, muddy shoes, pool traffic, or frequent use without constant fuss. I’d choose stamped concrete if the patio is a focal point and you’re willing to reseal it every few years, depending on wear and sun exposure. Exposed aggregate vs stamped concrete patios really comes down to how much maintenance you’ll accept.
Start with the three questions that matter most:
-
How much maintenance will you actually do?
Stamped concrete needs attention to sealer. On a patio that gets full sun, the finish can lose color faster than owners expect. Exposed aggregate still benefits from sealing, but it is less dependent on a perfect-looking topcoat. -
How slippery can the patio get?
A textured exposed-aggregate surface generally gives better traction, especially when wet. Stamped concrete can be made less slippery, but the sealer can change that feel, and overly glossy sealers can be slick. -
How visible should wear be after 5 or 10 years?
Exposed aggregate tends to hide small repairs and day-to-day wear better. Stamped patterns can telegraph cracks and patching because the “grout lines” and repeating texture make flaws easier to see.
Climate-specific calls matter too. In regions with freeze-thaw cycles, a surface that is properly air-entrained, well-drained, and less dependent on a thin decorative skin is the safer bet. In very hot climates, darker stamped colors can absorb heat and may show fading sooner. Near trees, exposed aggregate is usually less bothered by leaf stains and debris.
If the patio is meant to match a formal outdoor kitchen, stamped concrete can look more finished. If the patio is mostly for seating, grilling, and moving furniture without babying the surface, exposed aggregate is the more forgiving choice. For freeze-thaw design considerations, consult ACI guidance and local code requirements before deciding. (Source: ACI)
What should a contractor do before the pour?
A contractor should build the patio for drainage first and appearance second, because a beautiful finish on a bad slab is still a bad slab. The usual order is excavation, base compaction, forms, reinforcement, pour, finish, cure, and seal, but a local concrete contractor should adjust that sequence for weather and mix design. A patio should generally slope away from the house at about 1/8 inch to 1/4 inch per foot so water leaves the surface instead of pooling.
Here is the practical sequence I’d expect:
- Set the layout and slope. Mark the patio footprint, then verify fall away from the house with a level or laser; look for at least 1/8 inch per foot and no reverse slope. If water would run toward the foundation, stop and regrade.
- Excavate to proper depth. Remove enough soil for the slab, base, and top elevation; in many patios that means roughly 6 to 8 inches or more, depending on soil and slab thickness. Verify the form top will end up at the intended finished height. If the base is built on soft topsoil, the slab can settle.
- Compact the subgrade and base. Place compacted crushed stone, often in 2 to 4 inch lifts, and compact each layer. Verify it feels firm under foot and does not pump when loaded. If the base moves under pressure, the slab will crack sooner.
- Install reinforcement and control joints. Use wire mesh, rebar, or fiber as specified, and place control joints at logical intervals, often around 8 to 12 feet apart or at about 24 to 36 times slab thickness in inches. Verify joints are planned before the pour. If joints are random or absent, cracks will choose their own path.
- Pour the concrete with the right mix. For a patio, a normal structural mix with proper slump and finishability matters more than a flashy spec. Verify the truck load matches the patio size and that the mix is not over-watered on site. If the finish looks soupy, the slab is being weakened.
- Finish according to the chosen surface. For exposed aggregate, the top paste is delayed and removed at the right moment, often with washing or brushing after initial set. For stamped concrete, the mats are applied before the surface stiffens too much. Verify the surface detail is even and the pattern lines up. If aggregate is too deep or too shallow, the look will be uneven.
- Cure the slab properly. Keep the concrete from drying too fast for at least several days; curing compounds or moisture retention are common methods. ACI guidance recommends controlling evaporation and protecting fresh concrete from rapid drying, and a local concrete contractor should match that to weather conditions. Verify the surface is protected from wind, sun, and early traffic. If edges dry out or dust appears early, the finish may weaken.
- Seal only when appropriate. Many stamped patios are sealed after cure, and exposed aggregate often benefits too, but a concrete contractor should confirm the product, timing, and moisture conditions. Verify the slab is dry enough and the product matches the finish. If sealer turns milky, traps moisture, or peels, the timing or surface prep was wrong.
What can go wrong with each finish?
Exposed aggregate can look rough or patchy if the contractor exposes the stone too deeply, too shallowly, or unevenly across the slab. The result is a surface that feels inconsistent under bare feet and looks blotchy in raking light. Stamped concrete can look artificial if the pattern repeats too obviously, the release color is overused, or the joints do not line up with the stamp layout.
The biggest mistake with stamped concrete is treating it like a set-it-and-forget-it surface. It isn’t, and a concrete contractor should explain the resealing schedule before the pour. The sealcoat is part of the finish, and when it breaks down, the patio can fade, get powdery, or lose the crisp look that made it attractive in the first place. That does not mean the slab failed structurally. It means the decorative system aged.
The biggest mistake with exposed aggregate is assuming the rougher finish can make up for sloppy base work. It can’t. If the slab settles, the exposed stones will not hide a dip or a crack that runs through the middle of the patio.
Here are the errors I see most often:
- Overwatering the mix: causes weak surface paste and shorter finish life.
- Skipping control joints: invites random cracking and expensive repair later.
- Using the wrong sealer: can make a patio too glossy, too slippery, or blotchy.
- Poor timing on stamp or exposure: ruins the texture and forces cosmetic fixes.
- Ignoring drainage: lets water collect at the house or at low spots, which shortens the life of either finish.
The better move is straightforward: ask how the contractor handles curing, sealing, and joint placement before the work starts. If the answer is vague, that’s usually a warning sign.
When should you stop this approach and choose something else?
Stop comparing these two finishes and consider a different patio material when the site or your expectations make either one a poor fit. In those situations, the wrong finish can cost you more in repairs than you saved on the pour.
Your yard has chronic drainage problems: Water will sit on the slab and work into cracks — regrade the area, add drains, or choose a different hardscape plan before pouring concrete.
The patio must stay nearly crack-free in a highly visible setting: Concrete always moves, and decorative cracks are obvious — pavers or segmented slabs may be a better fit.
You want zero resealing or surface upkeep: Both finishes benefit from maintenance, especially stamped concrete — choose a lower-maintenance material instead.
The soil is unstable, expansive, or fills in after excavation: The slab may settle or heave — the base design needs engineering, not just a nicer finish.
You need a barefoot-friendly surface for kids, pets, or pool traffic: Very smooth stamped finishes and glossy sealers can be slippery — choose a texture-first surface or revise the spec.
The patio will see heavy furniture moving or frequent abrasion: Decorative sealers and stamped skins wear faster under dragging chairs and planters — use a finish that hides wear or switch materials.
If one of those situations is true, I wouldn’t let the surface finish become the main decision. Fix the site, or move to a different patio system altogether.
What should you ask before you hire a contractor?
Ask questions that force the contractor to describe the job, not just the finish. A clean answer usually sounds specific: slab thickness, base depth, joint spacing, curing method, and sealing schedule.
Ask these before you sign:
- What thickness are you quoting, and is it the same at the edge?
- How many inches of compacted base are included?
- What reinforcement are you using: rebar, wire mesh, or fiber?
- Where will the control joints go, and how deep will they be?
- For stamped concrete, what sealer do you plan to use, and how often will it need reapplication?
- For exposed aggregate, how will you control the depth of exposure?
- What happens if rain or temperature changes the pour date?