Last updated: September 10, 2026
Key Takeaways
- Check the table, chairs, or sectional on paper, with 3 feet of walking room.
- Let one side shrink to 3 inches, and the whole thing starts looking accidental.
- Dining for 6: a table and chairs often need about 10 by 12 feet before you add comfortable edge clearance.
- Grill and prep space: keep a separate strip 3 to 5 feet deep so smoke, heat, and traffic do not collide with seating.
Deciding on a stamped concrete patio size comes down to three things: how you will use it, how it sits with the house, and what the budget can handle. For many small-to-medium backyards, that usually points to a stamped concrete patio of about 100 to 400 square feet. Steep slopes, drainage trouble, lousy equipment access, or major frost heave change the picture fast; in those cases, the same basic starting point still applies, but the details get tricky and professional input is wise.
What size stamped concrete patio do I actually need?
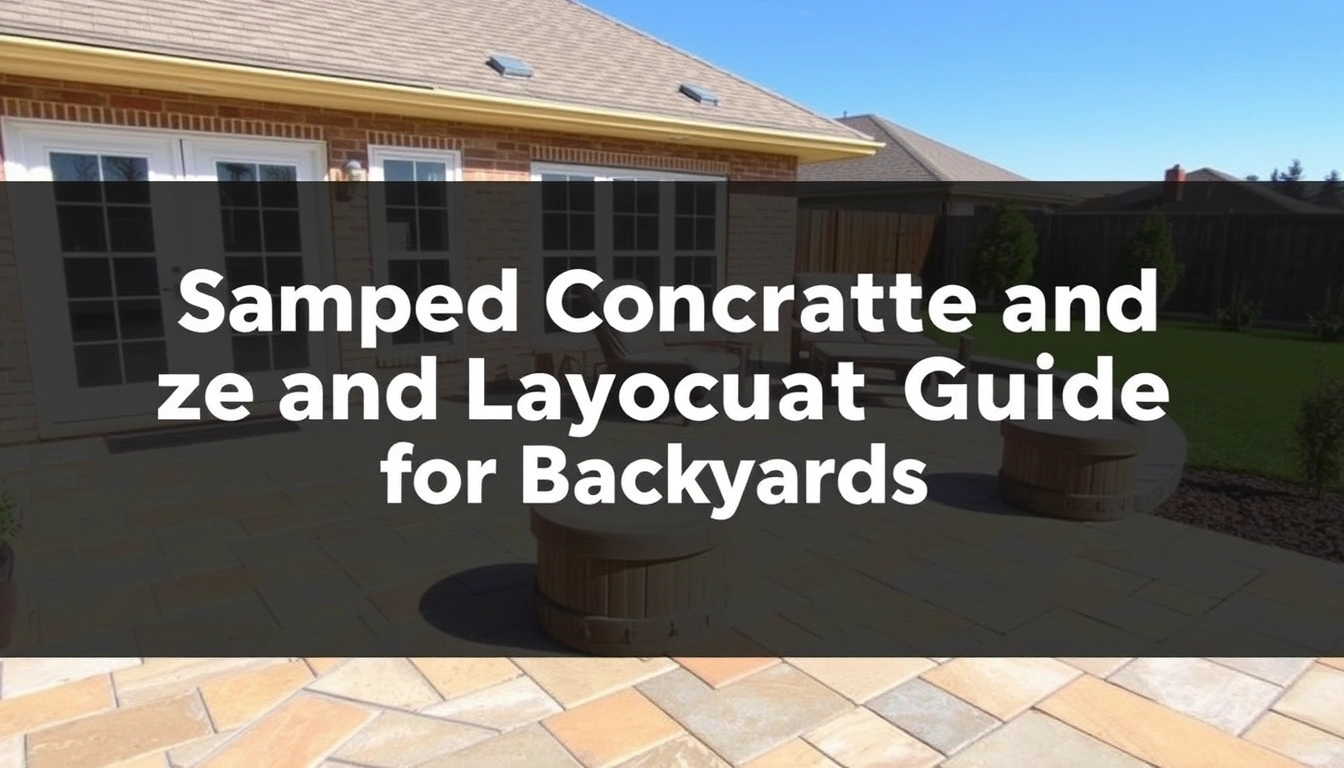
I’d size the stamped concrete patio around furniture first, then circulation space, then yard proportions. A stamped concrete patio that looks fine on paper but feels cramped in real life is money down the drain. The most common backyard patio sizes I see discussed are 10 by 10 feet for a very small seating area, 12 by 16 feet for a compact dining zone, and 16 by 20 feet for a more flexible family patio. Not rules. Just starting points.
A useful way to think about a stamped concrete patio is in zones:
- Seating for 4: plan roughly 7 by 9 feet for the furniture footprint, then add at least 3 feet of clearance where people walk.
- Dining for 6: a table and chairs often need about 10 by 12 feet before you add comfortable edge clearance.
- Grill and prep space: reserve a separate strip 3 to 5 feet deep so smoke, heat, and traffic do not collide with seating.
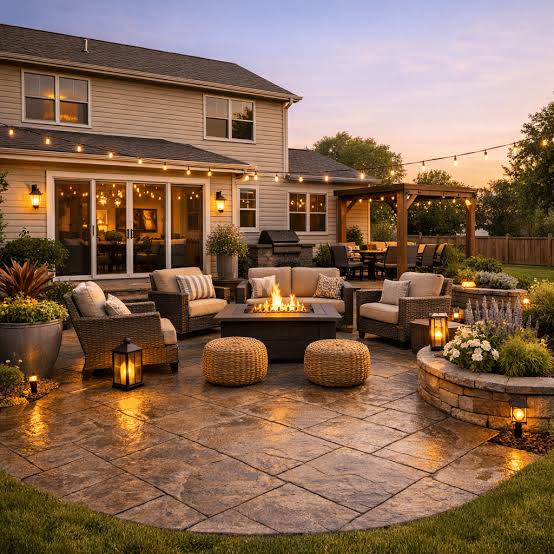
Only want a small spot for two chairs and a fire pit? A 10 by 12 foot stamped concrete patio may be enough. Want dining and lounging together? I’d usually nudge the layout toward 14 by 20 feet or larger. Under 120 square feet can work, sure, but once a grill, side tables, and plant pots show up, it starts to feel like everyone is standing on each other’s toes.
The trade-off is simple: bigger patios cost more in concrete, base work, and finishing. A stamped concrete patio is priced by square footage in most markets, so every extra 50 square feet matters. My bias? Don’t begin with “as big as possible.” Start with the actual uses, then build the slab around them.
How do I lay out a stamped concrete patio so it looks balanced?
A balanced stamped concrete patio usually lines up with the house, the main door swing, and the backyard’s strongest view. I’d avoid centering the slab just because the sketch looks tidy. Real yards are not neat little boxes. Usually, the better layout respects the doorway, the grade, and the path people already take across the lawn.
Here is the practical order I would use:
- Mark the main use area first. Set out a rectangle or soft-edged shape that fits the primary function, such as 12 by 14 feet for dining or 14 by 18 feet for mixed seating. Check that the table, chairs, or sectional fit on paper with 3 feet of walking room. If the furniture hits the edges, the layout is too small.
- Measure the house-to-patio transition. Keep the finished patio surface 1 to 2 inches below the bottom of siding or wood trim, and plan the threshold so water does not wick toward the house. Check the door can open fully. If the door hits the slab or the slab lands too high, the elevation is wrong.
- Set the slope for drainage. A common target is about 1/8 to 1/4 inch of fall per foot away from the house. Check with a level or laser that water will run off the slab, not toward the foundation. If the patio looks flat after staking, it will probably pond.
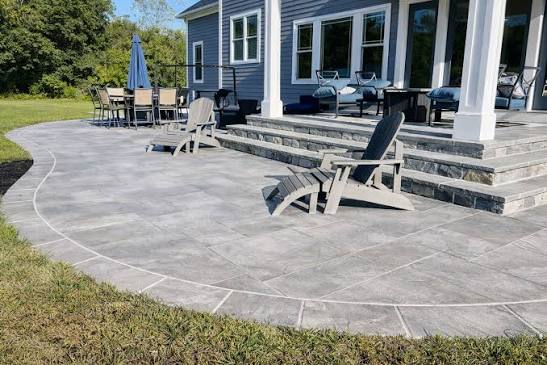
- Reserve border space for the stamped pattern. Leave 6 to 12 inches for a contrasting border or a clean edge detail if you want the patio to look finished. Check that border widths are consistent on all sides. If one side shrinks to 3 inches, the design starts to look accidental.
- Place joints where they make sense visually. Control joints, the shallow grooves that help concrete crack in a planned way, should line up with the layout so they do not slice through the middle of a focal point. Check joint spacing is roughly 8 to 12 feet apart in many residential slabs, adjusted by the contractor for thickness and shape. If joints land awkwardly under a stamp pattern, the finish will look busy.
- Check traffic paths. Leave at least 36 inches for a primary walking path and more if two people will pass near a grill or door. Check that the path does not force people to cut across planted beds. If circulation crosses furniture legs, the layout is too tight.
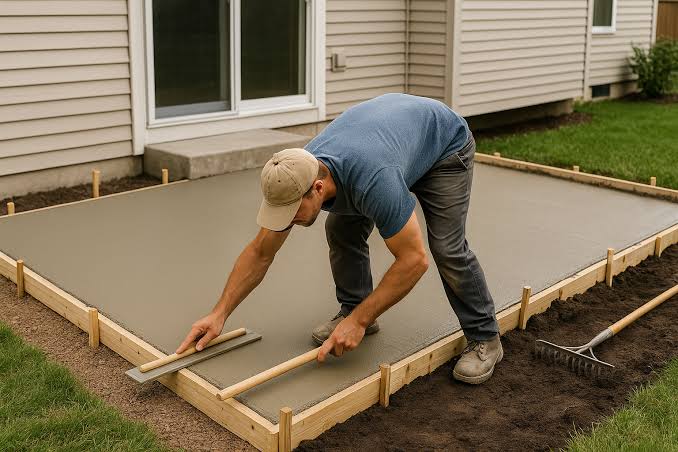
- Confirm equipment access before finalizing. A concrete truck or pump needs room, even if the patio itself is small. Check there is a route for wheelbarrows, hoses, or a pump line around fences, AC units, and gates. If the crew cannot reach the pour area cleanly, the cost and risk go up.
- Budget for the chosen edge shape. Curves, radius corners, and cut-ins take more forming labor than a simple rectangle. Check every curve has a reason, such as working around a tree or softening a long wall. If a curved edge exists only because it “looks custom,” it may only add cost.
I lean toward layouts that create one obvious main room and one secondary edge, like a dining zone with a narrow planting strip. It keeps a backyard from feeling like a concrete parking pad. And it gives the stamped pattern room to breathe.
How much does stamped concrete patio size change the price?
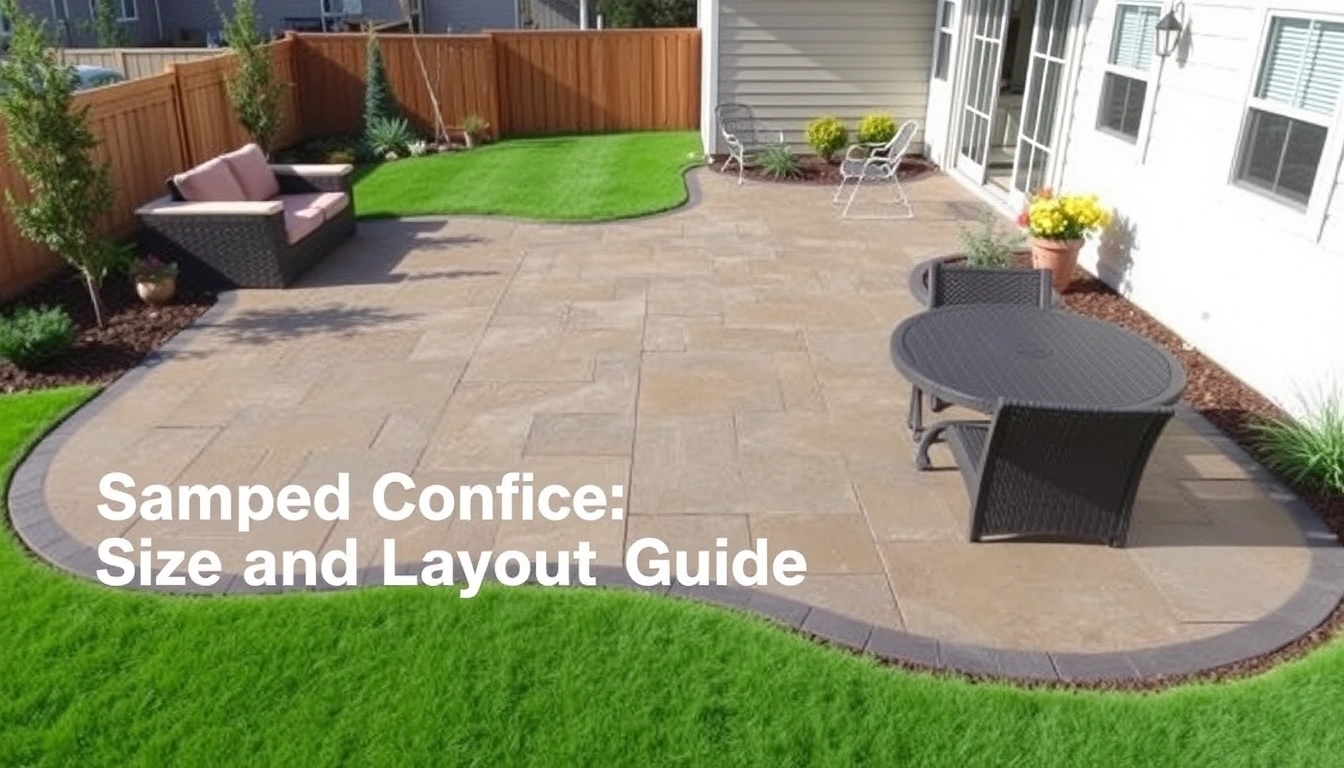
Patio size changes the price because every square foot affects excavation, base prep, concrete volume, stamping labor, and sealing. I’m careful not to quote a universal price per square foot; local labor markets, access, and finish complexity vary too much. Still, the cost structure is predictable.
A smaller patio often has a higher cost per square foot than a larger one because fixed setup work does not shrink much. Those fixed tasks include layout, forming, compaction, reinforcement planning, and cleanup. A 150-square-foot patio may cost noticeably more per square foot than a 300-square-foot one, even before you add decorative borders or color.
The biggest cost drivers are:
- Shape complexity: rectangles are faster than curves and multiple angles.
- Base condition: poor soil, soft fill, or clay that holds water means more excavation and stabilization.
- Thickness and reinforcement: standard residential slabs are often around 4 inches thick, but thicker sections or added reinforcement increase material use.
- Stamp pattern and color: deeper textures, integral color, release agents, and accent borders all add labor.
- Site access: a backyard reached through a narrow side yard usually costs more than a driveway-adjacent pour.
Ask for an itemized quote that separates demolition, excavation, base, reinforcement, pour, stamping, coloring, sealing, and cleanup. If a contractor gives only one lump sum, I’d push for more detail. You do not need every line item to choose a contractor, but you do need enough detail to compare bids that may hide different assumptions.
A cheap bid can still be a bad deal if it leaves out base work. Stamped concrete fails early when the prep is weak, not when the pattern is pretty. For baseline pricing terms and material considerations, see the National Ready Mixed Concrete Association and the American Concrete Institute.
What should I ask a contractor before I pick the final layout?
I’d ask four kinds of questions: drainage, structure, finish, and access. Those are the pieces that decide whether the patio lasts and whether the layout matches the yard.
Ask these directly:
- How will you pitch the slab away from the house and toward drainage?
- How thick will the slab be, and will you use rebar or mesh?
- Where will the control joints go, and how will they match the stamp pattern?
- What is included in sealing, color, and edge treatment? If the scope is unclear, consult the contractor and compare it with manufacturer guidance from a source such as Sika or The Concrete Network.
- How will you handle the crew’s access through gates, fences, or landscaping?
You want answers that are specific. If a contractor says the slab will “just shed water,” that is too loose. If they cannot explain joint placement in relation to the stamp pattern, they may be chasing speed instead of appearance. And if they do not ask about soil, drainage, or freeze conditions, they are not really designing the layout; they are just pricing a pour.
I’d also ask what the minimum practical size is for the finish you want. Some patterns look crowded on a tiny slab because the repeating stamp units do not read well across a short span. Border patterns, ashlar slate, and wood plank stamps each have their own visual rhythm. One stamp can look sharp; another can feel busy. Same patio size, different result.
The best contractor questions often focus on consequences. “What happens if we make this patio 2 feet narrower?” is often better than “Can you do 14 by 16?” The first reveals whether the size is driven by use or by habit.
When should I not force the standard patio layout?
Do not force a standard rectangle when the yard, soil, or drainage makes it a poor fit. The usual approach works for many flat suburban yards, but it is the wrong tool in several specific cases.
A down-slope yard that sends water toward the house: the slab needs a drainage plan, not just a shape — change the layout, add swales, drains, or a different patio location.
A narrow side yard or tight access path: equipment and forming become difficult — choose a simpler shape and confirm the crew can reach the work area without damaging the yard.
Clay soil that stays wet after rain: movement and heaving become more likely — the base and drainage details matter more than the stamp pattern.
Existing tree roots within the patio footprint: root growth can lift or crack the slab — shift the patio location or reduce the slab size and protect the root zone.
Heavy freeze-thaw climate or deep frost conditions: slab movement can be more severe — the contractor should design for local frost depth and subgrade conditions, not guess at a generic detail. If conditions are uncertain, consult a local contractor or an engineering reference such as the Portland Cement Association or U.S. Department of Energy.
You want an outdoor kitchen, fire feature, or pergola footprint later: the patio should be sized for future loads and layout changes — plan the utility and support zones now.
Those are not reasons to avoid stamped concrete. They are reasons not to treat the layout like a decorative sketch. If the site has a real drainage or soil problem, the patio should respond to the site, not the other way around.
What mistakes do people make with patio size and layout?
The most expensive mistakes are usually plain.
- Making the patio too small. The consequence is furniture crowding and no usable circulation. The fix is to lay out chairs, table clearance, and walking paths before you approve dimensions.
- Ignoring door swing and step height. The consequence is a slab that feels awkward or blocks a door. The fix is to check finished elevation against the threshold before forming starts.
- Choosing a shape that fights the yard. The consequence is wasted space and odd corners. The fix is to follow the strongest line of the house or yard and only curve where the site demands it.
- Letting the pattern and joints clash. The consequence is a patio that looks patchwork instead of deliberate. The fix is to plan control joints alongside the stamp layout, not after the pour.
- Skipping drainage thinking. The consequence is ponding, staining, or water against the foundation. The fix is to specify slope and runoff direction in the layout stage.
- Overbuilding the fancy parts and underbuilding the base. The consequence is visible cracking, settling, or surface failure. The fix is to spend on subgrade, compaction, and base preparation first.
The biggest tell of a poor job is not an ugly stamp. It is a patio that traps water, feels cramped, or looks like it was fitted around the forms rather than designed for the yard.
How long does a stamped concrete patio take?
A typical patio project takes more than one day because the slab needs time to set, finish, and cure. The exact schedule depends on size, weather, and complexity, but a small to medium residential project often runs across several days of active work plus curing time. A larger or more detailed patio can stretch longer if the site needs grading, old concrete removal, or a pump setup. For curing and finishing guidance, consult a professional and review concrete curing basics from the American Concrete Institute or the Portland Cement Association.
A practical timeline usually looks like this:
- Planning and layout: 1 to 7 days for measurements, bid review, and design changes.
- Excavation and base prep: often 1 day for a simple site, longer if grading or drainage work is needed.
- Forming and reinforcement: usually part of the prep phase.
- Pouring and stamping: a single pour day, but weather matters a lot.
- Initial curing and sealing: sealing is often delayed until the slab has cured enough for the chosen sealer and local conditions; consult a professional and the sealer manufacturer before sealing.
I’d be cautious with any promise that sounds too fast. Decorative concrete has a working window, and weather can shorten it. High heat, wind, or rapid drying can affect finish quality. Cold weather slows the schedule. A layout with multiple angles, borders, or steps also takes more time than a plain rectangle. For weather-related planning, an authoritative reference like the U.S. Environmental Protection Agency can help frame local conditions.
A good result looks deliberate from the house, not just from above. The patio should sit at the right height, drain away from the foundation, leave comfortable walking space, and carry the stamp pattern cleanly through the whole slab.
What does a well-sized stamped patio look like in a real backyard?
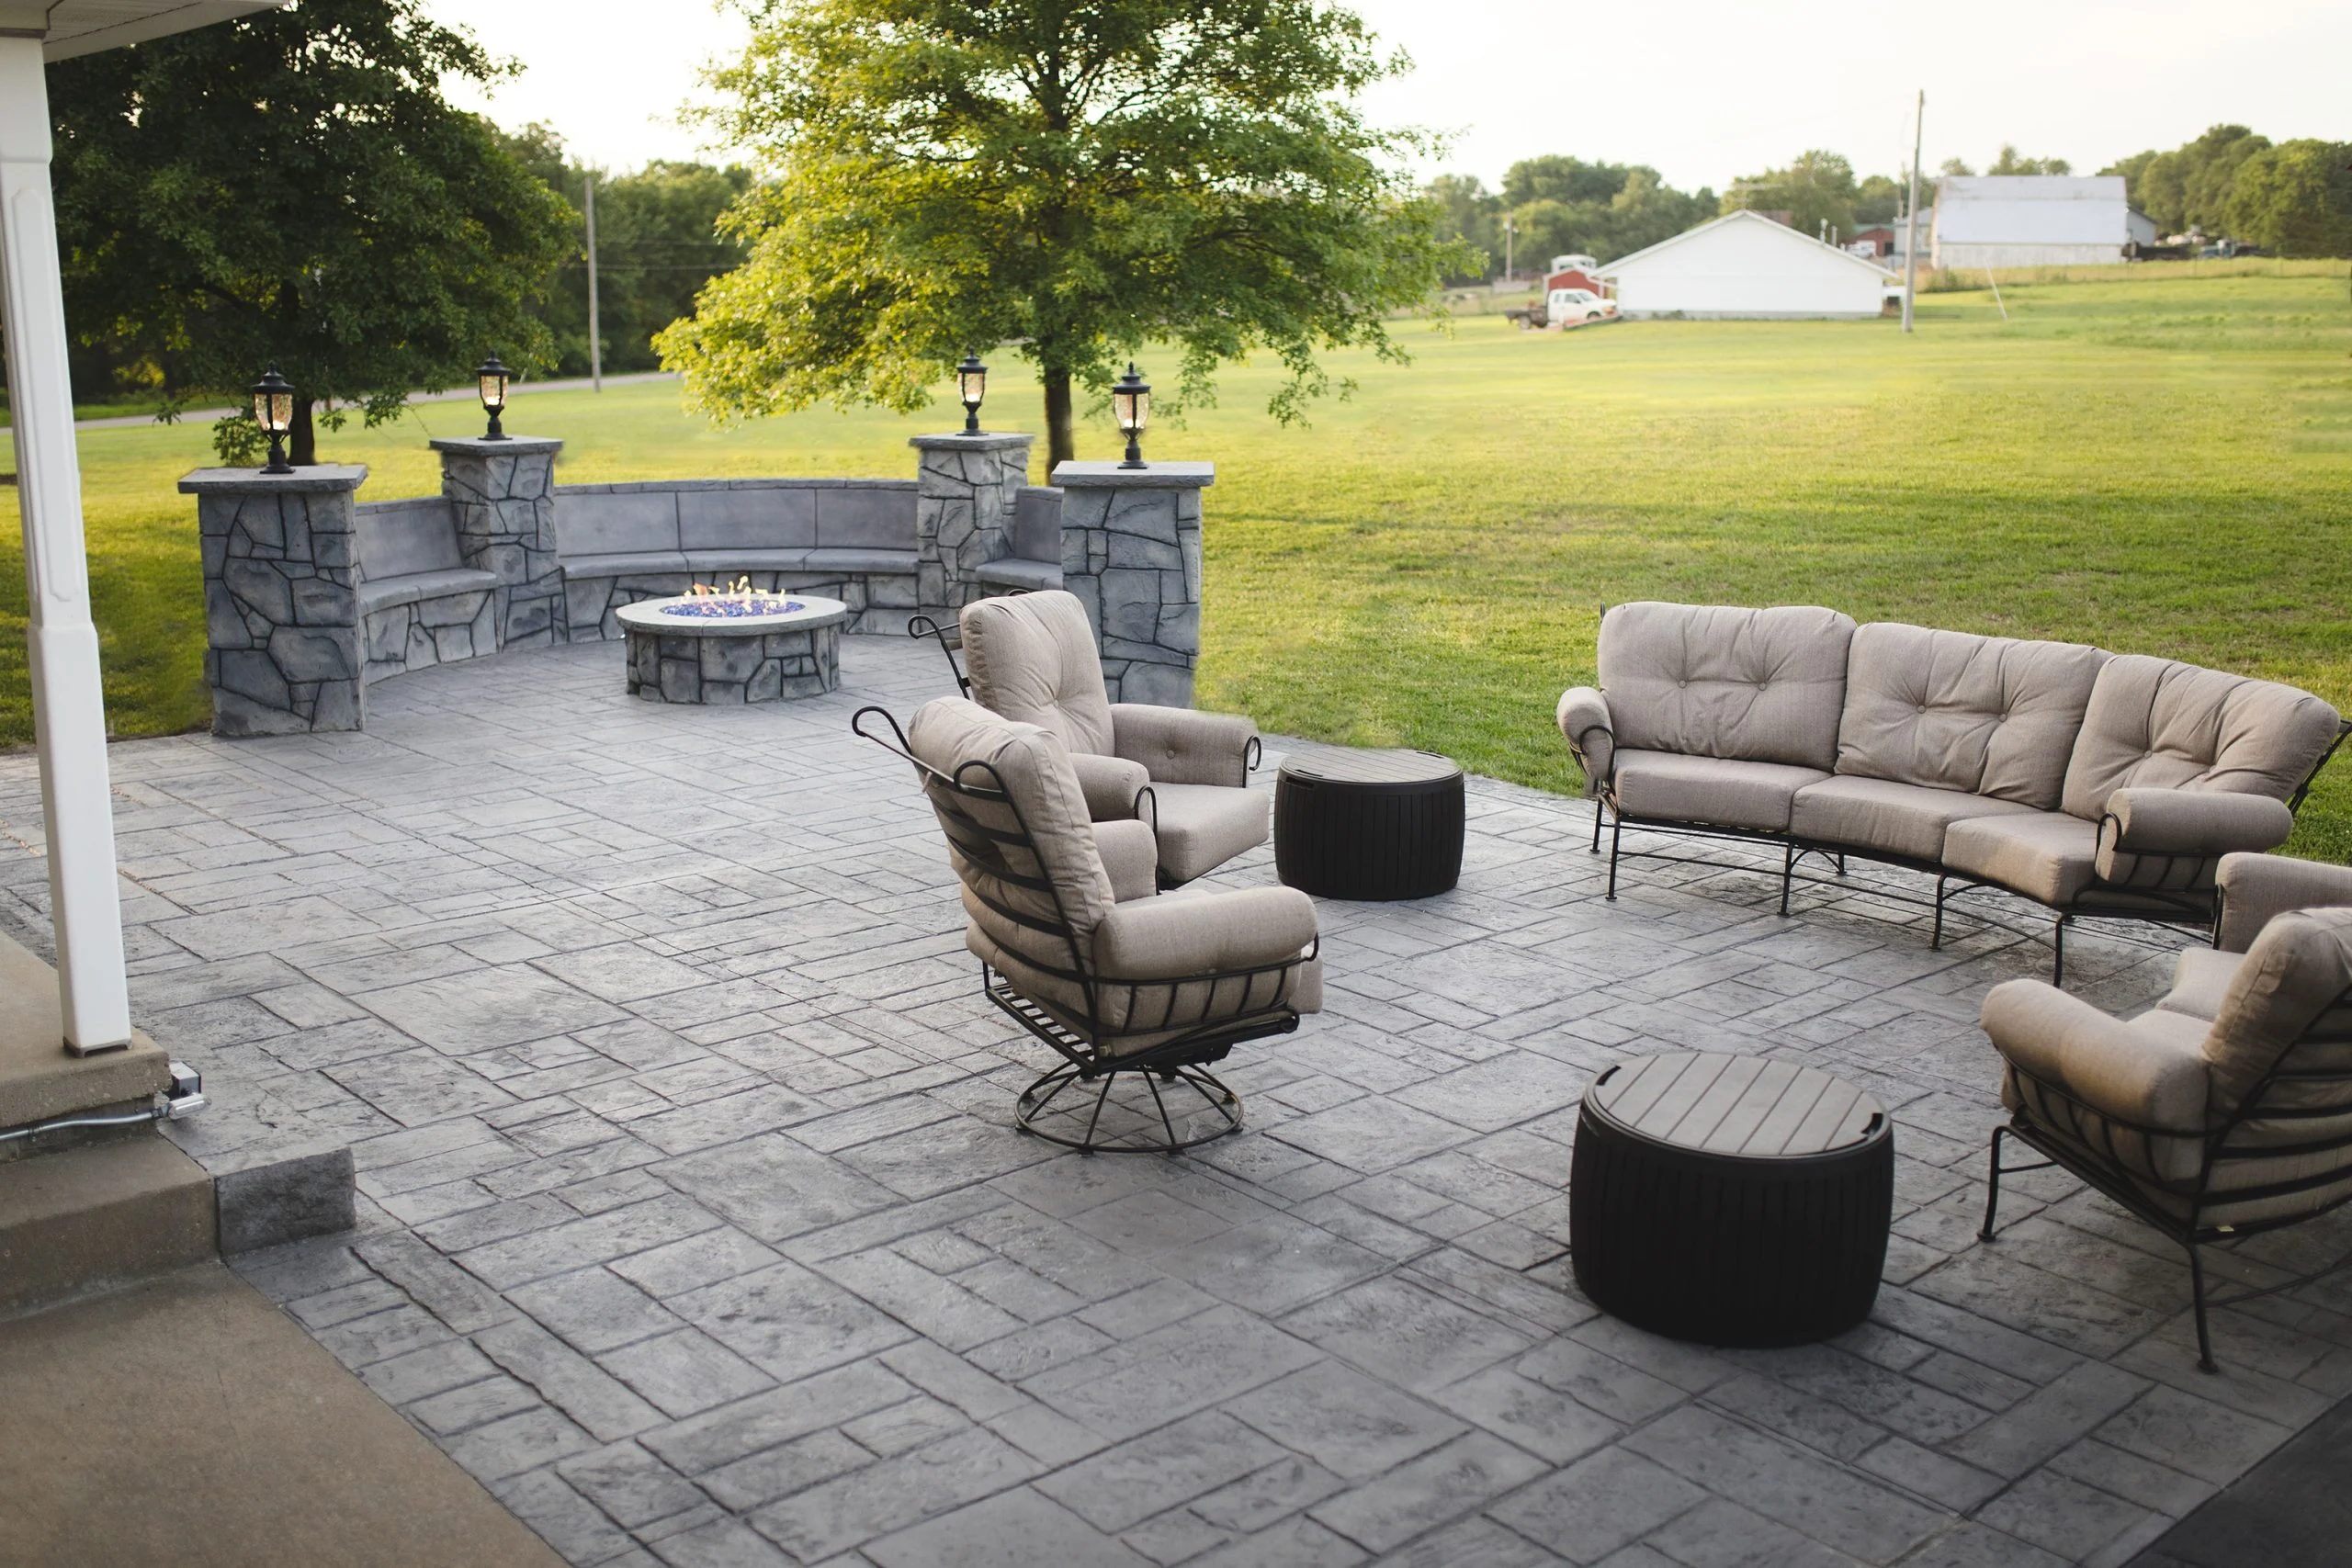
A well-sized stamped concrete patio looks like it belongs to the house and still leaves the rest of the yard usable. I’d call it successful if you can place the intended furniture with at least 36 inches of circulation, walk from the house without stepping around obstacles, and see water move away from the slab after rain. A 12 by 16 foot patio can be plenty for a small dining area.