Last updated: October 28, 2026
Quick Answer: For Stamped Concrete Patio Designs for Outdoor Kitchens, the safest place to start is with separate zones before you pick a stamp; in many projects, that means at least three zones: cooking, prep, and dining.
A stamped concrete patio for an outdoor kitchen works best when the plan is drawn around the grill island, prep counter, dining table, and walking paths before any pattern is chosen. The stamp is just the surface. Real success comes from giving heat, food prep, and foot traffic enough room to coexist without squeezing the patio.
Start with the outdoor kitchen patio layout, not the stamp pattern
A strong outdoor kitchen patio layout keeps cooking smoke, chair legs, and cross-traffic out of each other’s way. Sounds easy. Usually, it is not. That is where many stamped concrete projects go sideways: the slab looks fine on paper, then the grill ends up too close to the dining table or the walkway cuts straight through the cooking zone.
Think in three bands for an outdoor kitchen: cooking, serving or prep, and seating or dining. A grill island needs working room in front of it, not just a tight apron where one person can stand and little else. Prep counters need elbow room and a landing area for trays, cutting boards, and drinks; dining tables need chair pullback space so guests can sit without bumping the back of a grill operator. And the walkway? It should route people around the action, not through it.
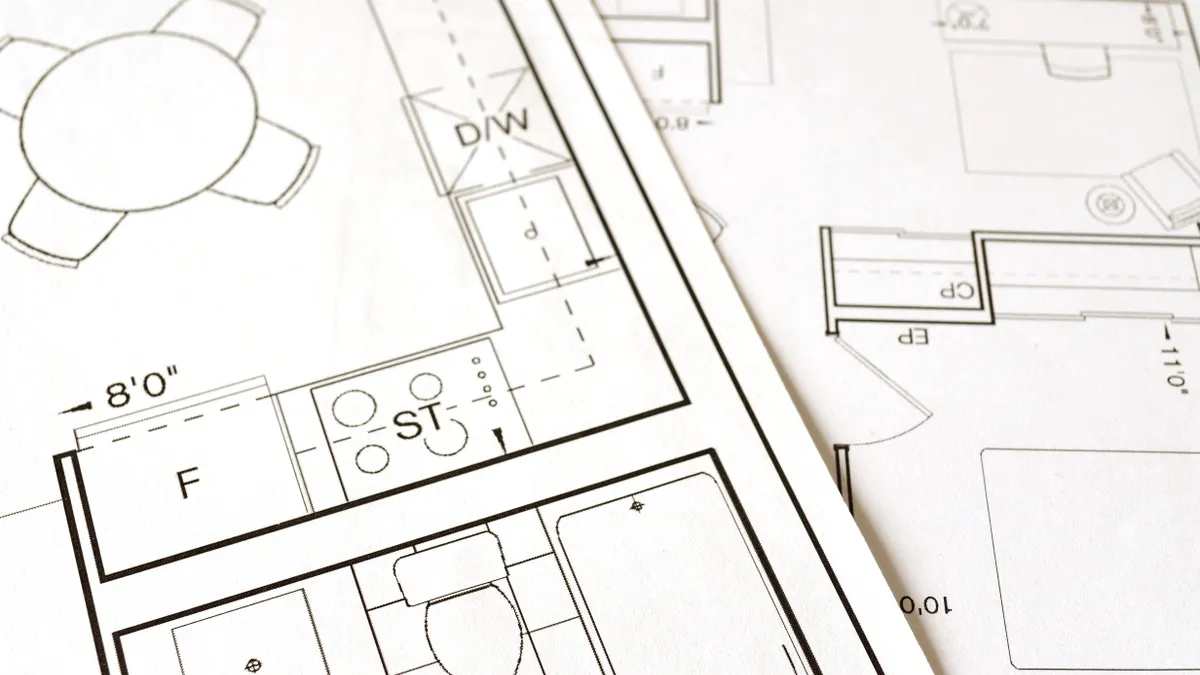
Sketch the patio full size on the ground with chalk or string before you settle on the stamp. If a chair back falls into the swing of a door or the route to the yard gate, the drawing is telling you the layout is off. Pattern choice comes later; a herringbone border can frame the kitchen zone, but it will not rescue a bad circulation plan.
Honestly, this is where many people overrate the finish. The slab is not just a decorative rectangle. If the outdoor kitchen patio layout does not work, the surface only conceals the mistake for a season.
For planning guidance on layout, clearances, and circulation, see the outdoor kitchen planning guide and the concrete patio design guide.
How do you plan cooking, prep, and dining zones on one slab?

Give each function a footprint, then leave circulation space between them. That means the grill island, prep counter, pizza oven, and dining table each get their own zone, even when they all sit on the same poured concrete field.
A practical order helps:
- Place the grill island first. It anchors the cooking zone and usually sets the most critical clearances. The operator needs a steady stance in front of it and enough room to open lids, doors, or storage without pushing guests into the cooking lane.
- Set the prep counter beside, not behind, the grill. Food prep works better when the counter sits within one step of the grill but does not block access to it. A straight run or an L-shape usually reads cleaner than scattering small surfaces across the patio.
- Position the pizza oven with heat and movement in mind. A pizza oven belongs where smoke, heat, and unloading space will not interfere with seating. It also needs a safe buffer from upholstered chairs, umbrellas, and tight corners.
- Lay out the dining table after the kitchen is fixed. The table should fit the patio without forcing people to squeeze past hot equipment. Leave enough room for chairs to slide out fully, then add a circulation path around the edge.
- Trace the main walkway last. The walkway should connect doors, gate access, and yard routes without sending people through the cooking zone. A clean edge path usually works better than a diagonal cut through the middle.
Put heat and prep near each other; keep dining and through-traffic at the perimeter. That simple rule does a lot of work. A stamped concrete patio can still look unified while functioning like three separate spaces. That is the whole trick.
For size and footprint ideas, the patio dimensions guide is a useful reference.
Stamped concrete patio designs for outdoor kitchens
Stamped concrete patio designs for outdoor kitchens need to balance texture, slip resistance, and visual zoning, not merely match the house. The pattern has to fit the way the space is used: cooking spills, chair movement, and constant foot traffic.
Slate or ashlar patterns often suit an outdoor kitchen because the joints give the slab a bit of rhythm without making it noisy. Wood plank stamps can also work when the patio extends from an indoor great room and you want the kitchen area to feel warmer than plain broom-finished concrete. A unified field can be attractive, but around a grill island and dining table it may feel too flat unless borders or color changes break it up.
According to the American Concrete Institute, exterior slabs need proper drainage and surface finish selection to perform well over time; for stamped finishes, that means the design should support use, not just appearance. The American Concrete Institute is a good technical source for concrete best practices.
Borders matter more than many homeowners expect. A contrasting edge can define the dining zone, separate the prep area, or frame the entire patio so the kitchen reads as its own outdoor room. That helps when the slab has to handle multiple jobs. It can also hide the visual transition between the cooking area and a walkway, which keeps the layout from feeling like one giant rectangle.
Texture matters too. Near an outdoor kitchen, a slick finish is a liability once grease, water, or ice gets on the surface. A stamped surface with enough traction is usually a better fit than a glossy sealer alone. It still needs cleaning, of course, but it should not feel like a skating rink when someone carries a tray.
For pattern ideas and finish options, compare this page with the stamped concrete patio ideas page and the outdoor concrete finishes guide.
This is where a generic patio article usually misses the mark. The pattern should come after the outdoor kitchen patio layout is settled, because the stamp cannot fix bad appliance placement. For design direction that sits above this page, the hub on stamped concrete patio design decisions is the next stop.
What clearances should a grill island, pizza oven, and prep counter have?

Set clearances by the appliance, the operator, and the chair traffic around it — not by the slab edge. There is no universal number that fits every outdoor kitchen, but the spacing has to let doors open, a cook turn, and guests pass without stepping into heat.
The most common clearance mistakes are easy to spot:
- Grill island too close to the dining table. The result is constant crowding and a hot zone that diners may treat like a shortcut; if the patio feels unsafe or awkward, consult a qualified outdoor kitchen designer or contractor before pouring the slab. The fix is to shift the table or turn the cooking line so people pass behind the chairs, not beside the grill.
- Prep counter with no landing space. The result is clutter on the lid, on the dining table, or on the walkway. The fix is to reserve a real work surface next to the grill and keep the route open.
- Pizza oven boxed into a corner. The result is poor access for turning, launching, and removing pans. The fix is to leave an open side and a safe buffer from seating.
- Walkway squeezing between equipment. The result is shoulder contact, spills, and traffic jams. The fix is to route movement around the kitchen edge.
Walk the proposed path with a tape measure and mark the swing of doors, lids, and chair backs. If the route feels tight before the patio is poured, it will feel worse once the concrete is stamped and sealed. I would also avoid placing a pizza oven where smoke drifts directly across the main seating zone or where guests have to cross the cook’s line to reach the table. That setup turns a nice evening into a bottleneck.
Think in layers: hot appliance, working margin, then seating or walkway. That order prevents the most common frustration, which is a beautiful patio that still feels unsafe or awkward during a cookout. If you want more technical context, see the outdoor kitchen safety guide and the patio clearance guide.
How utility access changes the stamped concrete design
Utility access changes the stamped concrete design because gas, electric, water, and drainage all want different routes under the slab. Leave those routes unplanned, and the patio can end up with awkward cuts, misplaced control boxes, or a finished surface that had to be compromised later.
An outdoor kitchen usually needs some mix of gas line, electrical service, lighting, and sometimes water or drainage. Even when the appliance list is simple, the slab should not be poured as though no utilities exist. A grill island may need a line that enters from the side or rear. A pizza oven might need ignition or lighting access. A prep counter may need outlets for a mini-fridge, mixer, or task lighting. If the kitchen includes a sink, water and drainage need to be coordinated before the slab layout is finalized.
Stamped concrete helps here, and it can hurt too. It helps because one continuous slab can hide utility pathways and keep the patio visually clean. It hurts if the layout forces utilities to surface in the middle of the main pattern or through a visible control panel in the dining zone. A good contractor will usually plan access points, sleeves, or service routes so the finished surface does not look patched together.
The National Ready Mixed Concrete Association and the American Concrete Institute both emphasize proper planning and placement practices for durable concrete work, which is why utility coordination belongs in the design stage, not the finish stage.
Think ahead about maintenance too. Equipment fails, valves need service, and lines may need inspection. If the design buries every access point behind a heavy island or beneath the main dining area, repairs become expensive and disruptive. A bad job often shows up as uneven panel placement, obvious patching, or stamped pattern that suddenly changes direction around a utility cut. Like a shirt buttoned wrong, the flaw becomes impossible to ignore.
This is one reason a stamped patio for an outdoor kitchen should be designed with the installer and the kitchen builder together. The surface, the appliances, and the utility plan have to agree before concrete is placed.
What a bad outdoor kitchen patio layout looks like
A bad outdoor kitchen patio layout is one that looks complete on paper but fails in daily use. The clues are obvious once you know what to watch for.
First, there is a single narrow entry into the kitchen zone. That forces every guest, server, and cook through the same corridor, which makes the patio feel smaller than it is. Second, the dining table sits so close to the grill island that chairs collide with the work area. Third, the prep counter looks nice but has nowhere to put a tray, cutting board, or serving platter.
Another warning sign is a stamped pattern that competes with the function of the space. A very busy layout can make the patio feel chopped up when the grill island, pizza oven, and table already create a lot of visual load. In that case, the surface needs fewer distractions, not more. The finish should support the plan, not fight it.
Heat and traffic conflicts are worth a hard look. If smoke moves across the dining table, if people have to step around hot equipment to reach the house, or if the main walkway crosses the cook’s working area, the layout is wrong even when the stamp is beautiful. That kind of mistake costs comfort every time the patio is used.
In many stamped concrete projects, the simplest correction is to rotate the kitchen, shift the table, or widen the circulation path before the slab is poured. Changing the pattern after the fact is cosmetic. Changing the layout solves the problem.
What should you ask before you hire a contractor?
Ask how the contractor will set appliance clearances, utility routes, and circulation before you discuss pattern samples or sealers. Those questions show whether the person is designing an outdoor kitchen patio layout or just selling stamped concrete by the square foot.
Ask these questions directly:
- How will you plan the grill island, prep counter, pizza oven, and dining table on the slab?
- Where will the main walkway run so guests do not cut through the cooking zone?
- How will you handle heat-resistant placement near cooking equipment?
- Where will gas, electric, or water access enter the patio?
- What happens if the proposed layout leaves chair clearance too tight?
- How will you protect the stamped pattern around service access points?
The answers should be specific, not vague. A serious contractor should be able to explain how the slab shape, control joints, appliance pads, and finish work together. If you hear only pattern talk and no discussion of traffic flow or utility access, that is a warning sign.
Cost will vary with the size of the hardscape, the complexity of the stamp, the number of zones, and the utility work. A simple patio with one cooking station is not the same job as a multi-zone design with a pizza oven, integrated seating, and lighting. The more the layout has to do, the more planning matters. A cheaper bid can become expensive if it ignores clearances and forces redesign later.
This project is not for a homeowner who wants the biggest possible patio with no functional plan. It is for someone who wants a space that cooks well, seats comfortably, and moves cleanly from house to yard.
Key Takeaways
A stamped concrete patio for an outdoor kitchen succeeds when the layout comes first and the finish comes second. The best designs separate cooking, prep, dining, and traffic so the grill island, prep counter, pizza oven, and walkway each have room to do their job. Bad clearances, weak utility planning, and crowded seating are the mistakes that turn a nice patio into a frustrating one.
What size patio do you need for an outdoor kitchen?
The right size depends on what the patio has to hold and how people will move through it. A single grill island needs far less room than a full setup with a prep counter, pizza oven, dining table, and walkway. The better question is not square footage alone, but whether each zone has enough working and seating clearance to function comfortably.
Can stamped concrete go under an outdoor kitchen?
Yes, stamped concrete can be used under an outdoor kitchen when the slab is planned for the load, utility access, and heat exposure. The finish should be chosen after the appliance layout is set, because the stamp does not solve poor placement. Service access, drainage, and cooking clearances still have to be worked out before the pour.
How do you plan seating around an outdoor kitchen patio?
Plan seating around the outside of the cooking zone, not inside it. The dining table should have enough room for chairs to pull out without hitting the grill island or prep counter, and guests should be able to reach the table without crossing the main cooking path. A clear walkway around the edge usually works better than running traffic through the center.
Drafted with AI; not yet reviewed by a person.