Last updated: September 10, 2026
Key Takeaways
- A job that feels easy at 70°F and calm air can turn frantic at 90°F with a breeze.
- A weak job often looks fine for 30 days and then starts showing random cracks, color blotches, weak edges, or sealer issues.
- In many regions, the slab thickness is about 4 inches for pedestrian use, with thicker edges or local thickening where required by frost or soil conditions.
- Place 4 to 6 inches of compactable gravel or crushed stone in lifts, compacting each lift with a plate compactor.
Stamped concrete patio installation is a multi-step concrete pour, finish, color, stamp, and cure process that rewards careful prep and punishes shortcuts; deciding who to hire? Consult a professional and review manufacturer and trade guidance before committing to the stamped concrete patio installation process — complete guide. The real question is not “What pattern do I want?” It is “Can this contractor build a slab that drains, resists cracking as much as concrete can, and still looks clean after the release powder and sealant go on?”
I wrote this for a homeowner or property manager who already knows the patio area, has a rough budget in mind, and wants to understand the installation sequence well enough to compare bids. I’m also naming the stamped concrete patio installation process — complete guide here because that is the topic throughout this article. You are not trying to mix your own concrete truck, and you are not asking about a tiny stepping-stone project. Fair enough. I’m also assuming a normal exterior patio in residential work, not a structural deck replacement or a commercial plaza with engineered drawings. But if your site has major slope, soft fill, poor drainage, or frost-heave history, those details matter enough to change the plan before anyone pours 4 inches of concrete.
What stamped concrete patio installation actually involves
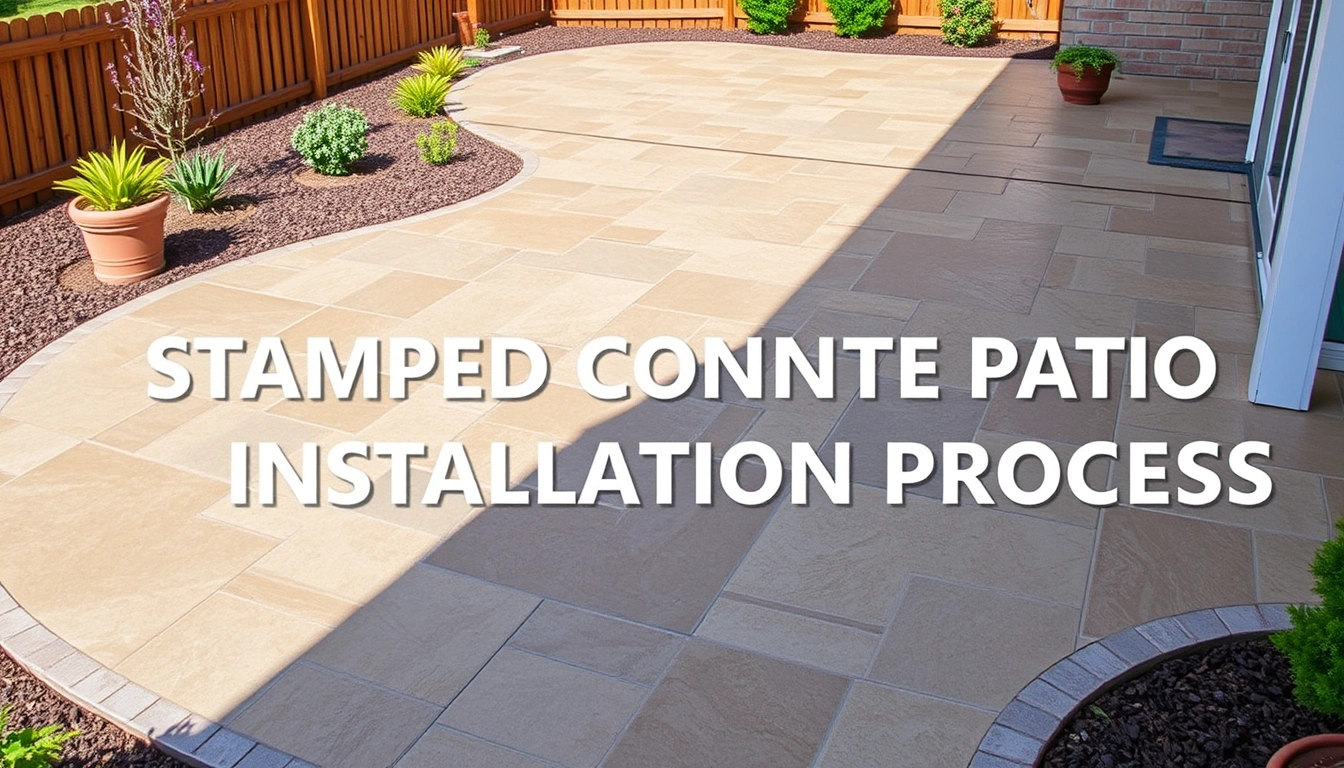
Stamped concrete patio installation is the process of placing a concrete slab, adding color, imprinting a texture while the surface is still plastic, and then sealing it so the patio resembles stone, slate, brick, wood plank, or tile without being made of those materials. The stamped concrete patio installation process — complete guide is about concrete with a surface finish and color system applied at the right moment, usually over a 4-inch-thick residential patio slab with reinforcement suited to the site and local code.
That distinction matters because stamped concrete succeeds or fails on timing and prep, not on the pattern alone. A good stamp job starts days before the pour, with subgrade work, forms, drainage, access planning, and materials ordered to match the crew size and weather window. A weak job often looks fine for 30 days and then starts showing random cracks, color blotches, weak edges, or sealer issues.
For a typical residential patio, I would expect the project to include: excavation, base preparation, form setting, reinforcement, concrete placement, optional integral color or dry-shake color hardener, stamping, edge work, curing, cutting or planning control joints, and sealing. In many regions, the slab thickness is about 4 inches for pedestrian use, with thicker edges or local thickening where required by frost or soil conditions. The actual design should follow local code and the site, not a one-size-fits-all brochure. For a quick reference on jointing and flatwork fundamentals, the American Concrete Institute and the Portland Cement Association both publish guidance on concrete flatwork, and your local building department may have a patio handout with minimums.
This is not the right choice for every yard. If you want a surface you can patch invisibly after root movement or serious settlement, stamped concrete is a poor fit because the decorative skin and joint layout make repairs visible. If the ground moves a lot, if water sits where the patio will go, or if access is so tight that the crew cannot place concrete efficiently, I would pause before picking a stamped finish. A standard broom-finish slab is sometimes the smarter call when budget, drainage, or long-term repairability matter more than appearance. Trade-off? The plain slab is less flashy, but it is easier to live with.
For pattern selection and material behavior, the terms “release agent” and “control joints” matter. A release agent is the powder or liquid that keeps the stamp mats from sticking and helps create antique shading. A control joint is a planned weakened line cut or formed into the slab so concrete cracks there instead of in random places. If a contractor talks only about the pattern and not about those two items, that is a warning sign. Want a deeper primer?
How do you install a stamped concrete patio?
You install a stamped concrete patio by preparing the base, forming the slab, placing and finishing the concrete, stamping it at the right set, then curing and sealing it. The sequence matters because each step affects the next one, and there is very little forgiveness once the truck arrives.
- Lay out the patio and confirm slope. Mark the finished footprint with stakes and string, then set a consistent slope away from the house of about 1/8 inch to 1/4 inch per foot, depending on local drainage needs and code. Before any digging, check the slope with a level or laser. A problem shows up when water would run toward the foundation or collect in a low corner.
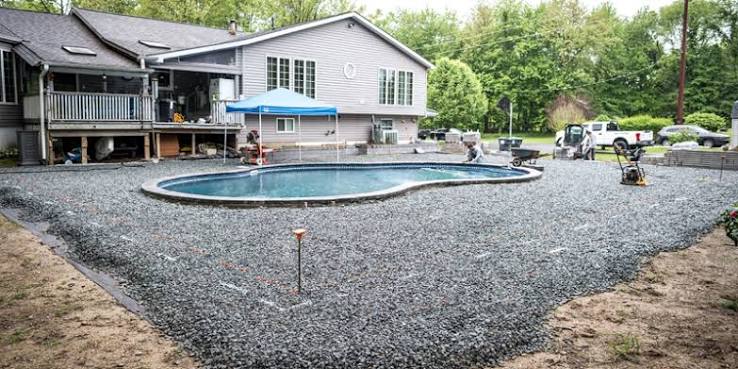
- Excavate to the required depth. Remove topsoil, roots, and soft fill until you have room for the base, slab thickness, and form boards. A common residential build ends up roughly 6 to 8 inches below finished grade before base is added, but the exact depth depends on soil and finish height. Make sure all organics are gone. Left-behind root matter or spongy soil is a headache waiting to happen; it settles later.
- Compact the subgrade and add base material. Place 4 to 6 inches of compactable gravel or crushed stone in lifts, compacting each lift with a plate compactor. Verify that the base is firm and does not rut under foot or equipment. A loose base that feels soft or pumps moisture leads to cracking and unevenness, simple as that.
- Build and brace the forms. Set straight form boards to the exact perimeter and brace them so they cannot bow when concrete is placed. Verify dimensions, diagonals, and height with a tape measure and level. A wandering form line shows permanently in the finished patio.
- Install reinforcement and any embedded details. Place welded wire mesh, rebar, or fiber reinforcement as specified, and keep it lifted into the slab rather than lying on the base. Verify that chairs or supports hold the steel in the middle third of the slab depth. Reinforcement lying on the ground does almost nothing to limit cracking.
- Place the concrete at the right mix and slump. Order a patio mix suited to exterior flatwork; many crews aim for a workable but not soupy consistency, often around a 4-inch slump, though the exact target should come from the contractor and supplier. Verify that the mix can be placed and finished without excessive water added on site. “Watering it down” weakens the surface and makes color less predictable.
- Screed, bull float, and edge the slab. Strike off the concrete to height, flatten ridges, and bring up a uniform paste before stamping. Verify that the surface is level enough to accept the pattern and that edges are crisp. Overworking the top paste can trap bleed water and create a weak skin.
- Apply color system and release agent. If using dry-shake color hardener, broadcast it evenly and float it in; if using integral color, confirm it was batched in before delivery. Then apply release powder lightly and evenly before stamping. Verify that coverage is consistent and that there are no bare patches or heavy clumps. Uneven color or stamp sticking becomes visible in every high spot.
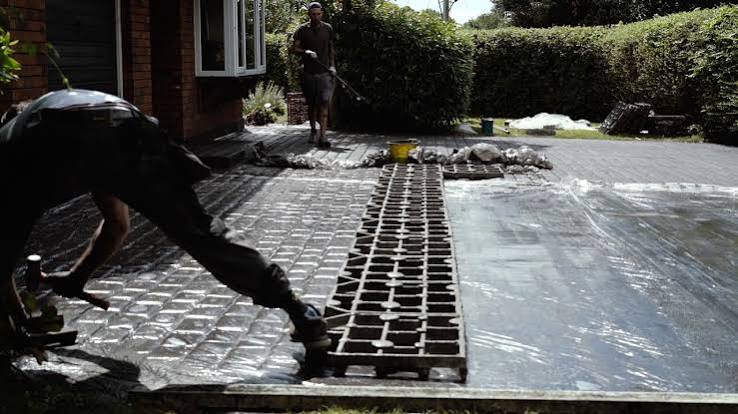
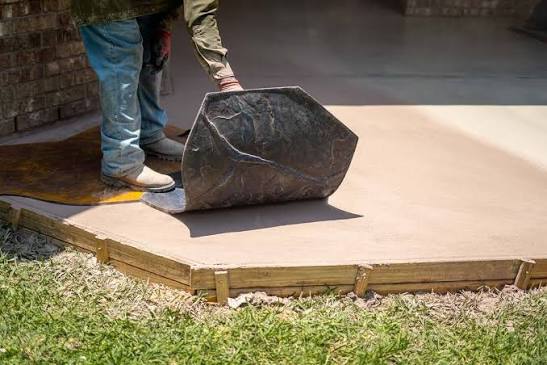
- Stamp while the concrete is ready, not sooner. Set the first mats when the slab can take impression without bleeding or collapsing under foot. Verify that the stamp leaves full texture but does not sink or smear. Stamp too early and the pattern blurs; too late leaves shallow, broken impressions.
- Detail the edges, joints, and transitions. Use edge tools and hand mats for borders, and form or saw control joints at planned intervals. Verify that joints align with the shape and that transitions to doors, drains, and walkways are clean. Random cracking through the middle of a field usually means the slab had no sensible joint plan.
- Allow initial cure, then clean and seal. After the slab has gained enough strength, consult a professional or follow the sealer manufacturer’s directions on when to wash off release powder and apply a compatible sealer in thin, even coats. Verify that the sealer does not puddle or whiten. Sealing too soon or too heavily can trap moisture and create cloudiness or peeling. For product-specific instructions, see ACI guidance and the Portland Cement Association.
The biggest thing a homeowner should watch in this process is timing; ask if the crew treats it like a skill or just a calendar slot, and consult a professional if the schedule seems rushed or vague. Stamped concrete is often placed in one push, but that does not mean every crew works at the same pace. Hot weather, wind, low humidity, shaded corners, and colored mixes all change set time. A job that feels easy at 70°F and calm air can become frantic at 90°F with a breeze. Local conditions matter more than pattern photos.
A second thing to watch is how the contractor handles joints. A decorative slab still cracks like concrete, so the plan should direct those cracks. If someone says, “The stamp pattern will hide the cracks,” I’d be cautious. Pattern lines can camouflage small movement, but they do not stop physics.
What should I ask before I hire a contractor?
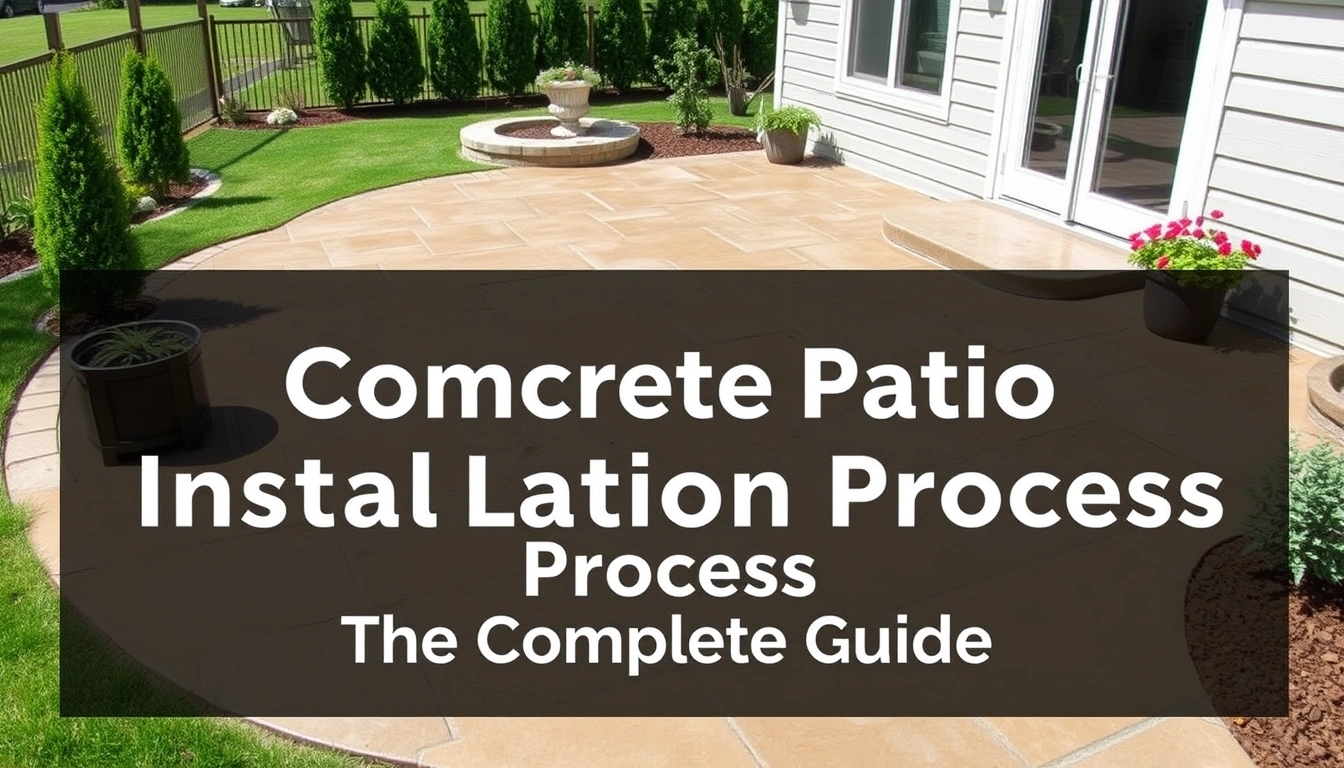
Ask about base prep, slab thickness, joint layout, color method, sealing, and drainage before you hire anyone. Those answers tell you more than a glossy gallery ever will.
Start with the site itself. Ask how much excavation they expect, what base material they use, and how they will compact it. If they mention 4 to 6 inches of crushed stone and a plate compactor, that is a normal starting point for many residential patios. If they brush off base prep as a minor detail, move on. Ask how they will slope the slab and where water goes during a heavy rain. A patio that looks perfect but sends water toward the house is a bad job, even if the stamping is beautiful. For drainage details, your local building department and the PCA residential concrete guide are both useful references.
Then ask about thickness and reinforcement. For a pedestrian patio, 4 inches is common, but the answer can change with soil, span, frost, and local rules. Ask whether they use rebar, welded wire mesh, fiber, or a combination, and how they keep it suspended during the pour. The right answer should sound specific, not vague. Reinforcement is not there to make concrete uncrackable; it helps hold cracks together and stabilize the slab. If the project is near a garage or driveway, ask whether the detail changes at the edge.
Ask how they color the concrete. There are three common approaches: integral color mixed through the concrete, dry-shake color hardener broadcast on top, or a stain applied later. For many stamped patios, integral color plus release agent or dry-shake plus release agent are the standard decorative methods. Each has trade-offs. Integral color is consistent through the slab but can look slightly different from batch to batch. Dry-shake hardener gives a denser, richer surface but demands careful timing and finishing. If a contractor cannot explain the difference in plain terms, that is a concern. For color standards and product compatibility, see this overview from the American Concrete Institute and the supplier’s technical data sheet.
Ask about sealing in concrete terms. A sealer protects the decorative surface from staining and helps the color pop, but it can also darken the finish and may need periodic reapplication. Not every sealer behaves the same. Acrylic sealers are common in decorative work, while solvent-based and water-based products differ in sheen, odor, and maintenance. The point is not to memorize chemistry; it is to know that sealing is part of the system, not an afterthought. Ask what maintenance interval they recommend and how they handle resealing.
Finally, ask for the joint plan and the schedule. A patio with a lot of long, uninterrupted runs needs planned control joints, usually placed to break up rectangles and reduce random cracking. Ask where those joints will land relative to the stamp pattern. A contractor who thinks ahead will show you how the layout avoids awkward sliver sections and places joints in less visible locations when possible. The stamped concrete patio installation process — complete guide should include that level of coordination before anyone pours.
If you want a useful outside reference, the Portland Cement Association and the American Concrete Institute both publish guidance on concrete flatwork and control joints. I would also look at the American Concrete Institute’s concrete placement and finishing documents and your local building department’s residential patio requirements, because climate and code change the right answer more than marketing does. See also the ACI homepage and PCA resources.
How long does stamped concrete patio installation take?
A stamped concrete patio usually takes several days of field work plus curing time, and the calendar can stretch if weather or access slows the job. A simple residential patio may be excavated, formed, poured, stamped, and initially sealed over 2 to 4 working days, but that does not mean it is ready for full use immediately. The stamped concrete patio installation process — complete guide also depends on when the site can be accessed and how quickly the base can be corrected.
The pre-pour phase often takes the longest if the site needs excavation, base correction, or drainage changes. On a straightforward yard with access for equipment, layout and prep might take a day. On a sloped site, wet soil, or a yard with fencing and narrow access, prep can take longer because the contractor has to move material by hand or small machines.
The pour day is the most compressed part of the job. Once the truck arrives, the crew has a limited working window before the concrete starts to set. That window changes with temperature, humidity, and mix design, but it is not generous enough for hesitation. A patio with stamps, borders, color hardener, and multiple finishers needs enough labor to keep the slab moving while the surface is still ready to take texture. If a contractor schedules one person to do a full decorative patio, I would question the plan. For timing benchmarks, many residential crews plan the decorative phase within the same day as the pour, with stamping following placement by minutes rather than hours.
Curing time matters just as much as installation time. Decorative concrete is often walked on sooner than it is fully ready for furniture or heavy use, but exact timing depends on the mix, weather, and sealer. A common mistake is confusing “hard enough to walk on” with “fully cured”; consult a professional or the sealer and mix manufacturer’s guidance before loading the patio. Those are not the same. Concrete gains strength over time, and early loading can mark the surface or compromise joints. If the contractor gives you a precise handoff schedule, ask whether that timing is for foot traffic, light furniture, or full cure. For curing fundamentals, the ACI and PCA both publish plain-language guidance.
Cost also tracks with time and complexity. I will not invent a universal price, because site access, square footage, color system, border details, and base work change the number too much. What I can say is that stamped concrete is usually priced above a plain broom-finish patio and below many natural stone installs, with decorative borders, multiple colors, and difficult site prep pushing the cost up. If you are comparing bids, compare line items: excavation, base, reinforcement, coloring method, stamping complexity, sealing, and cleanup. A low bid that excludes base correction or sealing is not cheaper if you have to pay to fix it later.
A good result looks even, aligned, and intentional. The pattern should read clearly from the house to the yard in most layouts, but that is a design preference rather than an absolute rule; joints should not slice awkwardly through focal points, and the color should look consistent except for the natural variation decorative concrete always carries. Some variation is normal. A patio that looks like a printed floor tile is not the goal. No plastic look.
What are the mistakes that ruin a stamped patio?
The most common mistakes are bad base prep, poor timing, overwatering, sloppy joint planning, and sealing at the wrong moment. Each one creates a different kind of expensive disappointment.
-
Skipping proper compaction. The consequence is settlement, dips, and cracks that show up after the first season. The correct alternative is compacting the subgrade and base in lifts, not just smoothing it with a rake.
-
Adding water to make the concrete easier to finish. The consequence is a weaker surface, more color inconsistency, and a higher chance of dusting or a soft top. The correct alternative is ordering the right mix and using proper finishing technique, not extra water.
-
Stamping before the slab is ready or after it has set too much. The consequence is blurred texture, torn edges, or shallow impressions that look flat in sunlight. The correct alternative is reading the set by the slab, the weather, and the crew’s working time, then stamping in sequence.
-
Ignoring control joints. The consequence is random cracking in the middle of the stamped field, often cutting through the most visible part of the patio. The correct alternative is planning joints to match slab geometry and placing them at intervals suitable for the layout.
-
Using too much release agent or sealer. The consequence is blotchy shading, slippery spots, white haze,