Last updated: September 10, 2026
Key Takeaways
- A compacted aggregate base is often 4 to 6 inches, but soil type matters; clay and fill may need more attention than firm native ground.
- A residential patio is commonly 4 inches thick, though thicker edges or step-downs may be used at exposed areas.
- The slab itself continues curing for about 28 days, which is the common reference point for concrete strength development.
- Those jobs change the reinforcement, drainage, and joint layout.
A stamped concrete patio installation starts with excavation and base preparation, then moves through formwork, reinforcement, pouring, coloring, stamping, curing, and sealing. Not exactly glamorous. This guide explains what happens during a stamped concrete patio installation, how each stage affects the result, and what to watch for before the concrete goes in.
Who this applies to, and what I’m assuming you already know
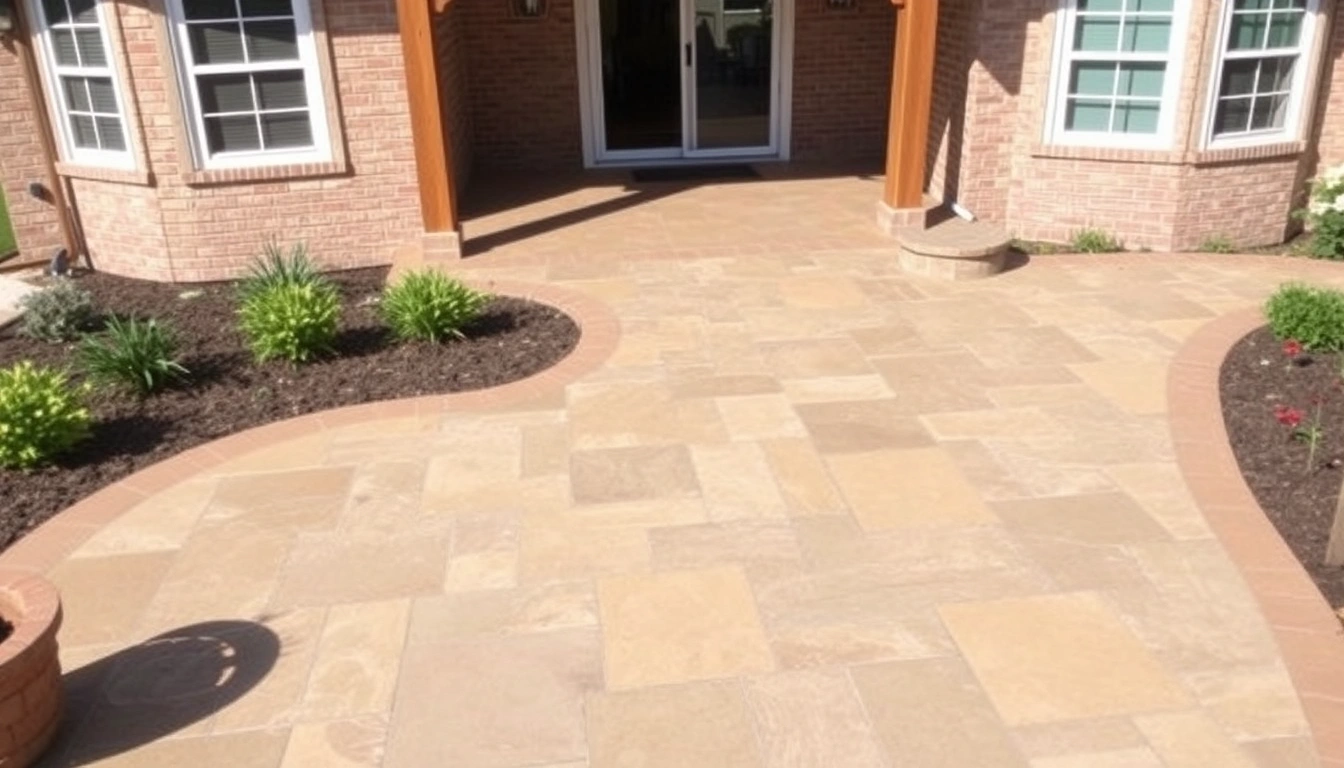
This applies to a homeowner or property manager who wants a decorative patio built on grade, usually 3.5 to 4 inches thick, with a stamped pattern and a sealer on top. I’m assuming you already know the general location you want the patio, have a rough size in mind, and are deciding who to call rather than trying to learn concrete as a hobby.
I’m also assuming this is a normal residential patio, not a driveway, pool deck, retaining wall top, or hillside slab. Those jobs change the reinforcement, drainage, and joint layout. Poor access, unstable soil, or big drainage headaches? Then the install still can happen, but the prep shifts enough that I’d treat it as custom work instead of a standard patio. In that case, consult a local concrete professional before you compare bids, because the layout and subgrade details can change materially from one site to the next.
Stamped concrete is not the same as pavers or a simple broom-finished slab. The pattern is pressed into fresh concrete with polyurethane mats, and the color is either integral, dry-shake, acid stain, or a combination. So timing matters a lot more than many buyers expect. If the crew is not organized, the pattern can be shallow, the joints can land badly, and the surface can lock up before stamping is complete.
I would not frame this as a DIY project for most people. The concrete only stays workable for a limited window, often measured in hours, and mistakes made during placement show up for years. And I would not treat every patio quote as equivalent. A bid that skips base thickness, joint spacing, or sealer type is not detailed enough to compare fairly, so it is worth asking a concrete professional to explain the differences.
What happens during a stamped concrete patio installation?
A stamped concrete patio installation happens in a fixed sequence, and the quality of each stage depends on the one before it. Here’s the short version: the crew prepares the ground, builds the slab shape, pours and finishes the concrete, stamps the surface at the right time, cuts or plans control joints, then cures and seals it. If anything in that sequence is unclear, consult the contractor before the pour so the plan is documented.
Usually, the work starts with layout. The contractor marks the patio footprint with string lines or paint, confirms finished elevations at the house threshold, and checks drainage slope. For a patio, a common target is about 1/4 inch of fall per foot away from the structure, though the exact plan depends on local conditions. Flat grade where water can sit? Steep enough that furniture feels unstable? That is a design problem, not a cosmetic one.
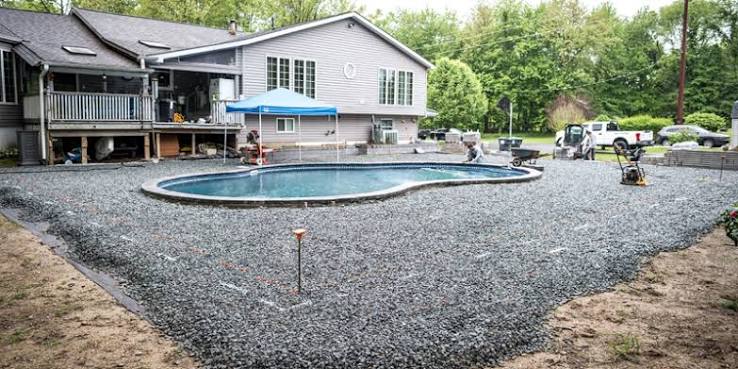
Next comes excavation and subgrade prep. The crew removes sod, topsoil, roots, and loose material, then compacts the soil and places a granular base where needed. A compacted aggregate base is often 4 to 6 inches, but soil type matters; clay and fill may need more attention than firm native ground. If the base is left soft or uneven, the slab can settle, crack, or pitch toward the house.
Then they set forms. These are usually 2×4 or 2×6 boards staked on the outside to define the slab edge and thickness. The forms should match the planned shape exactly, including curved edges if the design has them. Gaps under forms, loose stakes, wobbling corners — those are warnings. The trouble shows up in the finished edge and can affect thickness.
Reinforcement comes next, if specified. Some patios use rebar, typically on chairs so steel sits within the slab rather than on the ground; others use wire mesh or fiber reinforcement. Reinforcement does not prevent all cracking, but it helps control crack width and improves slab behavior. If the contractor says reinforcement is “optional” without explaining soil and span conditions, I would press for a reasoned answer.
Then the concrete arrives and is placed. A residential patio is commonly 4 inches thick, though thicker edges or step-downs may be used at exposed areas. The crew spreads, screeds, and bull floats the concrete to the right plane. Screeding is the straightedge pass that levels the slab, and bull floating smooths ridges after screeding. Water on top? That is where the paste gets weak and the color can turn blotchy.
Color is usually introduced during this stage. With integral color, pigment is mixed throughout the batch. With a dry-shake color hardener, the crew broadcasts powder onto the surface and floats it in. Timing is everything here. If the surface has bled too much water or the hardener is applied unevenly, the color can marbelize or streak.
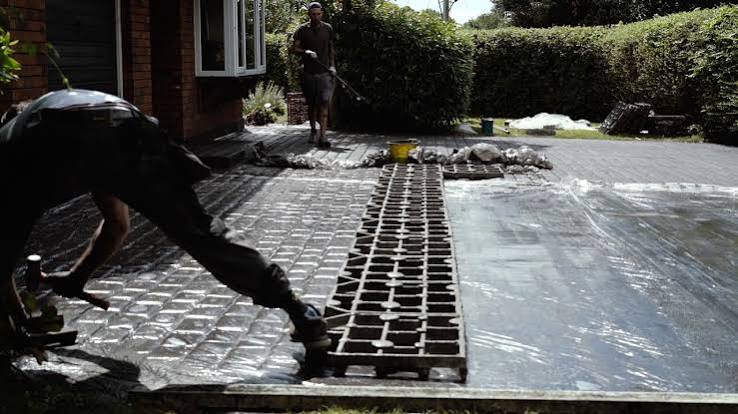
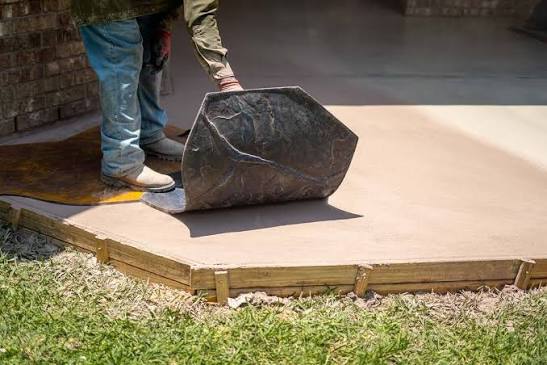
Stamping happens when the concrete reaches the right plastic stage, firm enough to support the mats but soft enough to take the imprint. The crew lays release agent, then sets the stamps in sequence so the pattern lines up. Common patterns include ashlar slate, random stone, or wood plank. The hard spots are edges, corners, and areas around drains, because the crew has to cut or detail those by hand. If the pattern depth is inconsistent or the seams wander, the stamping window was likely mishandled. That part gets sloppy fast.
After stamping, the slab cures. That means the concrete hydrates and gains strength over several days and weeks, and the contractor should monitor that early cure rather than assuming the surface is finished. Most crews protect the surface from rain, foot traffic, and aggressive cleaning during the early cure, but the exact protection method depends on weather and product choice. A sealer usually goes on after the slab has dried sufficiently and the contractor has cleaned off release residue. Sealers vary: acrylic sealers are common for stamped work because they enhance color and are easier to renew, but they may need periodic reapplication. If sealing is rushed over damp concrete, you can trap moisture and cloud the finish.
How much does a stamped concrete patio cost, and what changes the price?
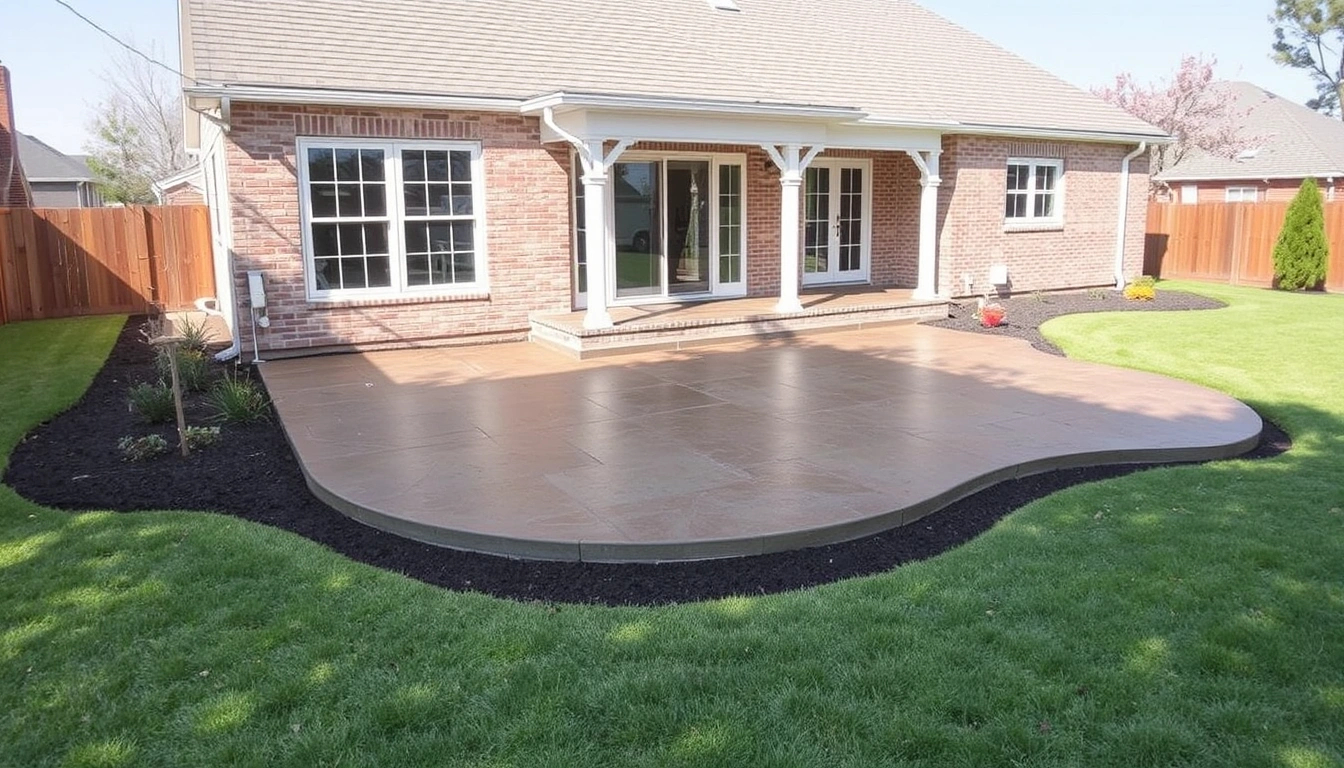
A stamped concrete patio usually costs more than plain concrete because of labor, color, stamping mats, sealing, and more careful finishing. I’m not going to give you a fake exact price, because local labor rates and site conditions change the number too much, but the main cost drivers are predictable: square footage, pattern complexity, edge detail, excavation, access, and whether old concrete or sod has to be removed first. For current pricing, a concrete contractor should give you a site-specific estimate rather than a one-size-fits-all number.
A simple rectangular patio with easy access costs less than a multi-level patio with curves, steps, and border accents. A darker integral color with a single stamp pattern is generally cheaper than multi-color work or a job that mixes stamp patterns and hand-cut borders. Removal of an old slab, hauling spoils through a narrow side yard, or working around existing utilities adds labor fast. Not subtle.
The base prep is one of the biggest hidden variables. A site with good native soil and proper slope may need only modest excavation and a compacted base. A site with fill dirt, tree roots, or drainage corrections may need extra aggregate, geotextile fabric, or more grading time. Those are not upgrades for show; they affect whether the patio stays level.
I would also ask about sealer in the quote. A good contractor should tell you what sealer they plan to use, how often it may need renewal, and whether the first coat is included. If the bid leaves out sealing, the patio may still be structurally fine but look unfinished and stain more easily.
The price question should also include joints, because control joints are not decoration. They are planned weak lines that help concrete crack where the contractor wants it to crack. Without a proper joint plan, the slab may crack across the face of the pattern, and that is much harder to live with than a joint hidden in the design.
What should happen before the concrete is poured?
The job should already be correct on paper before the truck arrives. That means the contractor has measured the patio, confirmed slopes, marked control joint locations, planned the pattern layout, and checked access for the ready-mix truck or wheelbarrow route.
I would want a clear conversation about thickness, edge detail, and any transitions at doors, steps, or existing walks. A patio that finishes too high at the threshold creates water problems. Too low, and you get an awkward trip edge. If a contractor cannot explain the final elevation in inches, the prep is not done.
Material order matters too. The mix design should fit decorative work, not just structural strength. A mix that is too wet is easier to place but harder to stamp cleanly; a mix that is too stiff can tear during finishing. Contractors often work with a slump appropriate for placement, but slump alone does not tell you whether the crew understands decorative timing. Ask how they handle hot weather, wind, and delayed trucks, because a 90-degree day changes the working window a lot more than a mild morning.
You should also know whether release agent will be powder, liquid, or both. Powder release is common on stamped work because it helps the mats separate cleanly, but it can leave residue that must be washed and sealed properly. If the contractor says they will “figure it out on site,” I would treat that as a sign the plan is not tight enough. Better to ask them to consult the spec sheet or manufacturer guidance before work starts.
Finally, make sure the crew talks about curing. Concrete does not finish when it is stamped; it finishes over time. Early drying from sun or wind can weaken the surface. In many climates, keeping the slab moist or protected for several days makes a real difference in surface quality. Boring? Sure. Still the difference between a patio that looks good and one that wears out early.
When should you stop the project and get a different plan?
You should stop and change course when the site conditions make a standard stamped patio the wrong tool. Here are the situations I pay attention to:
Water runs toward the house: Then the patio could trap runoff against the foundation — the plan needs regrading or a different drainage design before any concrete is placed.
The soil is soft, wet, or full of organic fill: Then the slab may settle unevenly — the contractor should address subgrade stabilization, not just pour over it.
You want a polished, glass-smooth surface in a freezing climate: That conflicts with traction and winter maintenance — a stamped texture with sensible sealer is a better fit than a slick finish.
The patio must be installed over a large old crack or failed slab: Then the base condition may be moving — removal and proper reconstruction are usually safer than a cosmetic overlay.
The design requires a lot of narrow cuts, curves, or small panels: That raises the chance of awkward stamp alignment and visible patching — a simpler pattern or different layout is smarter.
The contractor cannot explain joints, base thickness, or sealer: Then the job may be being sold as decoration without structural detail — get another bid.
Stamped concrete is wrong for some buyers because they want a surface that can be lifted and reset later, or because they know they will change the layout in a few years. Pavers may suit that kind of flexibility better. Stamped concrete is also a poor fit where deicing salt abuse, standing water, or repeated freeze-thaw cycling will be severe and maintenance will be neglected. It can hold up, but it asks for care.
What are the mistakes people actually make?
The most common mistake is treating the surface as the whole job. If the base is poor, the patio may look great on day one and crack or sink later. The fix is to spend money on excavation, compaction, and drainage before pattern work.
Another mistake is choosing a pattern without thinking about the slab shape. A large ashlar pattern can look clean on a broad rectangle, but on a tight, irregular patio it can create awkward partial stones at edges. The alternative is to match the stamp layout to the geometry, not force a catalog look onto the site.
A third mistake is asking for too much color movement. Multiple release colors, dark integral pigment, and heavy antiquing can look dramatic in a brochure, then busy in a small yard. I would choose simpler color work for smaller patios because it ages more quietly and is easier to refresh.
A fourth mistake is ignoring curing and reseal timing. If a patio is sealed too early, moisture can cloud the finish. If it is never resealed, UV exposure and traffic dull the surface. The correct alternative is a maintenance plan from the start, usually involving periodic inspection and recoat when the finish begins to lose water beading.
A fifth mistake is assuming all decorative concrete behaves the same in winter. In freeze-thaw regions, the sealer, drainage, and air-entrained mix matter more than the pattern. If the contractor dismisses those details, that is a problem, not a style difference.
How long does it take, and what does a good result look like?
A stamped concrete patio installation usually takes one to several days of field work, plus curing time afterward. A small simple patio may be excavated, formed, poured, stamped, and sealed over a short job window, while a larger or more complex patio can take longer because of layout, cleanup, and weather delays. The slab itself continues curing for about 28 days, which is the common reference point for concrete strength development.
A good result has even color, crisp but not overly sharp stamp lines, joints that make sense with the shape, and edges that are straight or smoothly curved as designed. The surface should not show obvious birdbaths, which are shallow depressions where water sits after a rain. It should also not have random straight cracks across the middle unless the contractor planned a saw-cut or tooled joint there and finished it cleanly.
I would inspect the patio in daylight, not just at dusk. Low sun can hide trowel marks, uneven release residue, and blotches. I would also look along the edge where the slab meets the house and around drains or steps. That is where rushed work shows first.
A good patio is not the one with the deepest stamp or the darkest color. It is the one that fits the site, sheds water, and keeps its shape without obvious repairs. If the contractor can explain why the joints are where they are, why the slope is what it is, and how the sealer will be maintained, that is usually a better sign than a flashy pattern board.