Last updated: September 10, 2026
Key Takeaways
- In many residential settings, that means at least the top 2 to 6 inches; the actual depth still depends on the site.
- For a typical patio, the cut often lands at roughly 8 to 10 inches below finished surface before compaction, though the layout may need more.
- When fill is added, place it in thin lifts — commonly 3 to 4 inches loose — then compact each lift before adding more.
- Use a clean, angular aggregate such as crushed stone if the design calls for one, usually 4 to 6 inches for many patios, compacted in layers.
A patio slab only behaves well when the ground under it is treated like part of the project, not an afterthought. Get that wrong, and the concrete is already on the back foot. I’m writing for a homeowner deciding whether to hire a contractor for a patio, walkway, or small slab in a typical residential setting, not a footing, driveway apron, or structural slab. If your yard has deep fill, a steep slope, standing water, expansive clay, frost heave issues, or you already see sinkholes or major cracking nearby, this stops being a simple patio prep job and starts needing site-specific design.
What concrete patio subgrade prep actually has to do
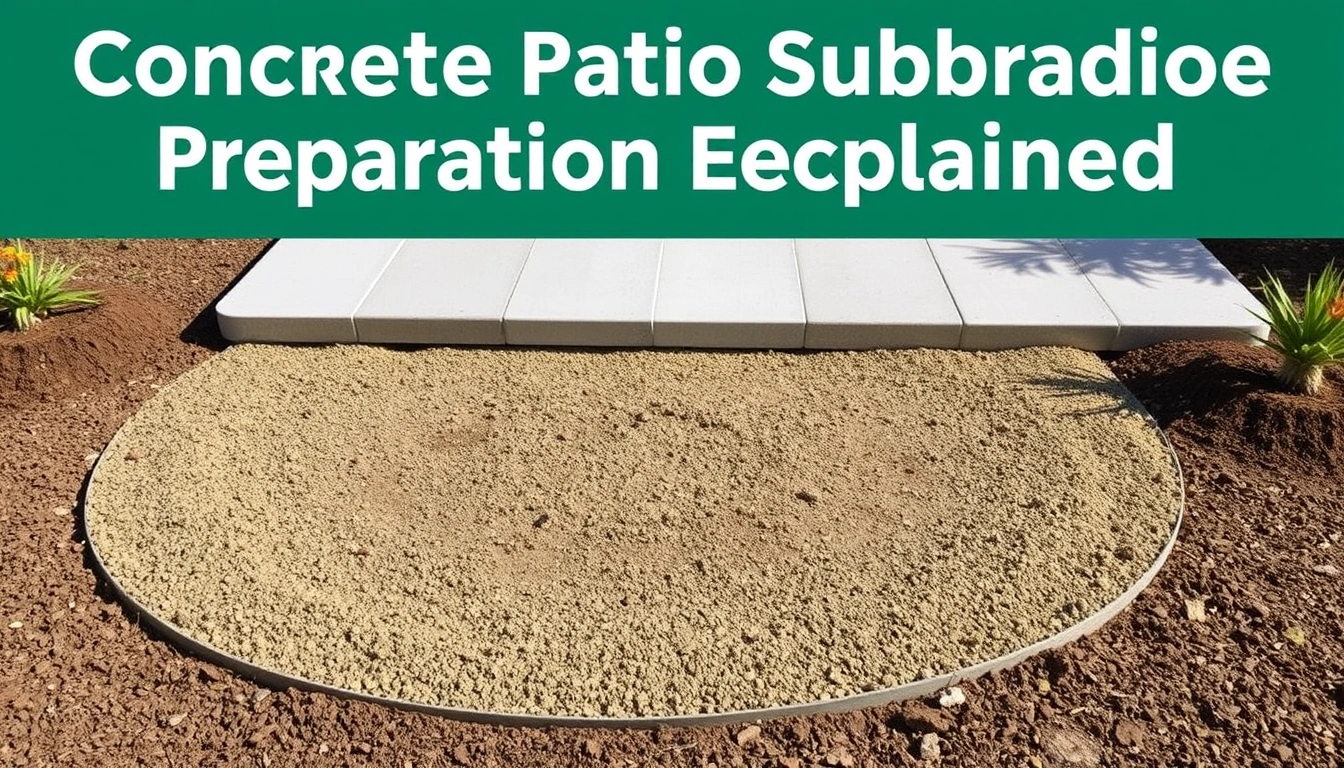
Concrete patio subgrade prep means shaping, compacting, and draining the soil and base material under the slab so the finished patio has even support. Not “hard enough.” Even support. The aim is a stable, level layer that stays put after the pour, with native soil, compacted fill, and sometimes a granular base such as crushed stone doing the heavy lifting.
For a standard patio, I expect the prep plan to account for slab thickness, slope for drainage, edge support, and what the soil is like at the site. A 4-inch patio slab on dense sand behaves very differently from the same slab on silty topsoil or on loose fill. The term subgrade means the prepared soil surface directly below the base or slab; subbase means the material placed on top of that soil, often compacted gravel. Those are not interchangeable terms, and a contractor who uses them loosely may also be loose with the prep. According to the U.S. Army Corps of Engineers, subgrades and bases must be compacted to meet project requirements, not guessed at by feel; see EM 1110-2-1906 and ASTM D698 for standard compaction references. U.S. (Source: Army Corps of Engineers | ASTM D698)
Concrete is unforgiving once the ground shifts. That’s the blunt version. A patio spanning soft spots can crack along the weak line long before the finish wears out, and poor prep also traps water under the slab, which can lead to pumping, frost damage in colder climates, or a patio that drains toward the house instead of away from it. The American Concrete Institute and the Portland Cement Association both stress uniform support and drainage as basic slab performance factors. (Source: ACI | Portland Cement Association)
For a homeowner, the useful question is not “Are they pouring concrete?” It is “What happens between the dirt and the slab, and how do I know it is enough for my soil?” A good answer should mention excavation depth, compaction method, and drainage slope in measurable terms.
What a contractor should check before they dig
Before the first shovel goes in, a contractor should check soil condition, finished elevation, drainage path, and access. Those four checks shape both the risk and the price. A flat yard with sandy soil is one thing. A shaded site with clay, tree roots, and no clean place for water to go is another. Night and day.
First up is the existing grade. I’d want to know where the patio surface will sit relative to the house, doors, and nearby hardscape. A patio should generally slope away from structures so water does not sit against a foundation or flow back inside. On a small residential slab, a common drainage target is about 1/8 to 1/4 inch per foot away from the house, though the exact slope should fit the site and local code. If a contractor shrugs at slope, that is a warning sign.
Soil type comes next. Clay holds water and can expand and shrink. Silt compacts poorly when wet. Sand drains well but can be loose if it is not compacted and confined. Topsoil is not a base layer at all; it contains organic material that decomposes and settles. If the top few inches are dark, rooty, or spongy, that material usually comes out. The National Ready Mixed Concrete Association notes that improper subgrade conditions are a common cause of slab distress, and municipal building guides often call for removing organics before placement. (Source: NRMCA)
Then comes excavation depth. The finished slab elevation, base thickness, and any vapor or drainage layer determine the cut. For many patios, the contractor may remove enough material to allow a compacted 4-inch slab plus 4 to 6 inches of granular base, though that is not a universal rule. If the yard already sits too high near the house, the depth can become a design problem instead of a dig-and-pour job.
Cost follows those checks. A simple patio on easy access and stable soil may cost far less than one that needs extra excavation, haul-off, imported gravel, or correction of poor drainage. I’d expect a contractor to explain what part of the job is labor, what part is disposal, and what part is material. If they give one flat number without noting unknowns under the surface, they may be hiding the very work that makes the slab last.
How do you prepare the subgrade for a concrete patio?
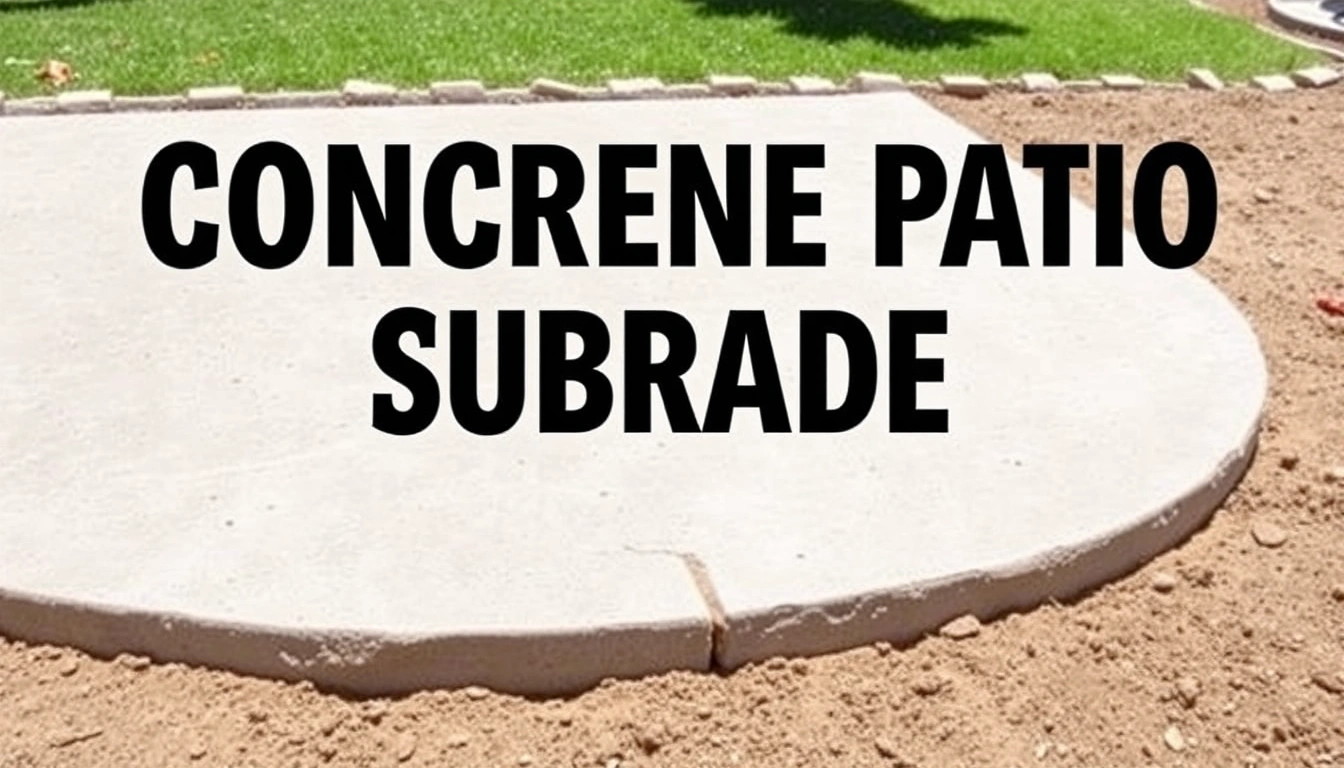
Start with the excavation. Then shape drainage, compact the soil in lifts, and place a well-compacted base before the slab is poured. The order matters because each step carries the next one. Skip one, and the patio can look fine on day one while quietly setting itself up for trouble when the weather turns.
- Strip organics and loose topsoil. Remove sod, roots, mulch, and dark topsoil until you reach firm native soil or approved fill. In many residential settings that means at least the top 2 to 6 inches, but the actual depth depends on the site. Verify: the exposed surface should feel firm underfoot and not smear into mud. Problem sign: spongy ground, root mats, or material that turns black and slick when scraped.
- Excavate to finished section depth. Cut deep enough for the slab thickness plus the subbase thickness and any slope. For a typical patio, that often means roughly 8 to 10 inches below finished surface before compaction, but the layout may need more. Verify: you can place the base and still maintain the final elevation at doors and edges. Problem sign: the crew starts “making up” height with loose soil or extra concrete instead of proper base.
- Shape the subgrade for drainage. Build in a consistent fall away from the house, usually around 1/8 to 1/4 inch per foot, unless the site design calls for something different. Verify: a long level or stringline shows uniform slope, not a dip in the middle. Problem sign: birdbaths, reverse slope, or a low corner where water will stand.
- Moisten and compact native soil in lifts. Compact the exposed soil with a plate compactor or hand tamper where access is tight. If fill is added, place it in thin lifts, commonly 3 to 4 inches loose, then compact each lift before adding more. Verify: the surface resists a footprint and does not fluff back up under the tool. Problem sign: the crew dumps a thick layer and runs the compactor over the top once.
- Address weak or wet spots separately. Undercut soft areas and replace them with approved granular material, rather than compacting mud into place. In wet clay or silty areas, drying alone is not enough if the soil structure is already broken. Verify: the repaired area feels as firm as the surrounding subgrade. Problem sign: “It will dry out later” becomes only the plan, without testing whether the soil is actually suitable.
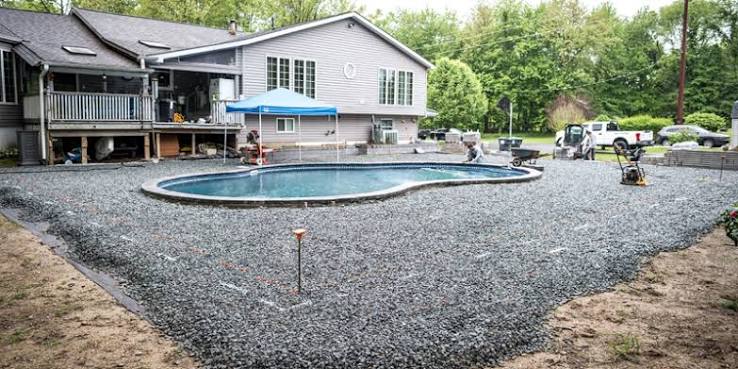
- Install and compact the subbase. Place a clean, angular aggregate such as crushed stone if the design calls for one, usually 4 to 6 inches for many patios, compacted in layers. Rounded gravel does not lock together as well as angular stone. Verify: the layer is uniform thickness and fully compacted, not just spread. Problem sign: visible tire ruts, loose stone, or different depths across the pad.
- Set forms and check final grades again. Forms should hold the planned slab edges and slope before concrete arrives. This is the last chance to catch elevation errors. Verify: measurements match the layout, and the finished patio will not interfere with door thresholds or siding clearance. Problem sign: the form height changes by an inch or more without explanation.
- Confirm the base is ready for reinforcement and pour. The surface should be tight, clean, and free of standing water or mud. Verify: footprints are shallow and the base does not pump when stepped on. Problem sign: water sheen, mushy areas, or loose material drifting underfoot.
That sequence is the difference between real prep and a cosmetic excavation. If a contractor cannot describe those steps clearly, I’d slow the job down before signing.
How much should patio subgrade preparation add to the job?
Patio subgrade preparation can add only a modest amount on easy sites, or it can become a major slice of the total cost when excavation and haul-off are involved. The price depends on how much dirt leaves the site, how much imported base comes in, whether access allows machine work, and whether the soil must be corrected instead of just shaped. A backyard with a gate too narrow for equipment can cost more in labor than a wider, open site even if the patio is the same size.
Excavation depth, disposal, and base material usually drive the bill. If the patio only needs light grading and a few inches of compacted stone, the prep may be straightforward. If the contractor has to remove sod, undercut soft soil, bring in several inches of gravel, and compact everything in lifts, the labor and material move up quickly. Wet clay can also slow the work because the site may need time to dry or may need selective replacement of poor soil. According to common residential estimating guides, base prep can account for a meaningful share of a small concrete patio bid when the haul-off is significant.
I’d be cautious with any bid that treats subgrade prep as a small line item without describing the assumptions; consult a qualified local concrete contractor or geotechnical professional if the soil is questionable, and ask them to explain the basis of the price. Ask whether the price includes hauling spoil away, imported aggregate, compaction, and regrading after compaction. Ask how many inches of excavation are included and what happens if the soil is unsuitable below that depth. A low bid that excludes those items can become expensive once the crew finds soft ground.
Time is tied to the same factors. A simple patio base may be prepared in part of a day, while a difficult site can take longer just to excavate, dry, and compact before the pour. Weather matters too. Rain can shut down compaction work and turn a clean excavation into mud. In a wet season, the best schedule is the one that respects the soil conditions on site, not the calendar.
What happens when the ground is not standard?
When the soil is expansive clay, the site is on fill, frost is a real concern, or drainage is already failing, the whole build-up changes. Those are not cosmetic differences. They change the section.
On expansive clay, the main issue is movement with moisture. In those areas, a contractor may need deeper undercutting, better drainage, and more careful base design. In a frost-prone climate, the concern is heave, so base depth, drainage, and local code matter more than they do in warm climates. I would not accept a one-size-fits-all answer in a place with freeze-thaw cycles.
On fill soil, the key question is whether the fill was compacted in controlled lifts or just dumped years ago. Uncontrolled fill settles unpredictably. If the patio will sit on fill, the contractor may need proof of compaction, additional excavation, or a broader base than on undisturbed soil. Near retaining walls, utility trenches, or old slab removals, the ground may also settle unevenly because those areas never behaved like native soil.
Clay-heavy yards near the Gulf Coast, the lower Midwest, or other areas with shrink-swell soils often need more attention to water control than a dry, sandy site would. In wet or coastal regions, a high water table can limit how deep the excavation should go before the base turns into a drain problem. Local code may also specify minimum thickness, reinforcement, or slope rules. That is where a contractor who works the area regularly has an advantage: not because of brand, but because the ground tells a different story from one neighborhood to the next.
What a bad prep job looks like before the concrete goes in
A bad prep job usually shows up before the truck arrives, if you know what to look for. Loose dirt under the forms, standing water in the excavation, soft spots that were never dug out, and uneven base thickness are the biggest red flags. If the subgrade looks like a garden bed instead of a compacted platform, the slab is already at risk.
There are other warning signs, too. If the crew leaves roots in place, builds over frozen ground, or uses soil as fill in low spots, the patio can settle in patches. If they create the slope by guessing rather than measuring, the finished slab may hold water at the house or pitch a chair unevenly. If they compact only the top surface of a deep fill instead of each lift, the lower material can settle months later.
The failure is not always a dramatic crack on day one. Sometimes it starts with a corner dropping 1/2 inch, a joint opening, or water pooling at one edge after rain. A patio can also sound hollow in spots if the base underneath is inconsistent. Once the slab is hard, those mistakes are expensive to fix. That is why subgrade work deserves more scrutiny than the finish broom pattern or color.
When should I stop the job and call for a different plan?
Stop the job and change the plan when the site conditions no longer match a standard patio installation. The wrong move here is usually “push through it.” A patio is a simple project only until the ground says otherwise.
Standing water remains after excavation: The subgrade is too wet to compact properly — pause the job, improve drainage, or wait for drier conditions.
Soft soil extends deeper than expected: The patio may settle if built on it — undercut and replace the weak area, or redesign the base.
The excavation exposes uncontrolled fill or construction debris: The ground below is not reliable — remove the bad material and re-evaluate depth and compaction needs.
The finished patio would sit too high at a door or foundation: The section needs to be revised before forms are locked in; otherwise slope and clearance problems can create maintenance issues later.